Schema Evolution
Over time, your project’s data model may need to be updated to adapt to new business needs. At Vendia, this process is referred to as schema evolution. Schema evolution is a safe and easy way to make non-breaking changes to your project’s data model and API without incurring any additional cost. It can be performed in both the, Vendia UI and CLI.
Allowed Types of Changes
Only additive or non-breaking changes can be made. Here are some examples of the types of changes that are allowed:
- New types and their associated properties can be added
- New properties of an existing type can be added
- New enum values of an existing property can be added
Here are some examples of the types of the changes that are not allowed:
- Existing types cannot be removed
- Existing properties cannot be removed
- Changing the type of an existing property is not allowed
- Changing the required flag for an existing property is not allowed
Because breaking changes are not allowed, you can be rest assured knowing that any changes introduced via schema evolution will never break existing applications in production. There is, potentially, one exception to this rule - see Removing an index via schema evolution below.
Schema Evolution in the Vendia UI
- Navigate to your project landing page. You can access the ‘Evolve schema’ button from a couple of locations within the UI:
- From the ‘Data Model’ tab in the ‘Data’ section
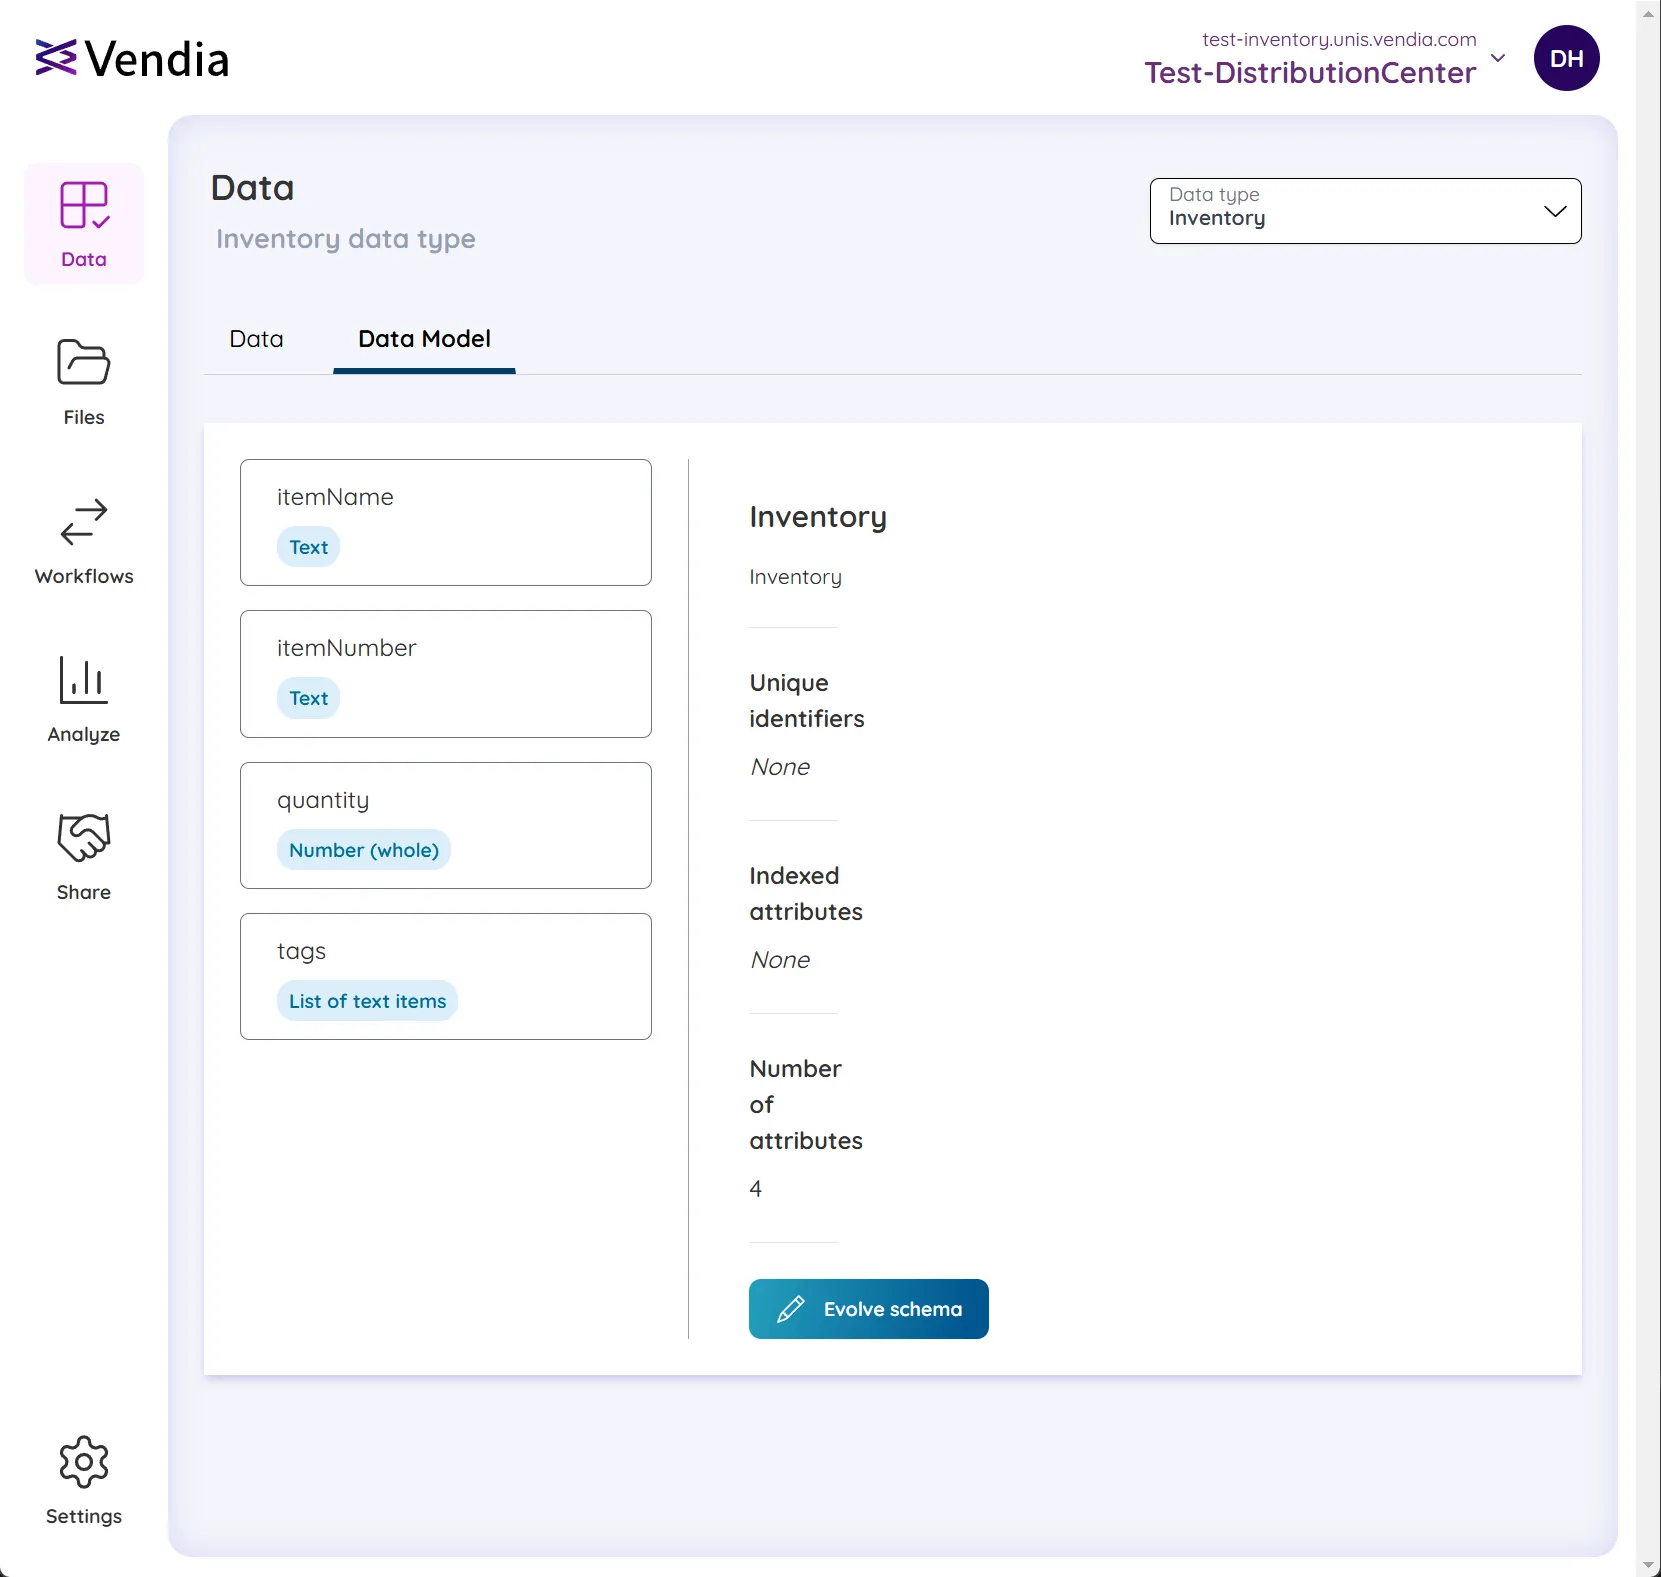
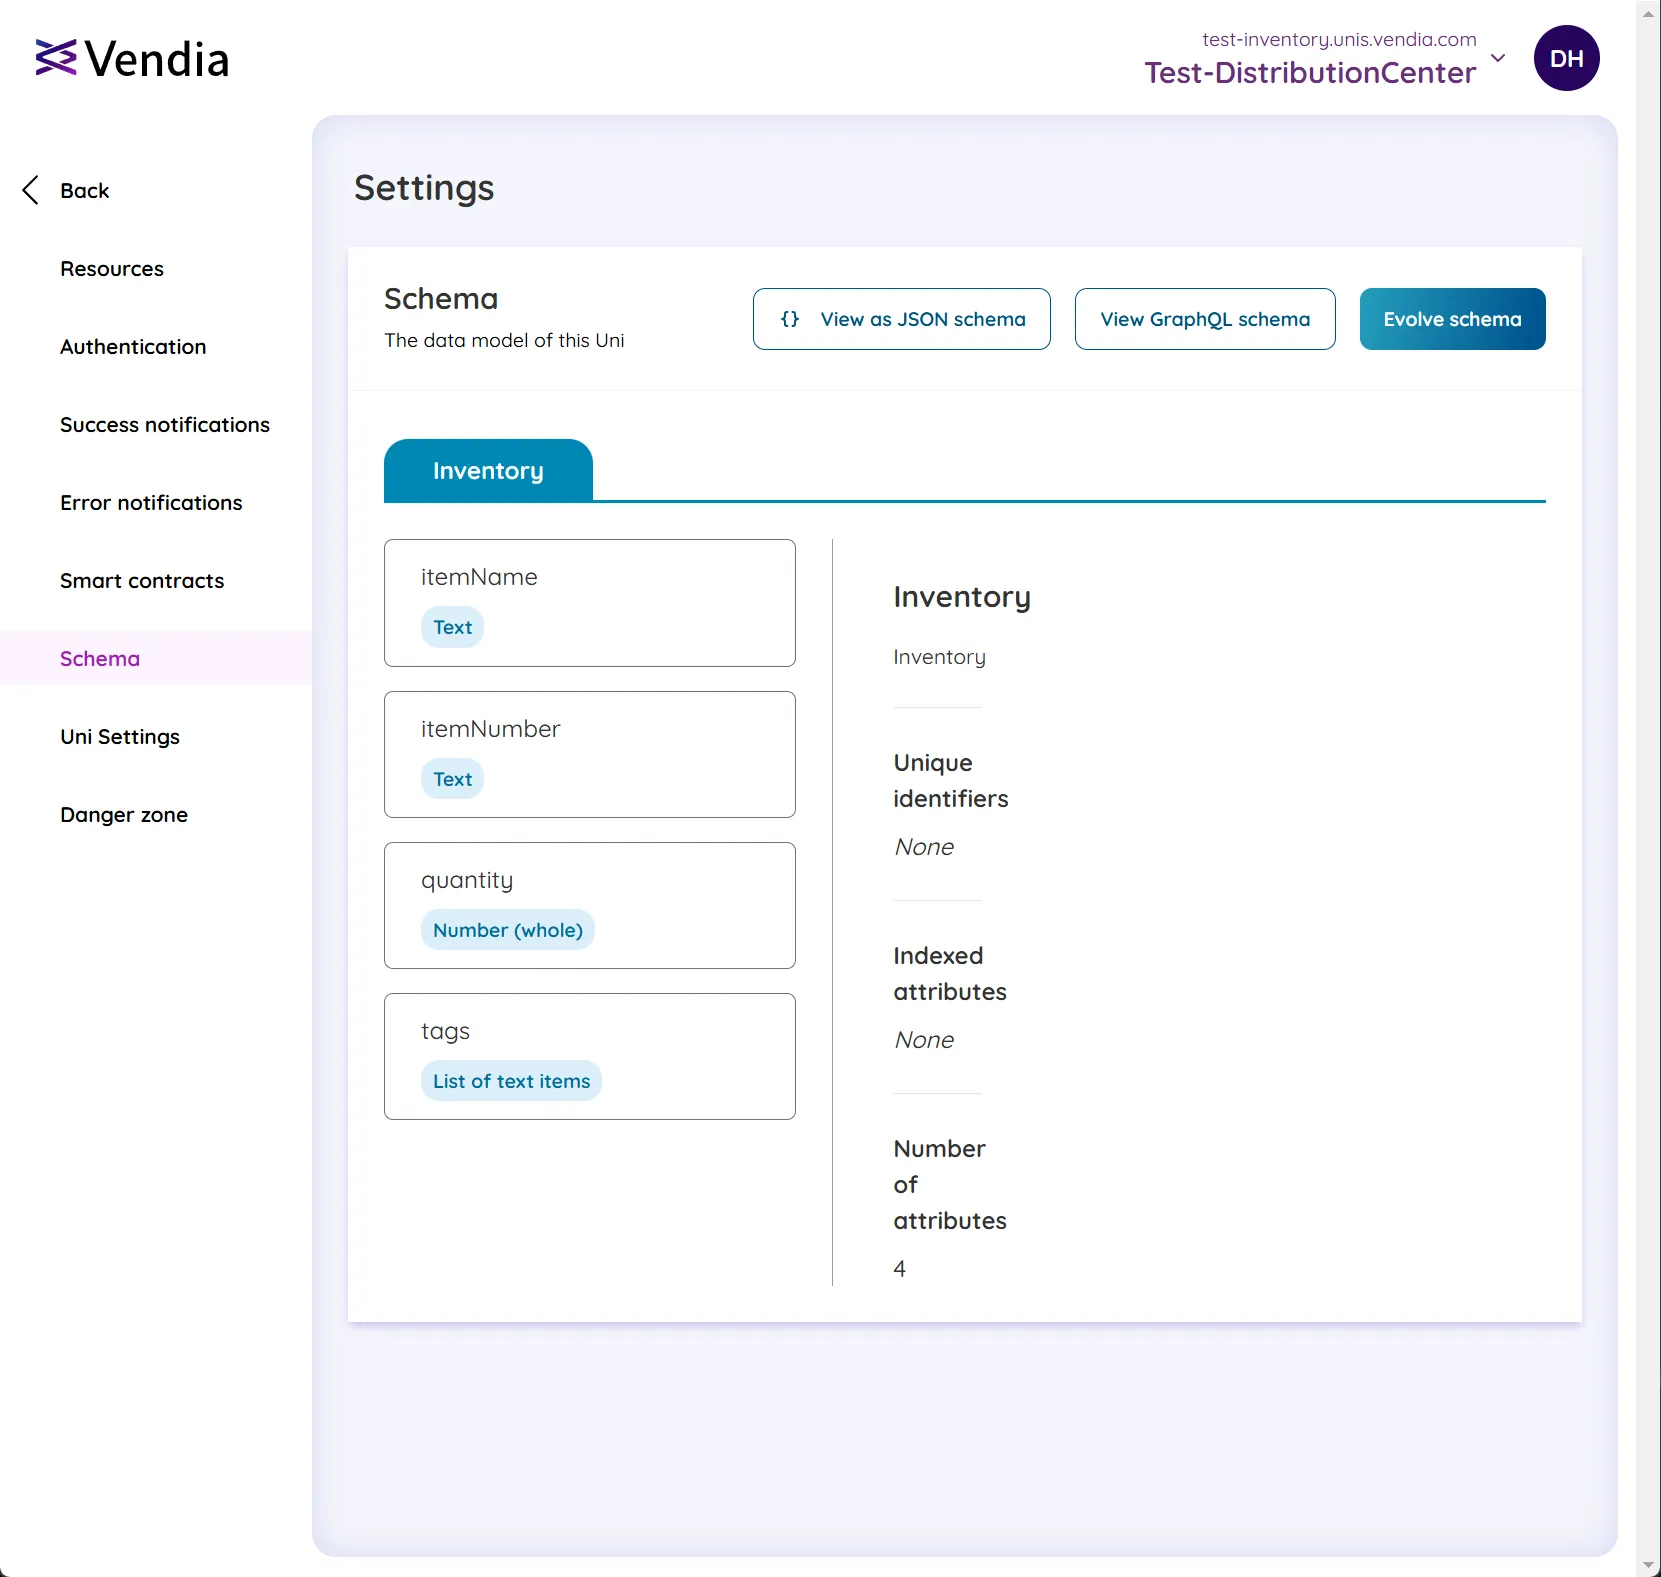
- From ‘Settings’ —> ‘Schema’
- From the ‘Data Model’ tab in the ‘Data’ section
- Click ‘Evolve schema’ to begin the process. You will be presented with the following view of your current schema where you have two options to perform the schema evolution:
- Using the Designer to modify your schema via Graphical User Interface (GUI)
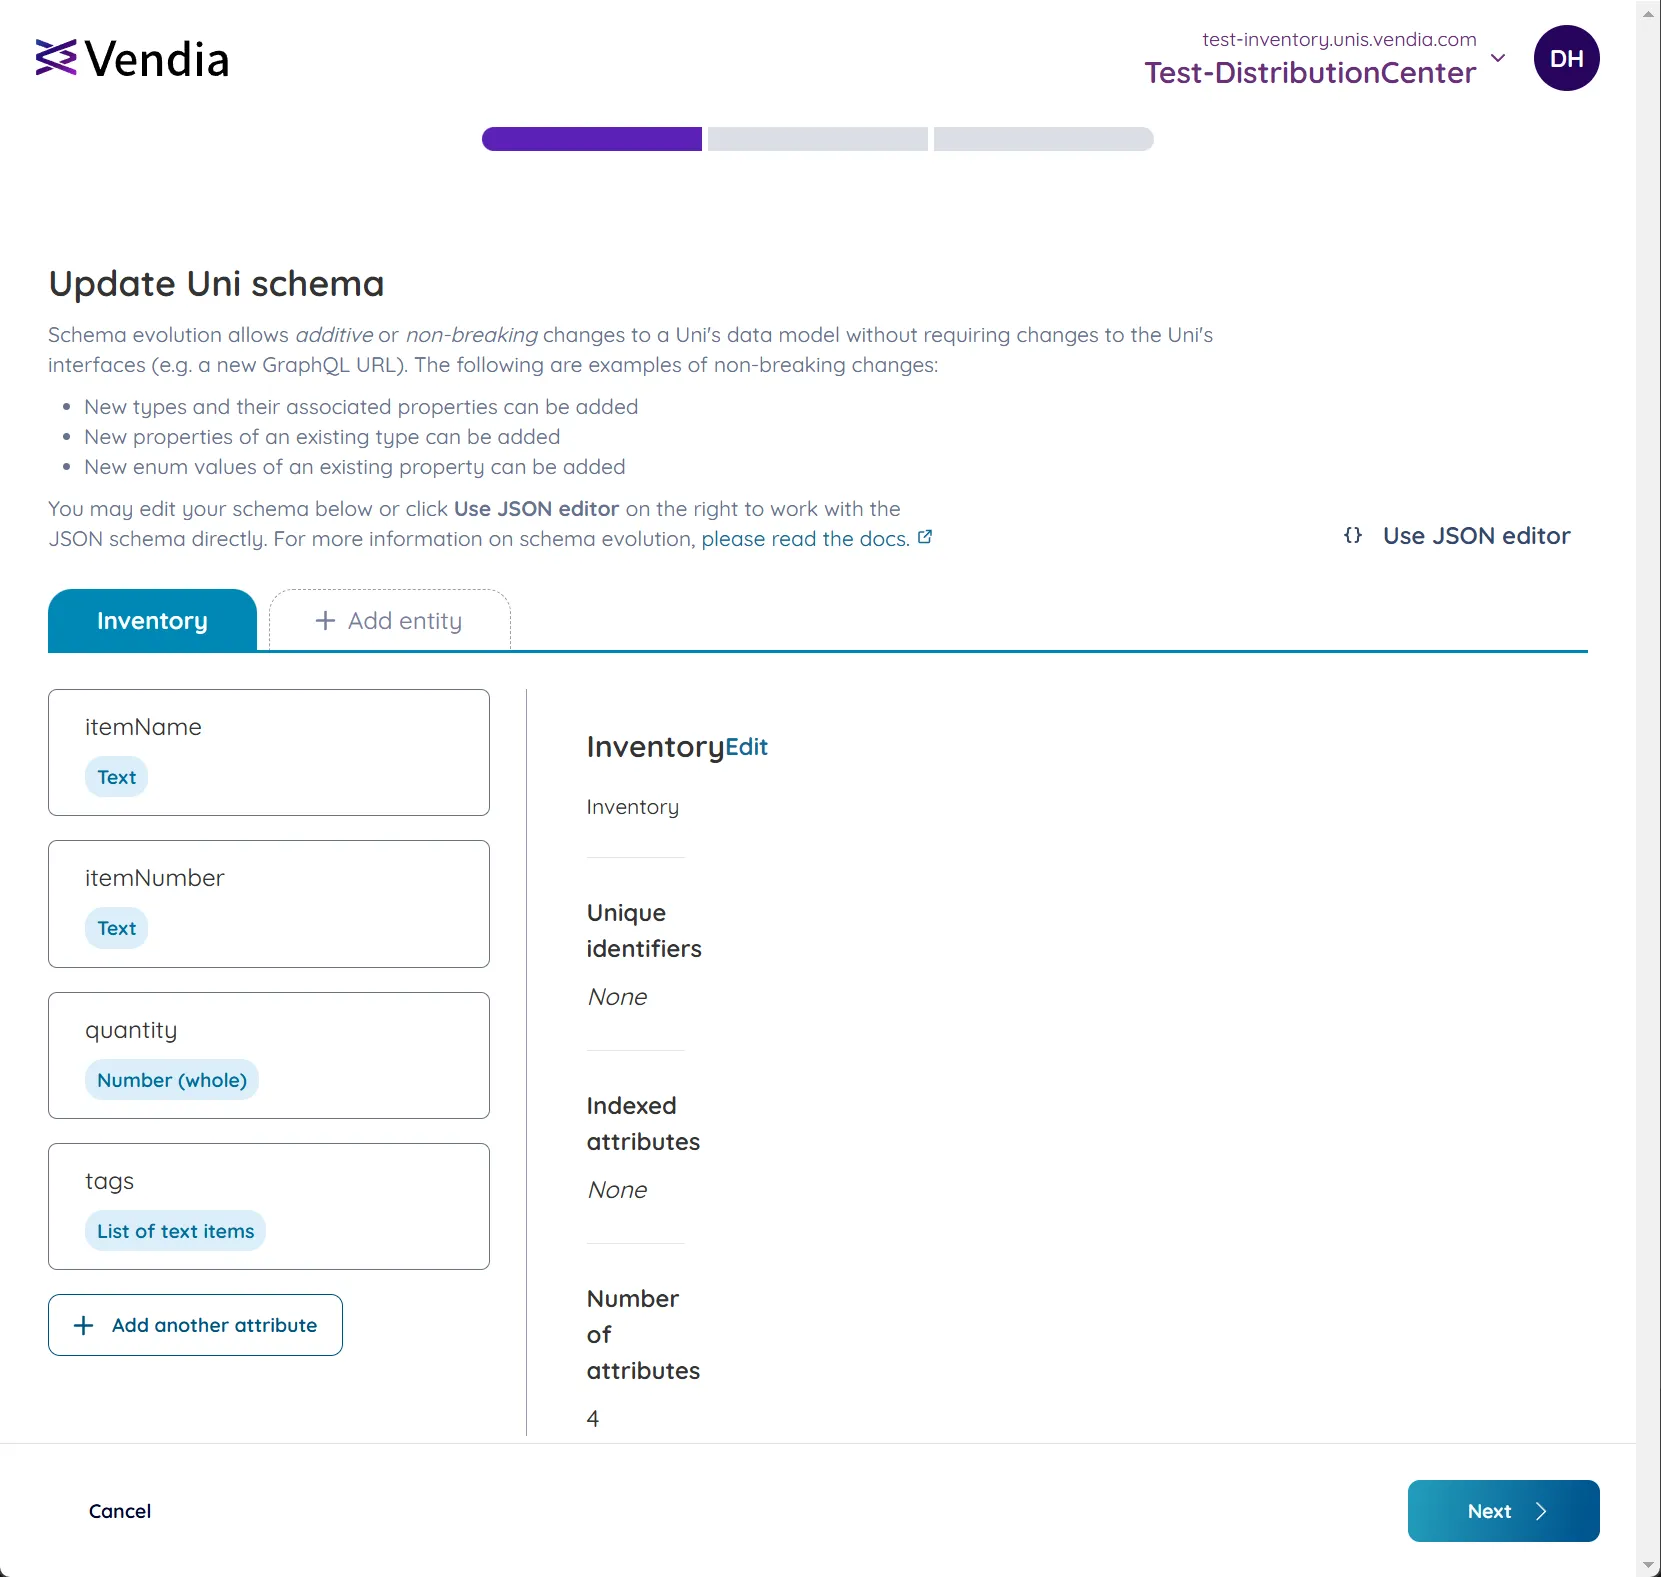
- Using the JSON Editor to modify your schema by directly editing the JSON schema
- Using the Designer to modify your schema via Graphical User Interface (GUI)
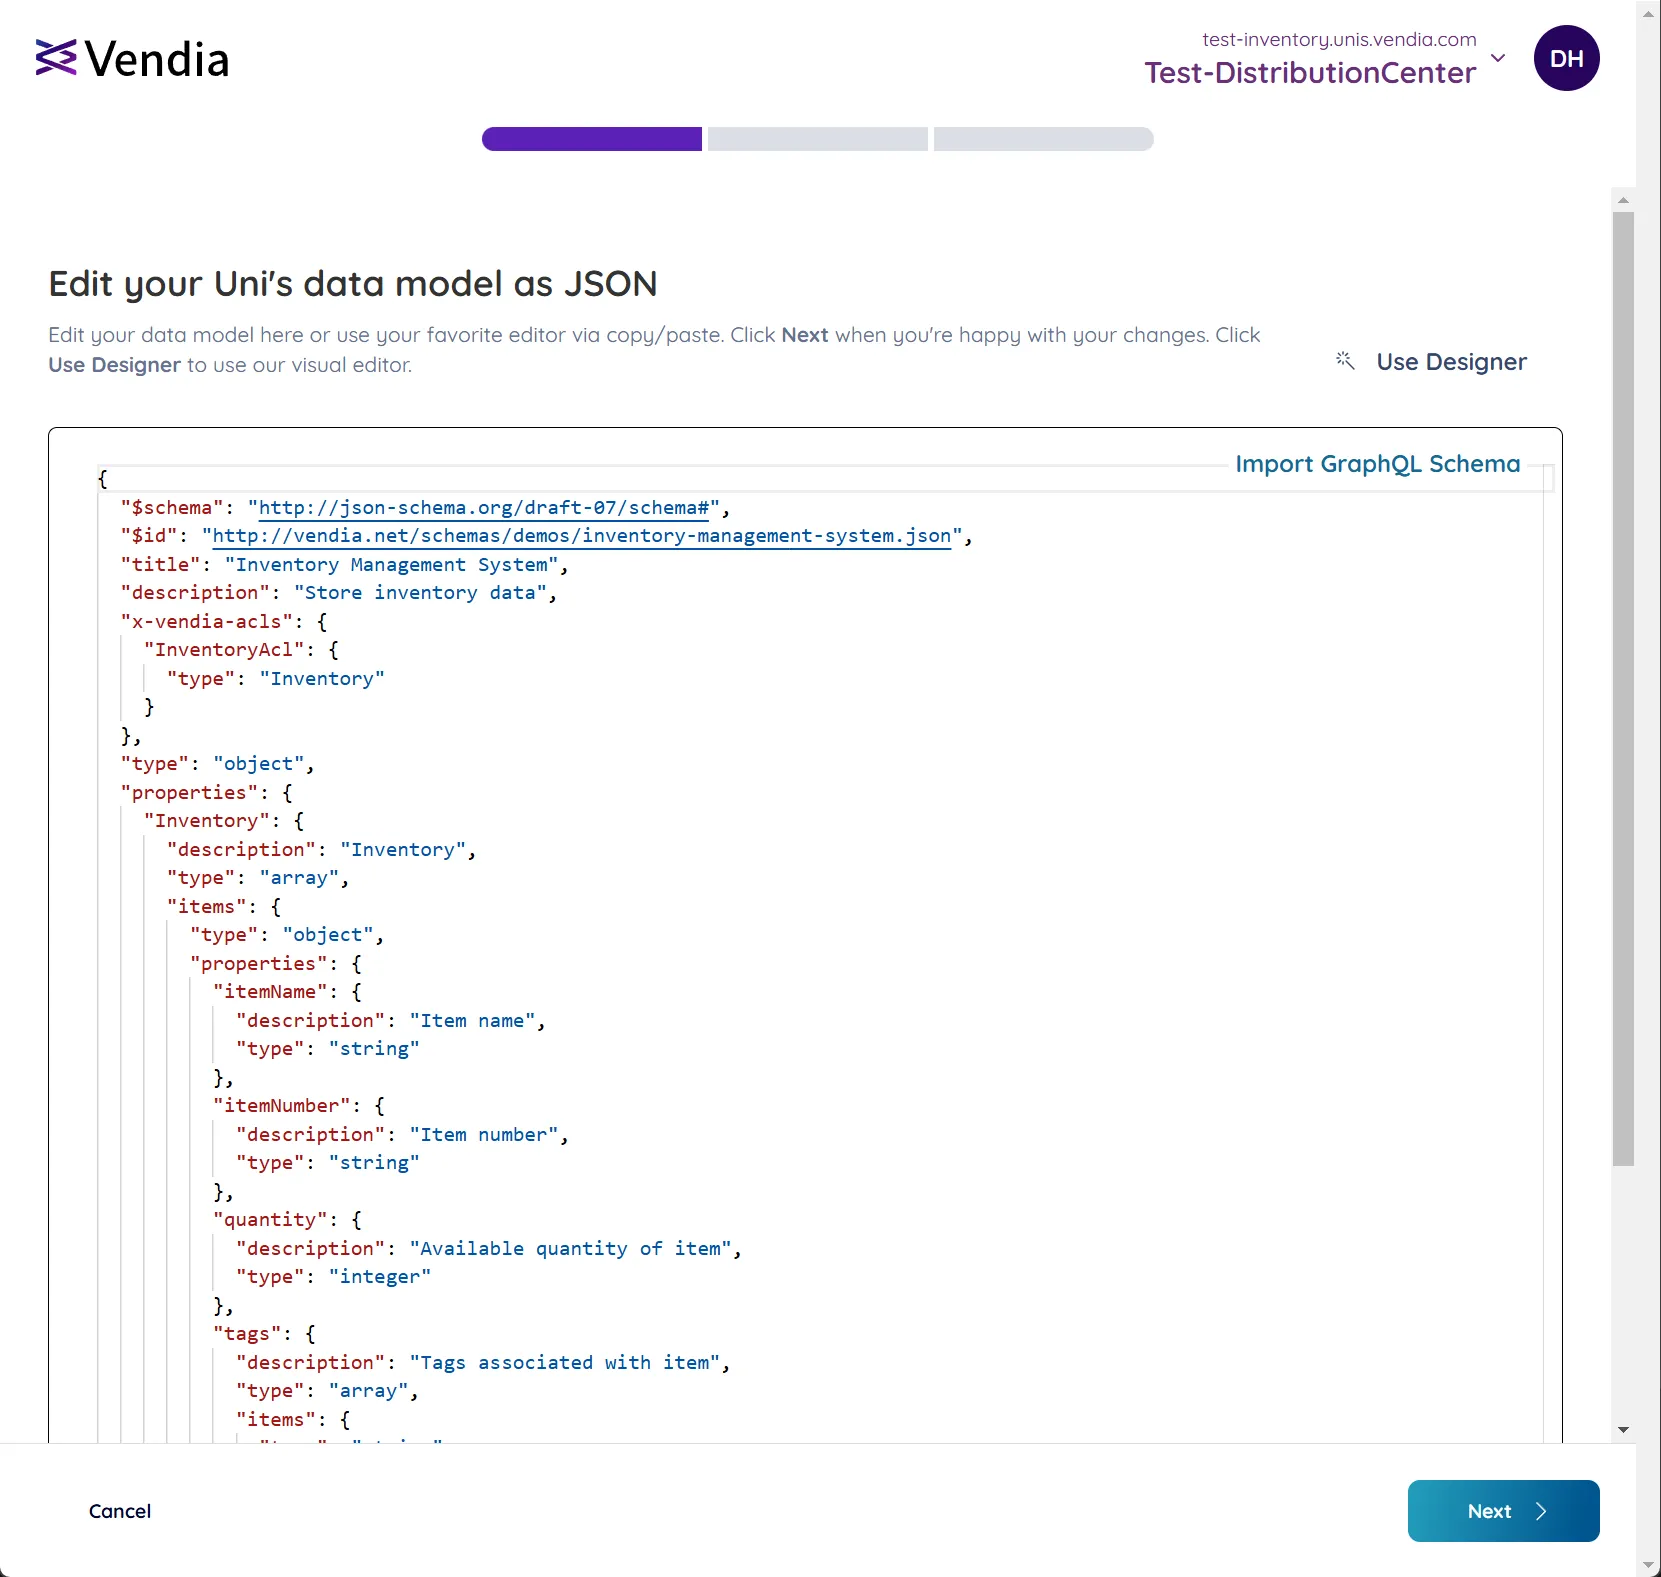
- In this example, we will use the JSON Editor to modify our JSON schema.
- We have added a new property named
itemSkuwith typeintegerto the Inventory data type.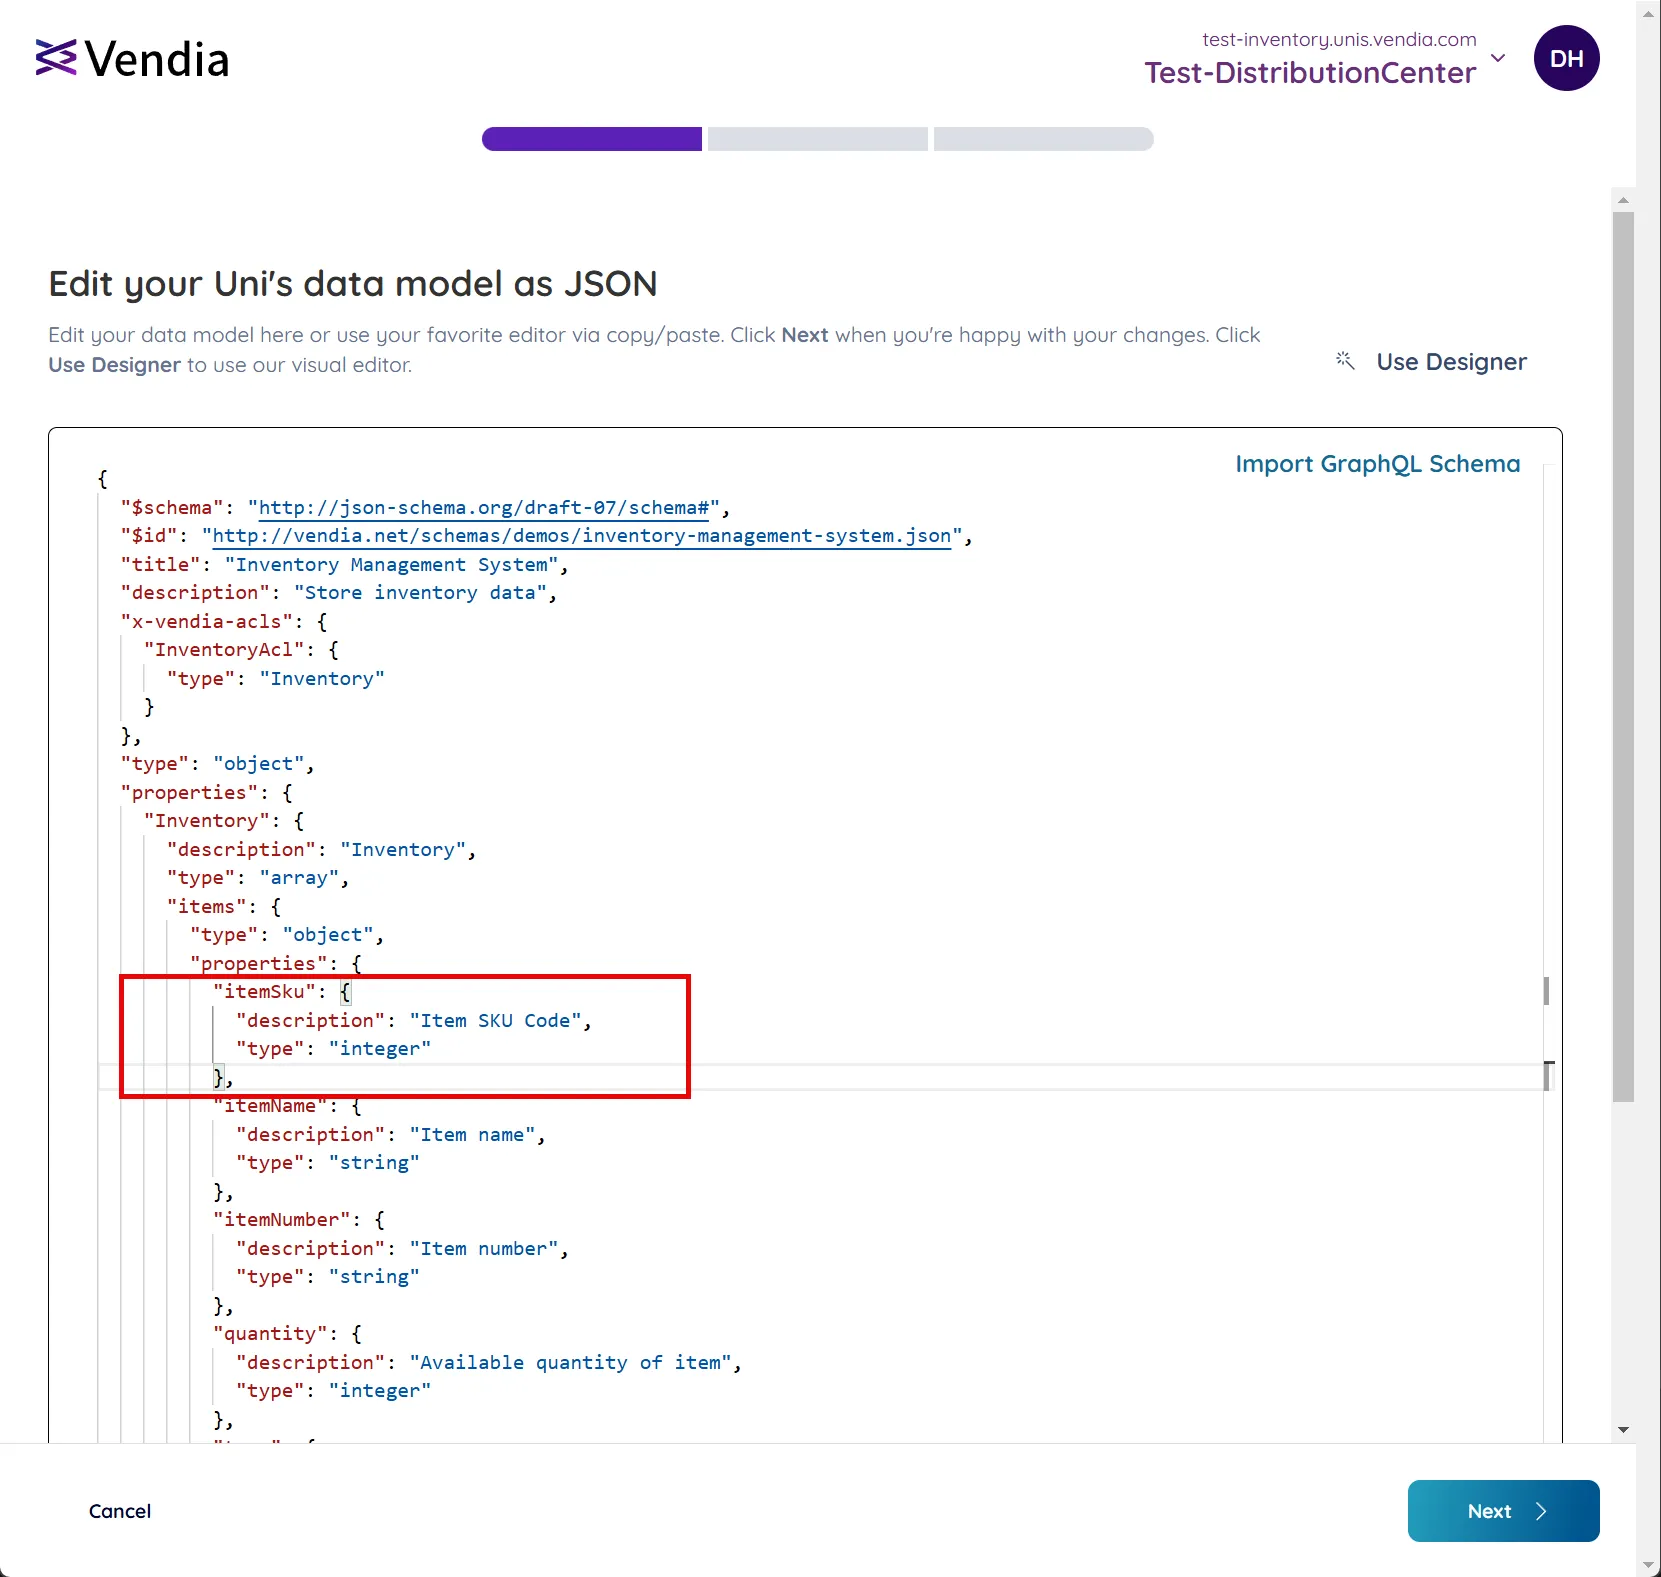
- Click ‘Next’ to proceed.
- We have added a new property named
- Review the changes you have made to your schema.
- Any additions will be highlighted in green
- Any removals will be highlighted in red
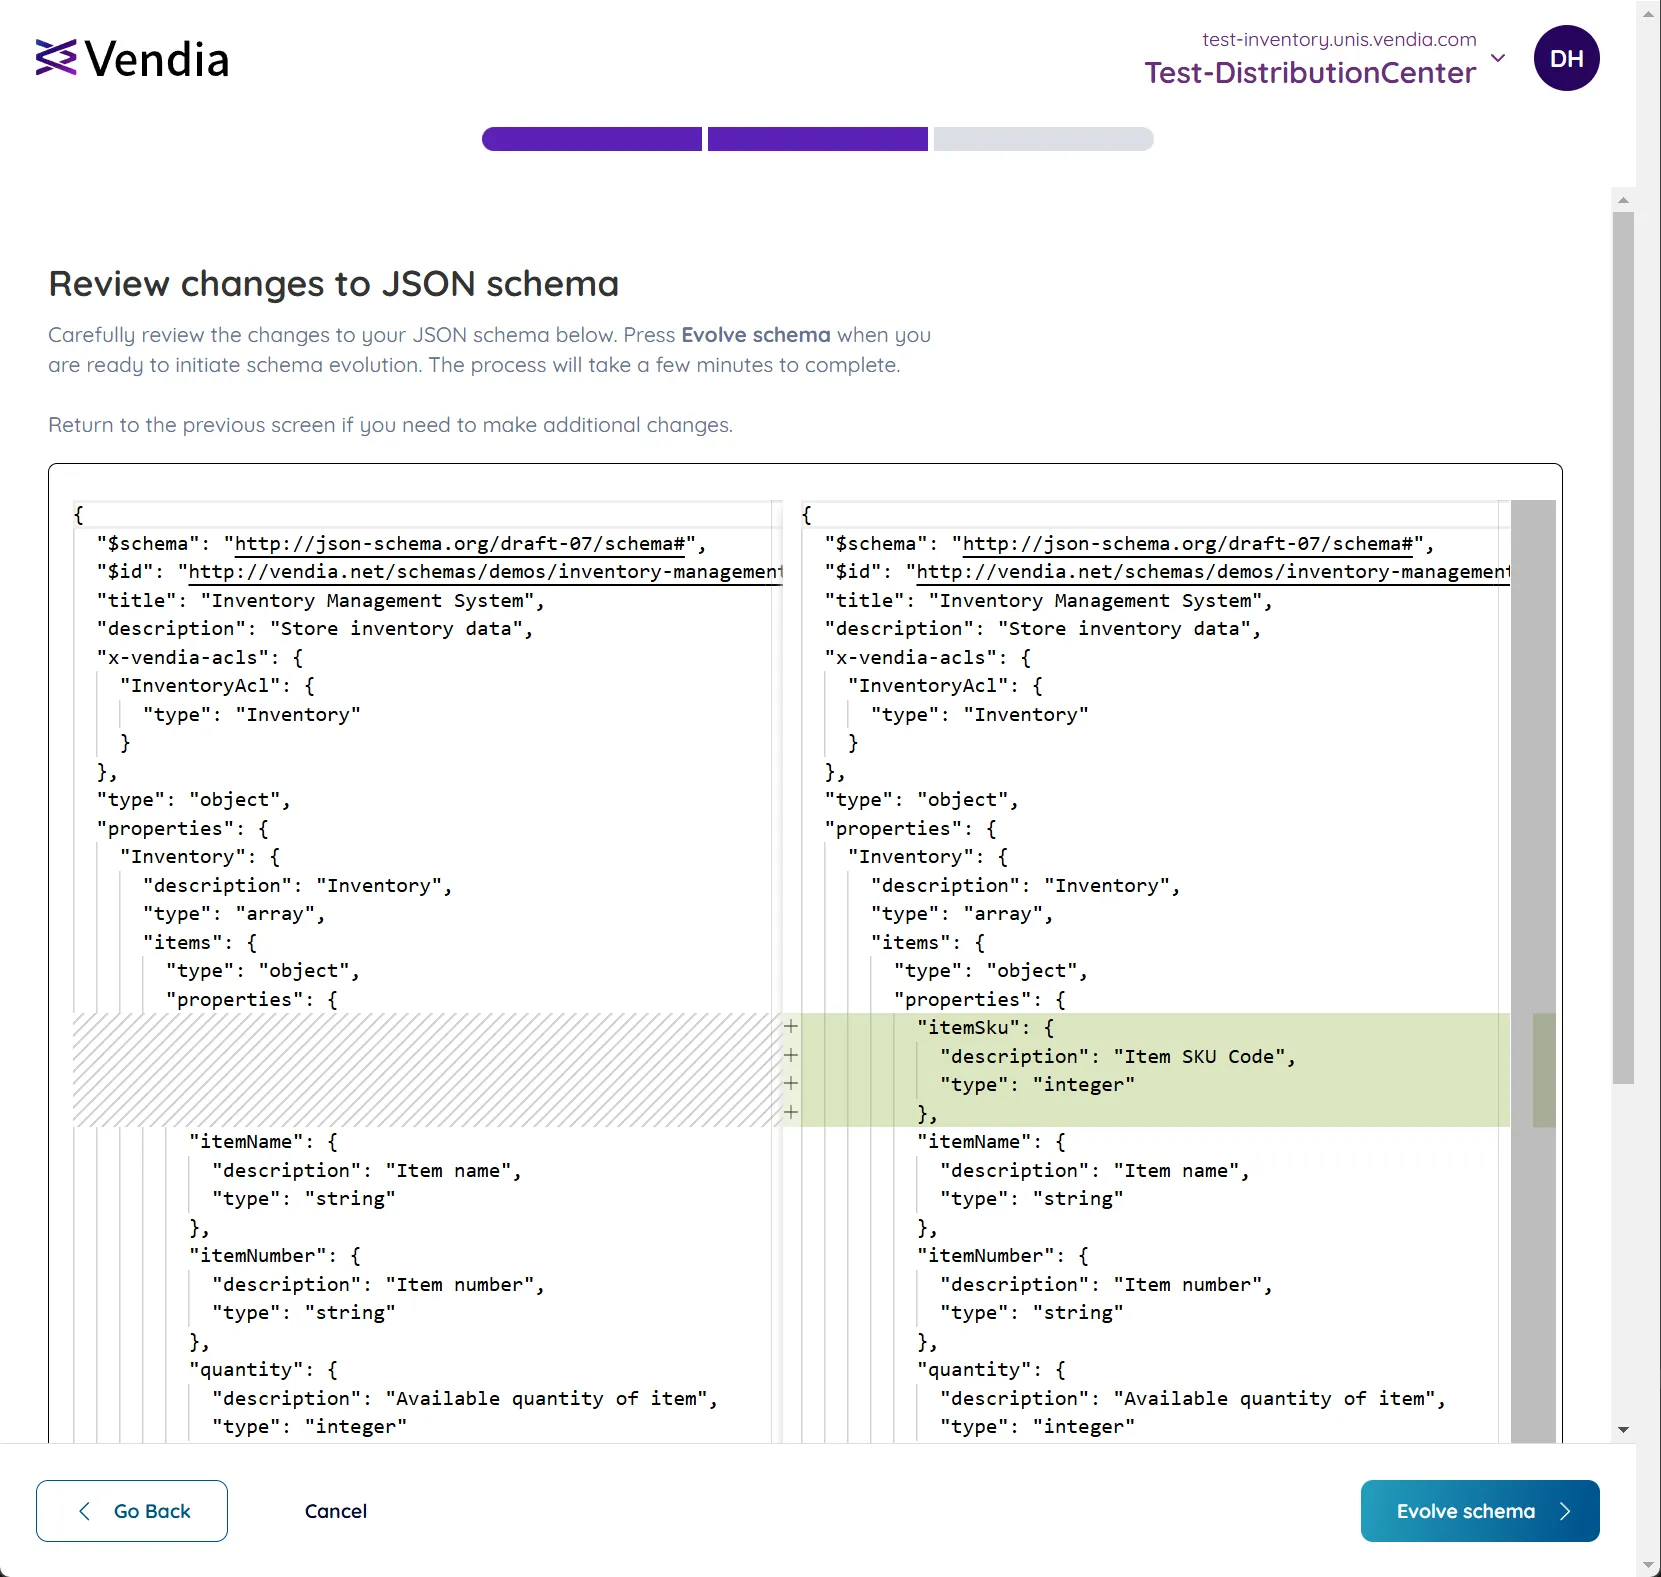
- Click ‘Evolve schema’ to initiate the schema evolution process
- The schema evolution process will begin and you will see the following notification.
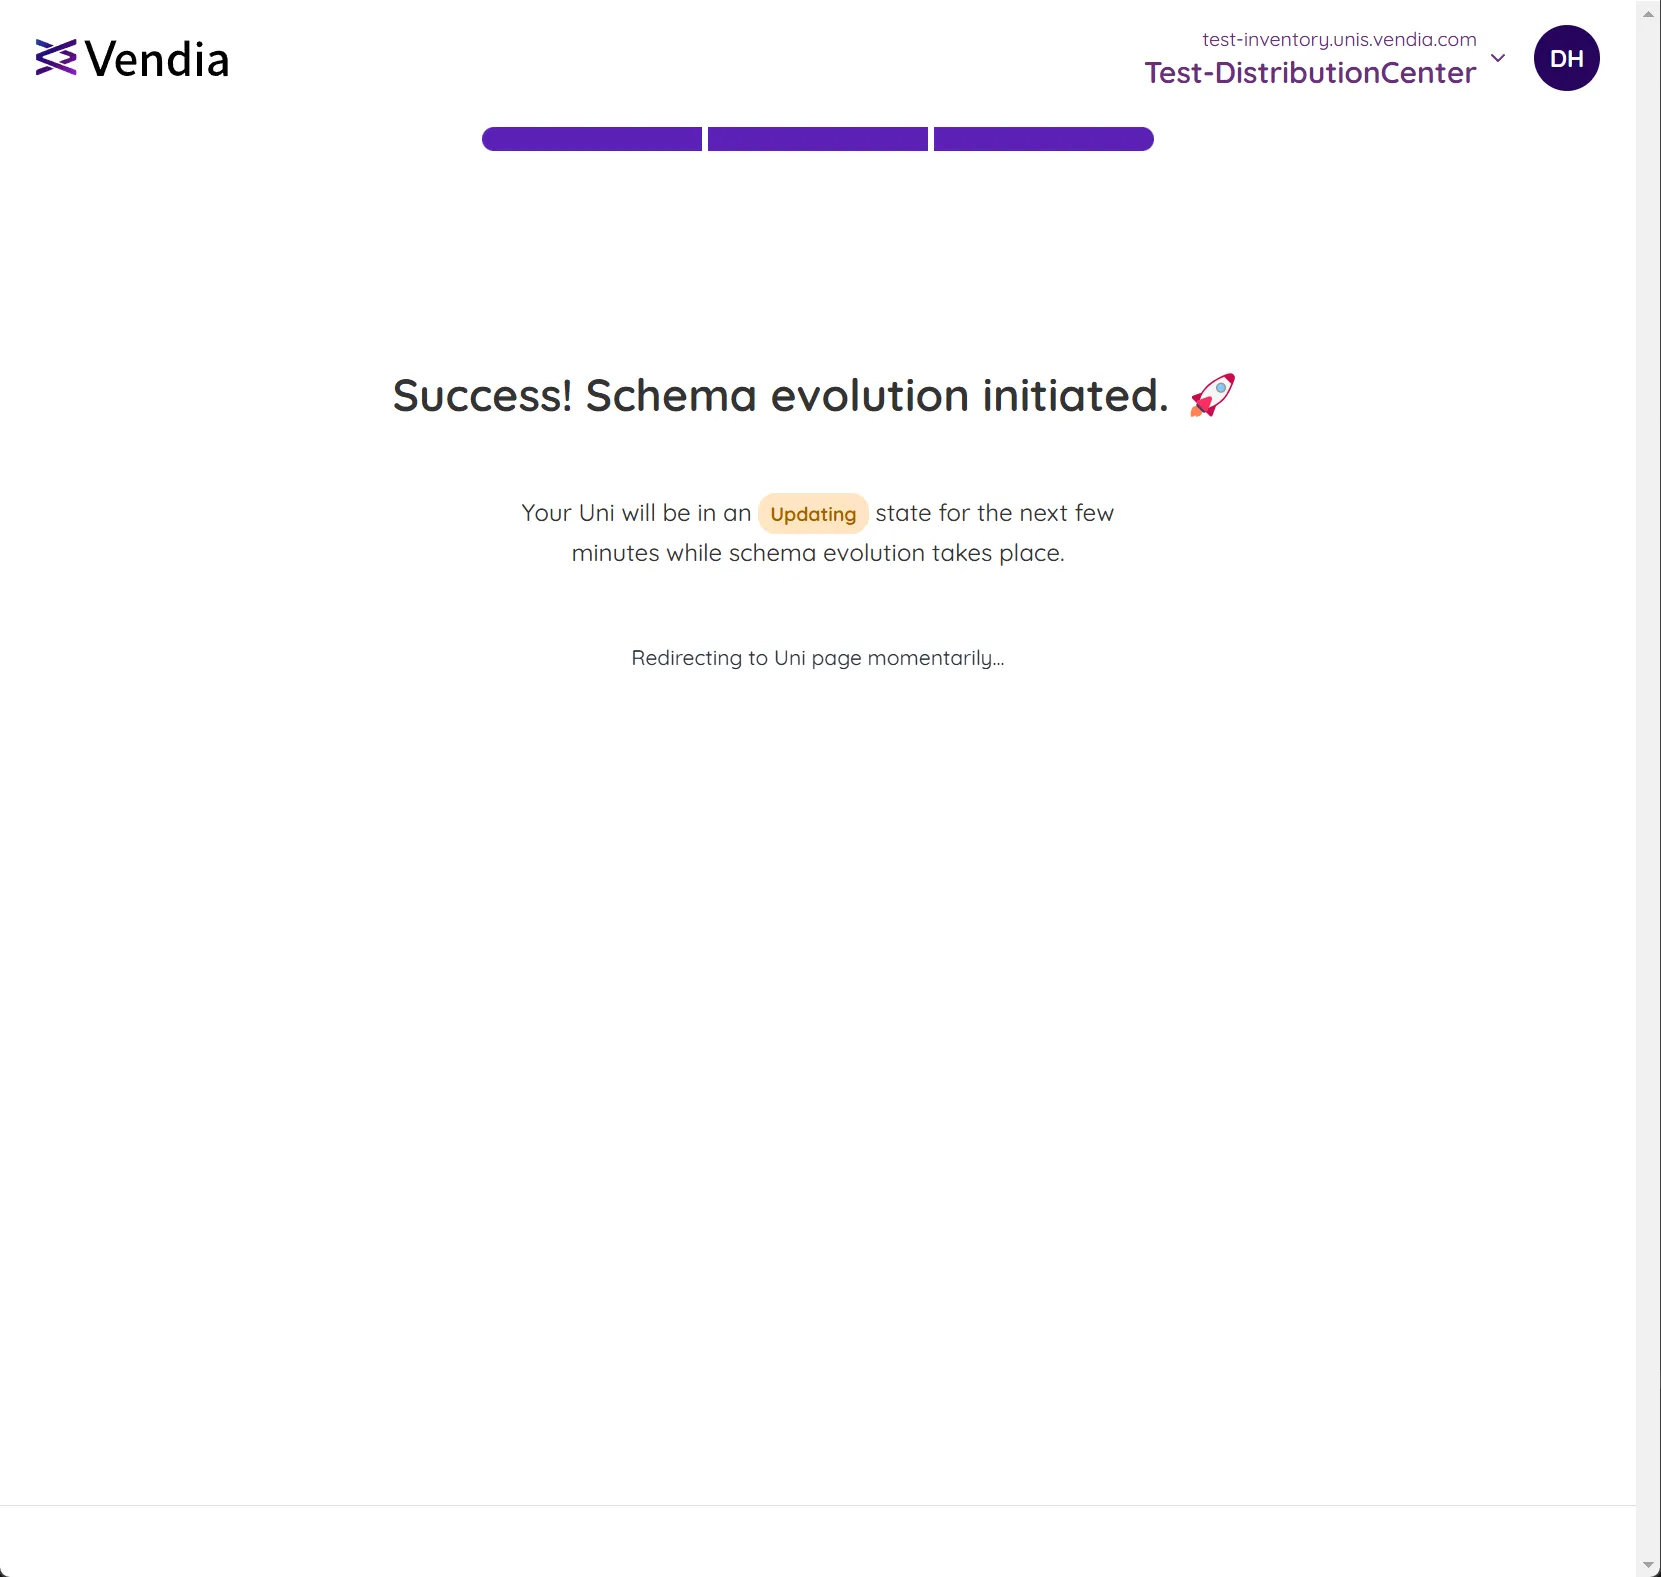
- You will then be redirected to the project landing page
- The schema evolution process will take a few minutes to complete and you will see the following notification until the process is complete.

- Once the schema evolution process is complete, you can see the updated schema in the ‘Data Model’ tab in the ‘Data’ section.
- We can see that the new property
itemSkuhas been added to the Inventory data type.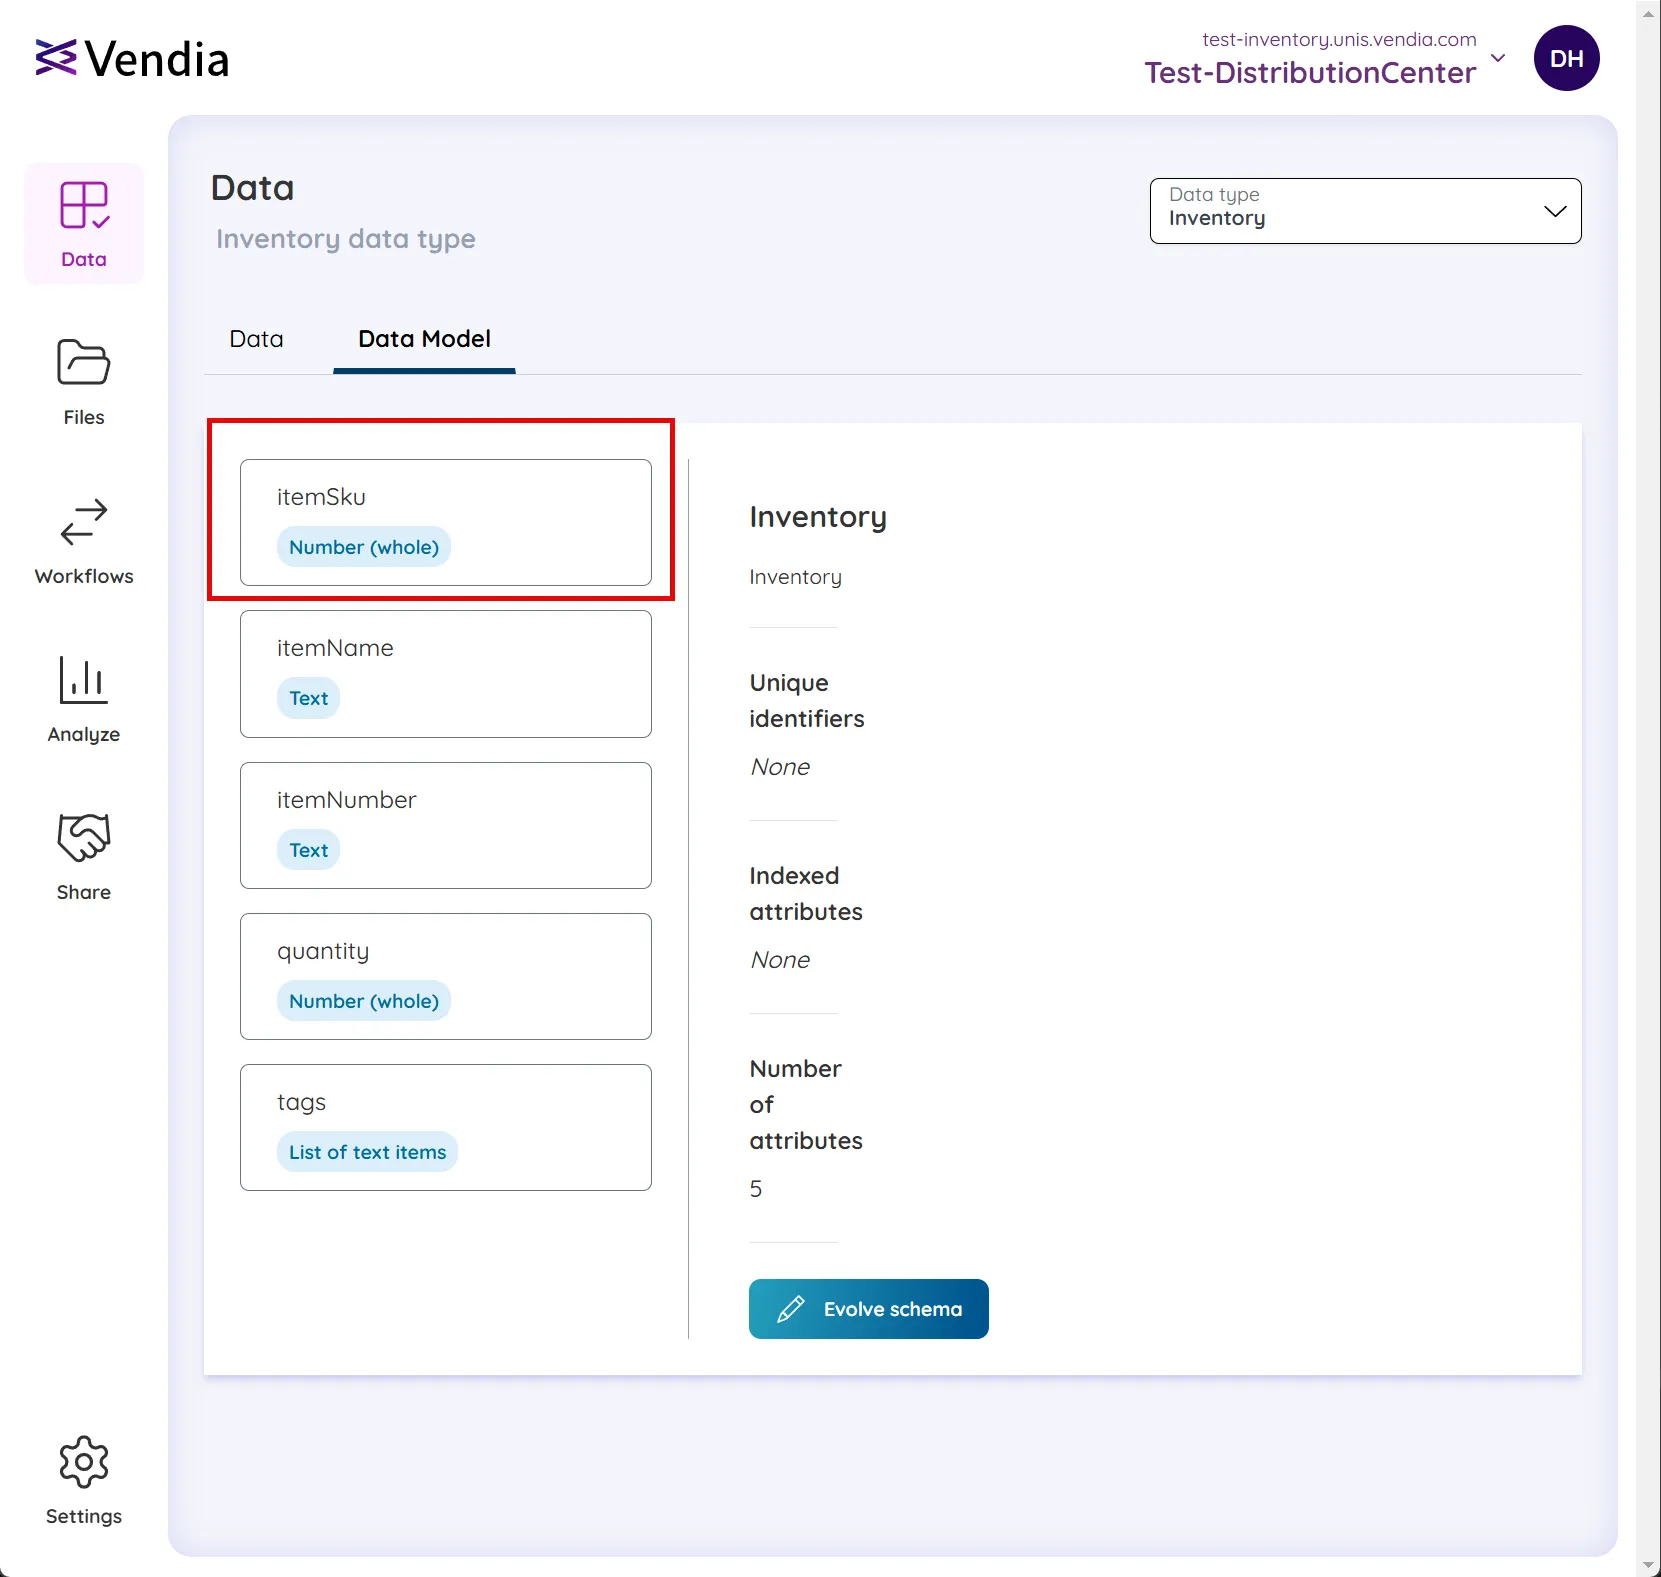
- We can see that the new property
Using the Schema Designer for Schema Evolution
The Schema Designer provides an intuitive graphical interface for adding attributes during schema evolution. This approach is particularly useful when you want to add new attributes to existing entities without manually editing the JSON schema.
Schema Designer Workflow for Adding Attributes
When you choose to evolve your schema using the Designer option, you can add new attributes to existing entities through a guided workflow:
-
Select the Entity: Choose the existing entity (e.g., Product, Order, Inventory) where you want to add new attributes.
-
Add New Attribute: Click the “Add Attribute” button and specify:
- Name: The attribute identifier (e.g.,
itemSku,categoryCode,lastUpdated) - Description: Optional documentation for the attribute
- Data Type: Choose from available types (Text, Number (whole), Number (decimal), Boolean, Date/Time)
- Name: The attribute identifier (e.g.,
-
Configure Attribute Properties:
- Required: Mark the attribute as required if it must be provided for all new instances
- Unique: Set the attribute as unique if duplicate values should not be allowed
- Indexed: Enable indexing if you plan to filter or sort by this attribute in GraphQL queries
-
Advanced Attribute Types (when applicable):
- Computed Attributes: Create derived values based on calculations or lookups
- Lookup Attributes: Create relationships to other entities
- Calculation Attributes: Perform mathematical operations on existing data
Best Practices for Schema Designer Evolution
- Start Simple: Begin with basic scalar attributes (text, numbers, booleans) before adding complex computed attributes
- Consider Performance: Add indexes to attributes you’ll frequently query or filter by
- Plan Relationships: Use lookup attributes to create meaningful connections between entities
- Document Changes: Use the description field to explain the purpose of new attributes
- Review Before Committing: Always review the generated JSON changes before finalizing the evolution
The Schema Designer automatically generates the corresponding JSON schema changes, which you can review before applying the evolution. This ensures that the changes are syntactically correct and follow Vendia’s schema requirements.
For detailed information about attribute types and configuration options, see the Adding Attributes via Schema Designer section in the Data Modeling guide.
Schema Evolution with the Vendia CLI
- If it’s your first time using the Vendia CLI, visit the CLI docs to get up and running first. Additionally, the CLI docs on schema evolution are located in the CLI commands documentation.
- Create a JSON file locally with your updated JSON schema (e.g.,
updated-schema.json). You can always copy/paste your current JSON schema from your project’s “Schema” tab in the Vendia UI. - Run the following command once you’re happy with your schema changes:
share uni evolve --uni your-project-name --schema updated-schema.jsonYou should receive the following output from the above command: Schema evolution initiated.
If you are removing an index, you’ll need to add the --allowed-breaking-change=INDEX_REMOVED flag to your CLI command, but read this section on index removal first!
Adding and Removing Indexes
Indexes are extremely useful for filtering list queries efficiently or sorting query results by indexed fields. Learn more about adding indexes to your data model in the Data Modeling indexes documentation.
Indexes can be added or removed during schema evolution, but only one index can be changed per call to schema evolution. An index change can be a single index addition OR removal - replacing or moving an index from one field to another counts as two changes, one removal and one add. This must be carried out in two phases: first, use schema evolution to remove the unwanted index and, once that completes, use schema evolution again to add the desired index.
Removing an Index via Schema Evolution
Removing an existing index can be a dangerous or potentially “breaking” change and should be carried out with caution. Removing an index will break any list queries using the “order” argument to sort by the indexed field and can severely degrade the performance of list queries using the “filter” argument in conjunction with the indexed field.
In order to remove an index you must explicitly opt-in to allowing index removal by agreeing to a confirmation in the UI or passing a flag to the CLI command (share uni evolve --allowed-breaking-change=INDEX_REMOVED)
If you’ve discovered that you’ve broken something in an application by removing an index, you should evolve your schema again and add the index back.