Shopping List Quick Start - Web
This Quick Start uses a familiar concept - a shared Shopping List - to demonstrate how to create and use a Vendia project.
This Quick Start uses the Vendia Web Application to create the project that will be used in this Quick Start. Alternatively, the Shopping List Quick Start - CLI can be followed if you prefer a command-line over a visual interface.
Login to Vendia
The first step to using the web application for deploying our Shopping List project is to log in to the Vendia web application. If you don’t yet have a user account for Vendia you will first need to sign up. If you have an account but have forgotten your password, you can reset it.
Once you’re logged in, you can click on the “Create an application” button to Create a project.

Define Your Project
Provide the requested information in the following steps.
Name Your Project
NOTE: Pick a unique name for your project that begins with test- - by default all projects share a common namespace, so here is your chance to get creative.
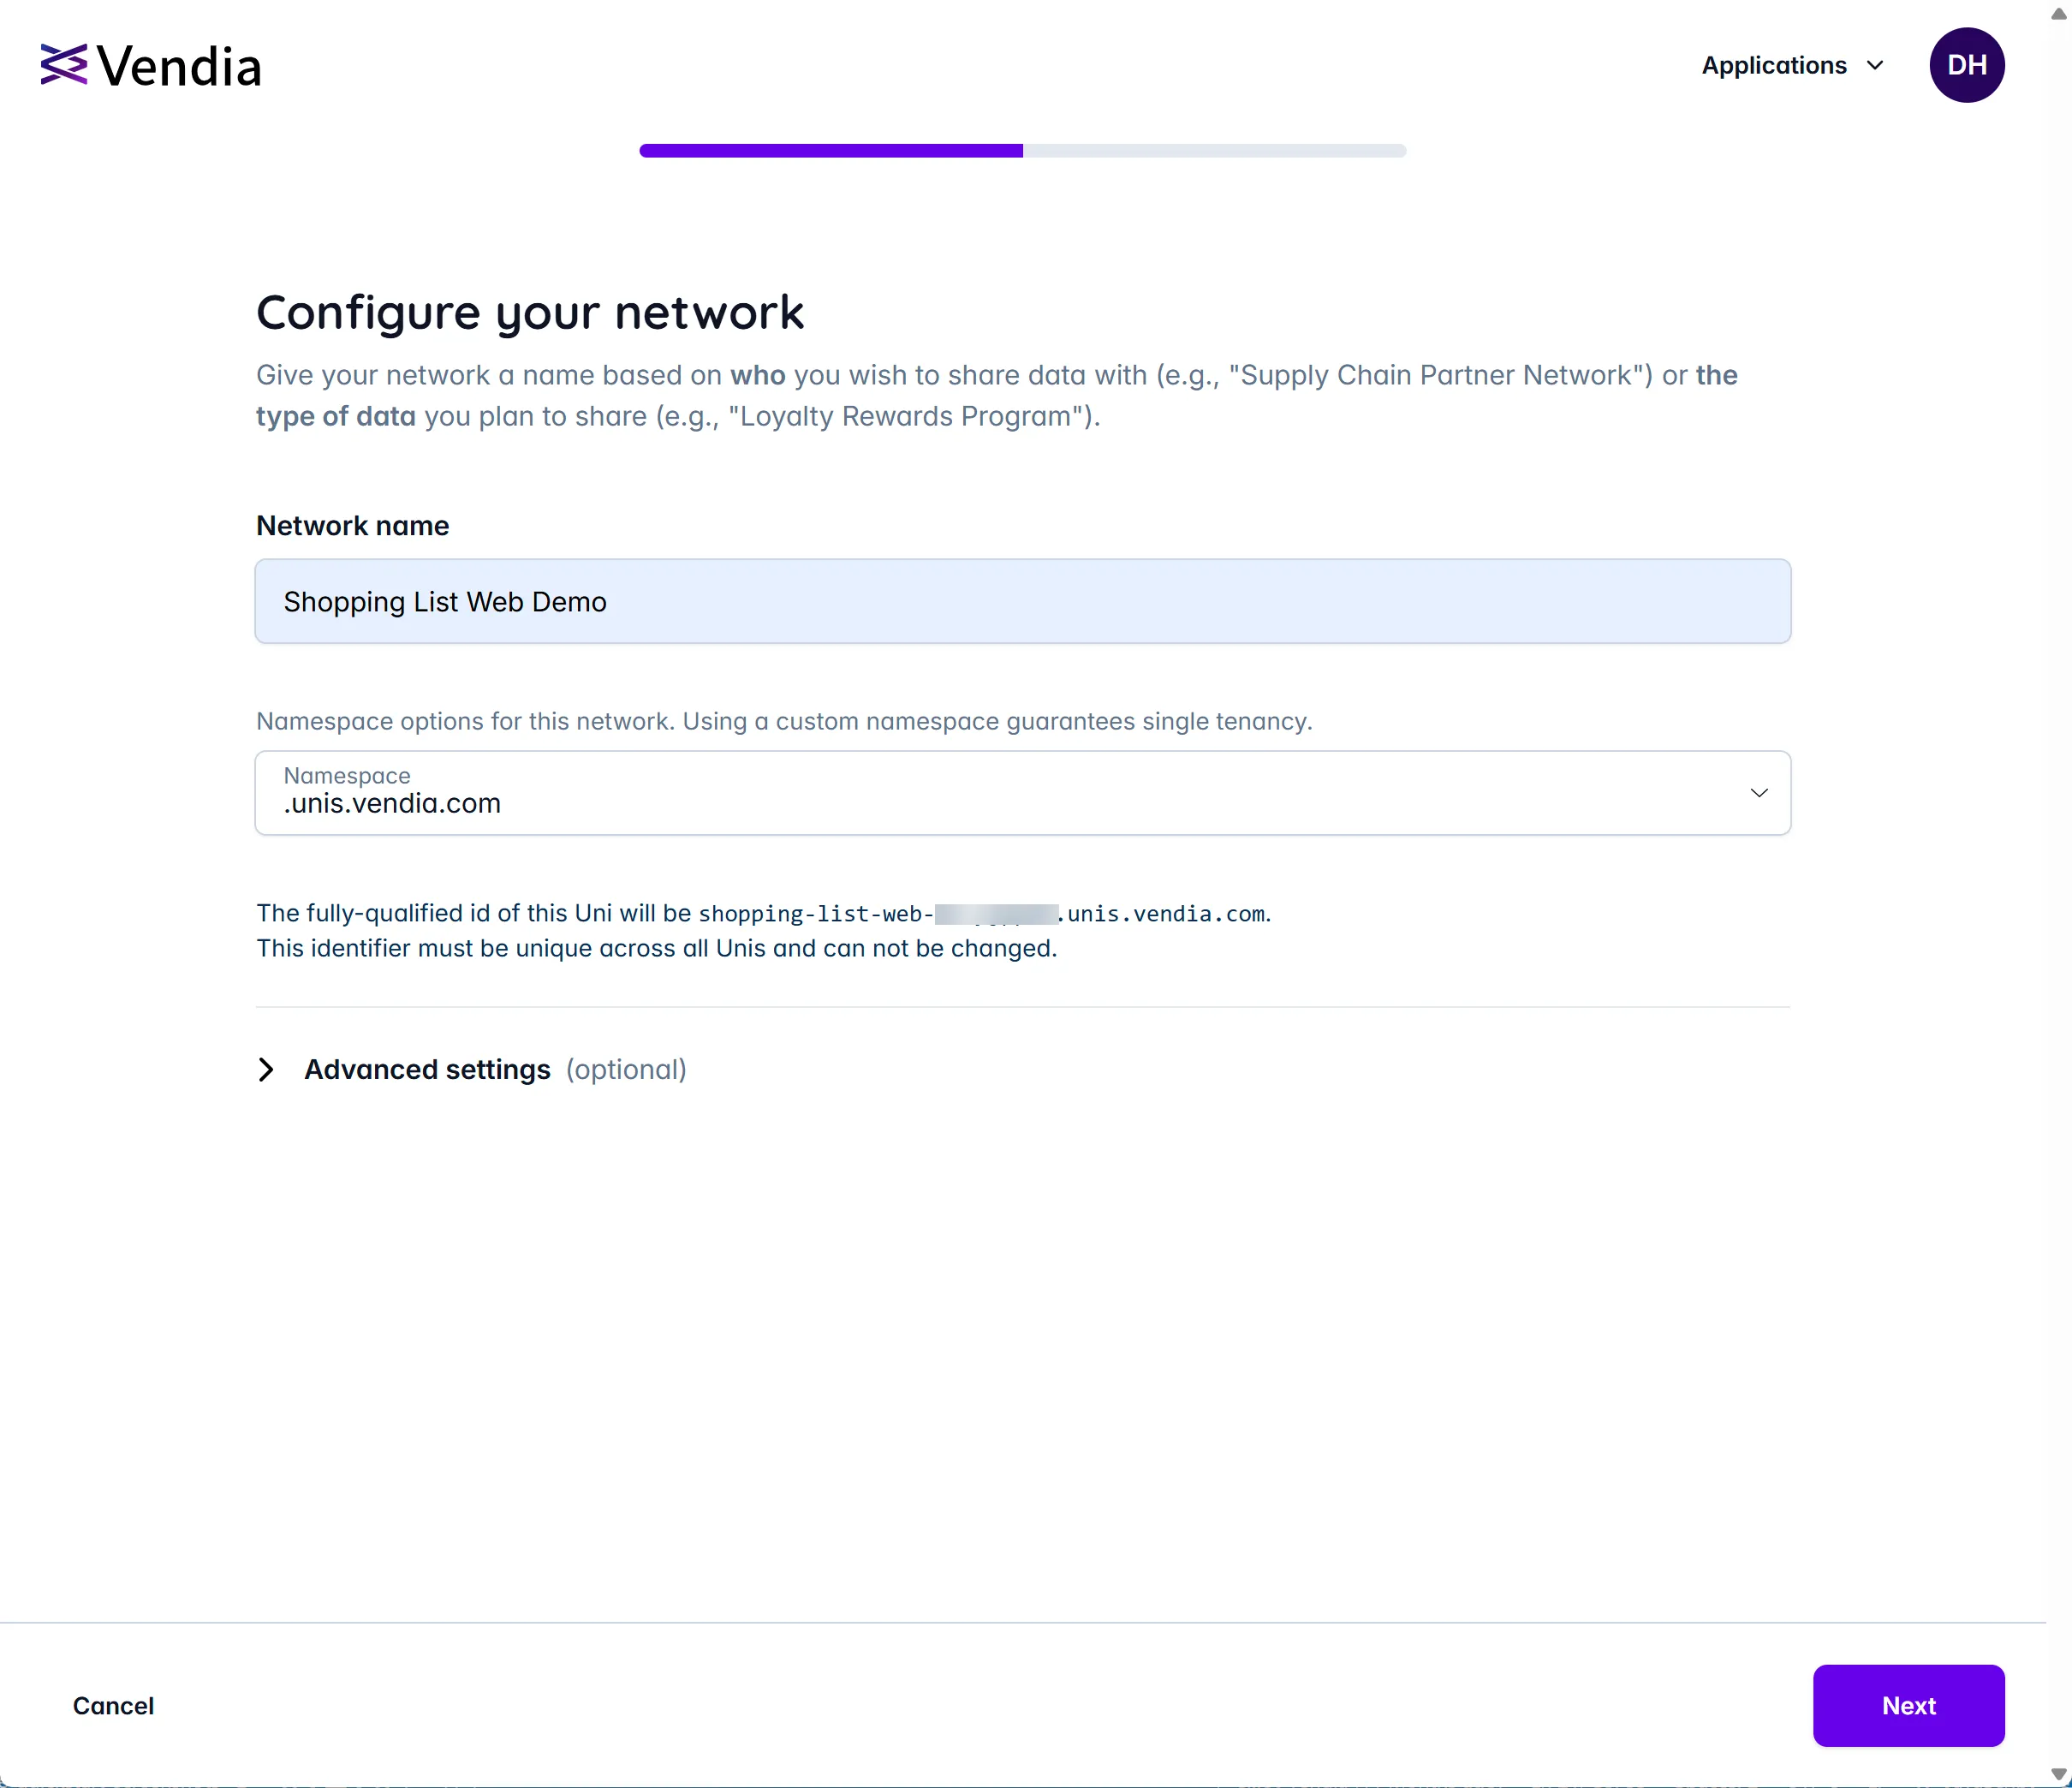
Click ‘Next’ to proceed.
Define Your Workspace Attributes
We can define our workspace (node) attributes. In this example, we are deploying 4 nodes. In our demo, each node is defined in AWS’ us-west-2 region, but in practice, each node could be deployed in any of Vendia’s supported regions. Please refer to our Frequently asked questions page for more information.
NOTE: Starter tier users may need to configure fewer nodes than shown given the node limits enforced. See full details on the Pricing page.
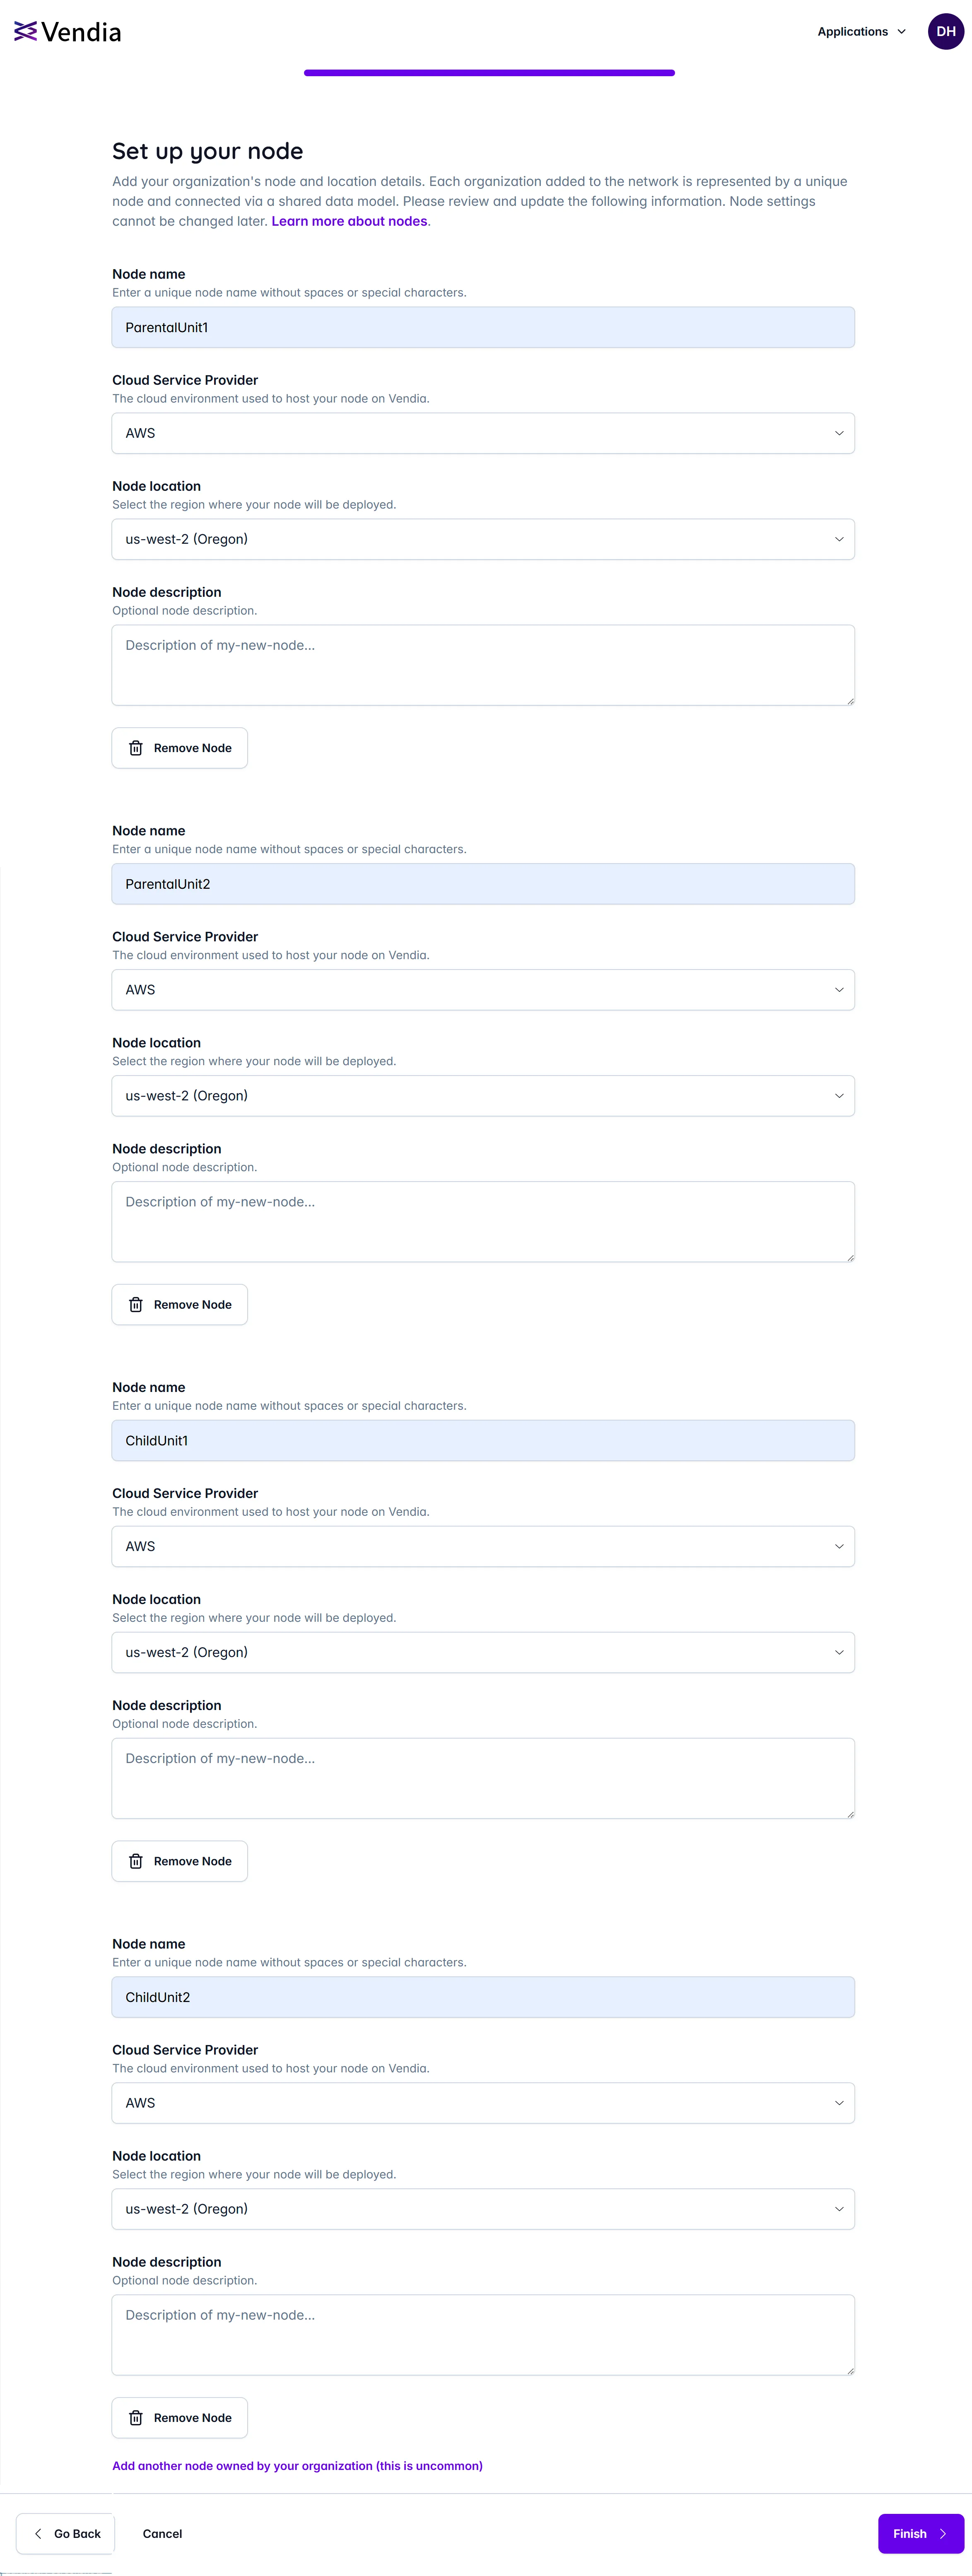
Once we’ve configured our node settings, click ‘Finish’ to proceed.
Deploy Workspaces
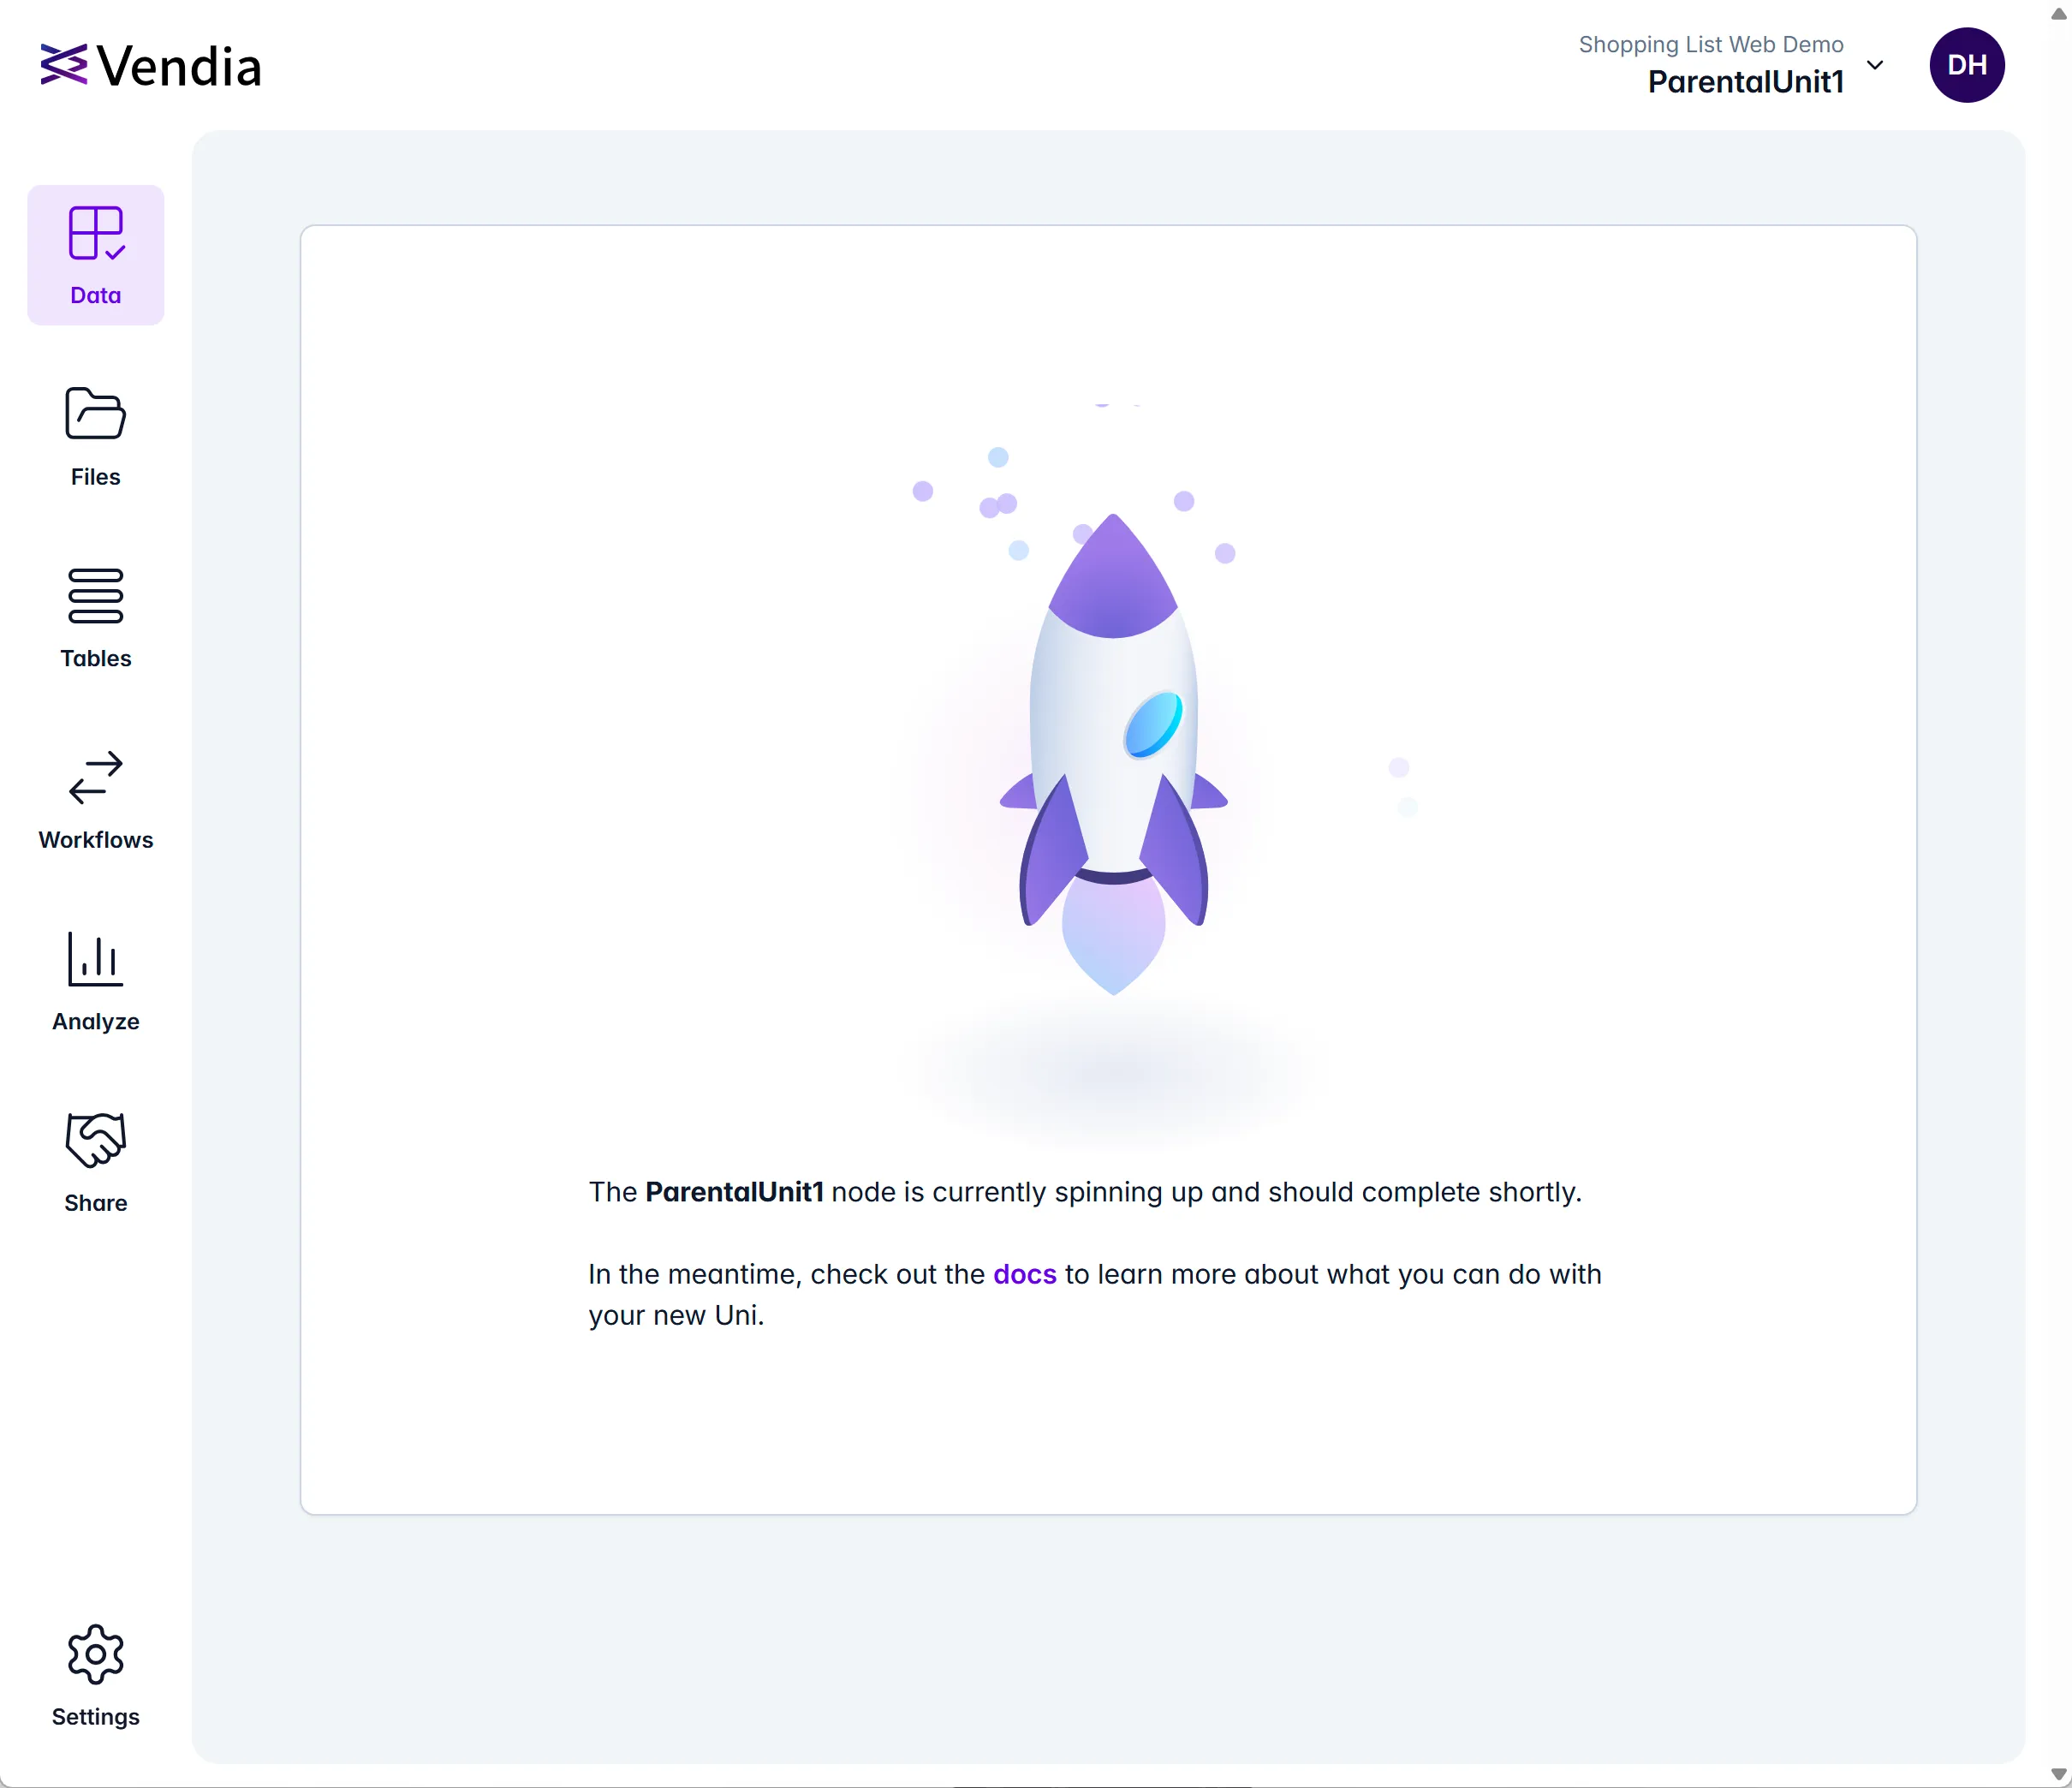
At this point, you will see the workspaces in your project begin to deploy. You may need to refresh the page to determine when your project is running.
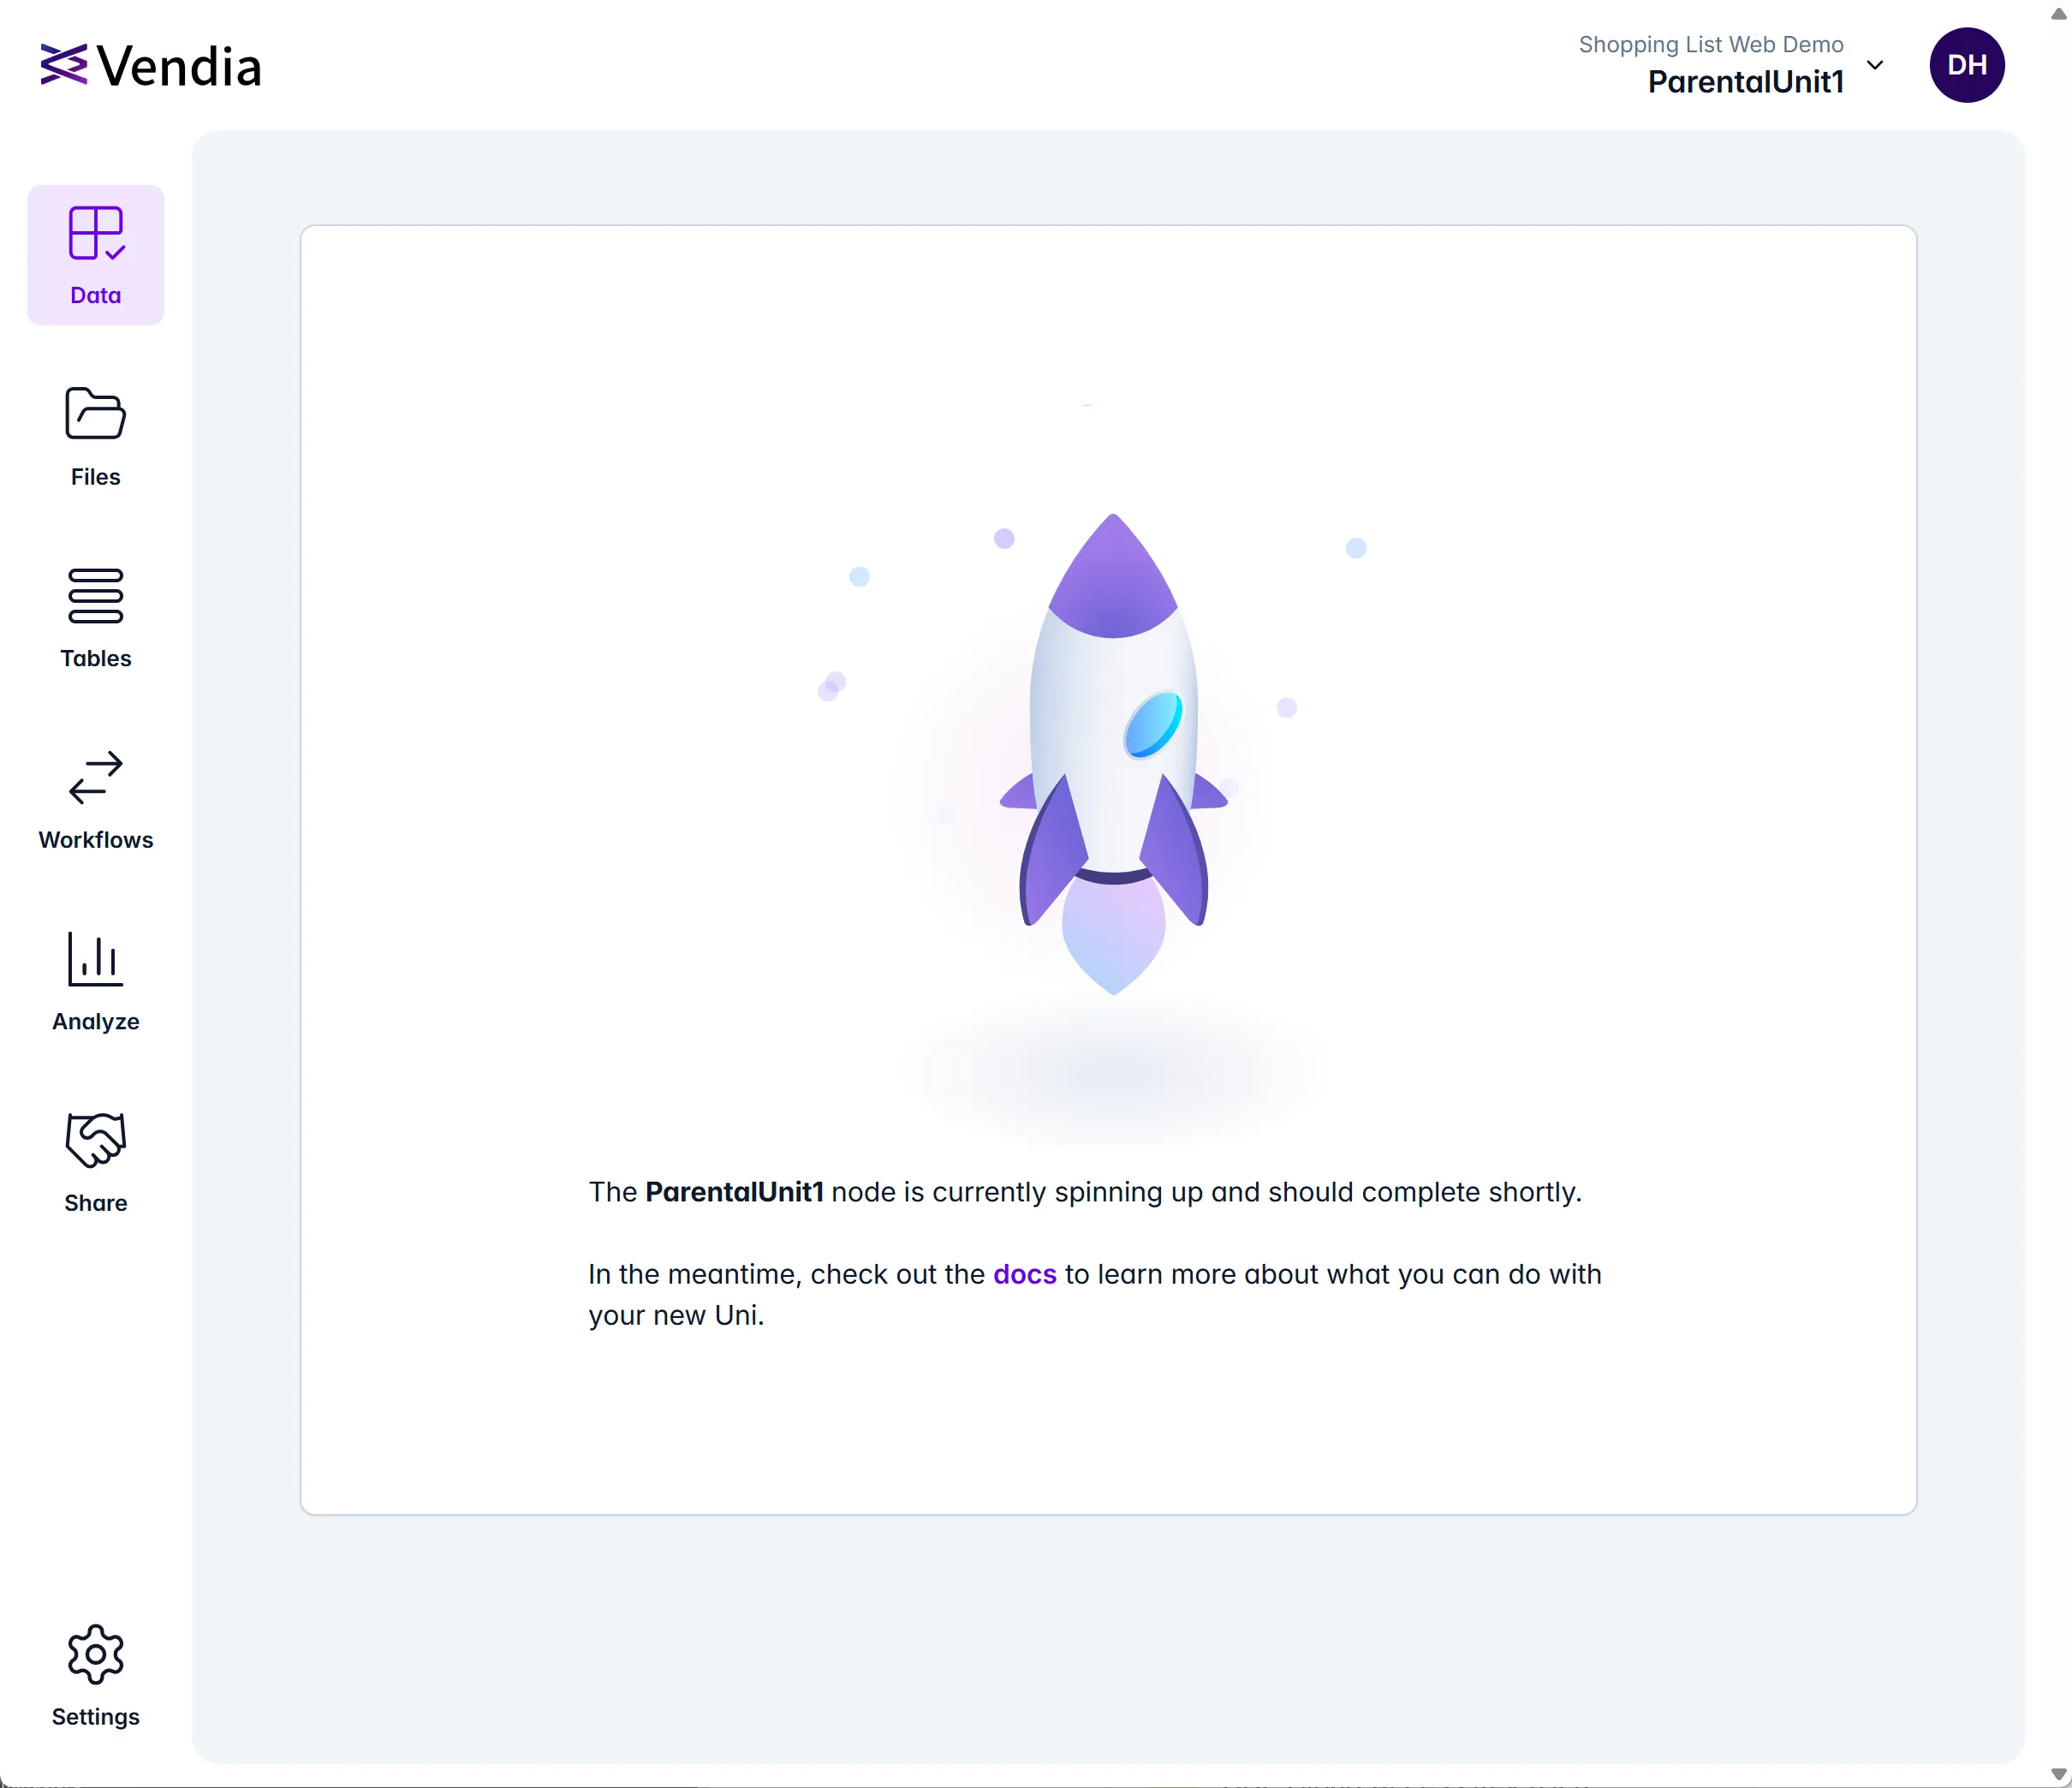
After deployment is complete, you will see the following page:
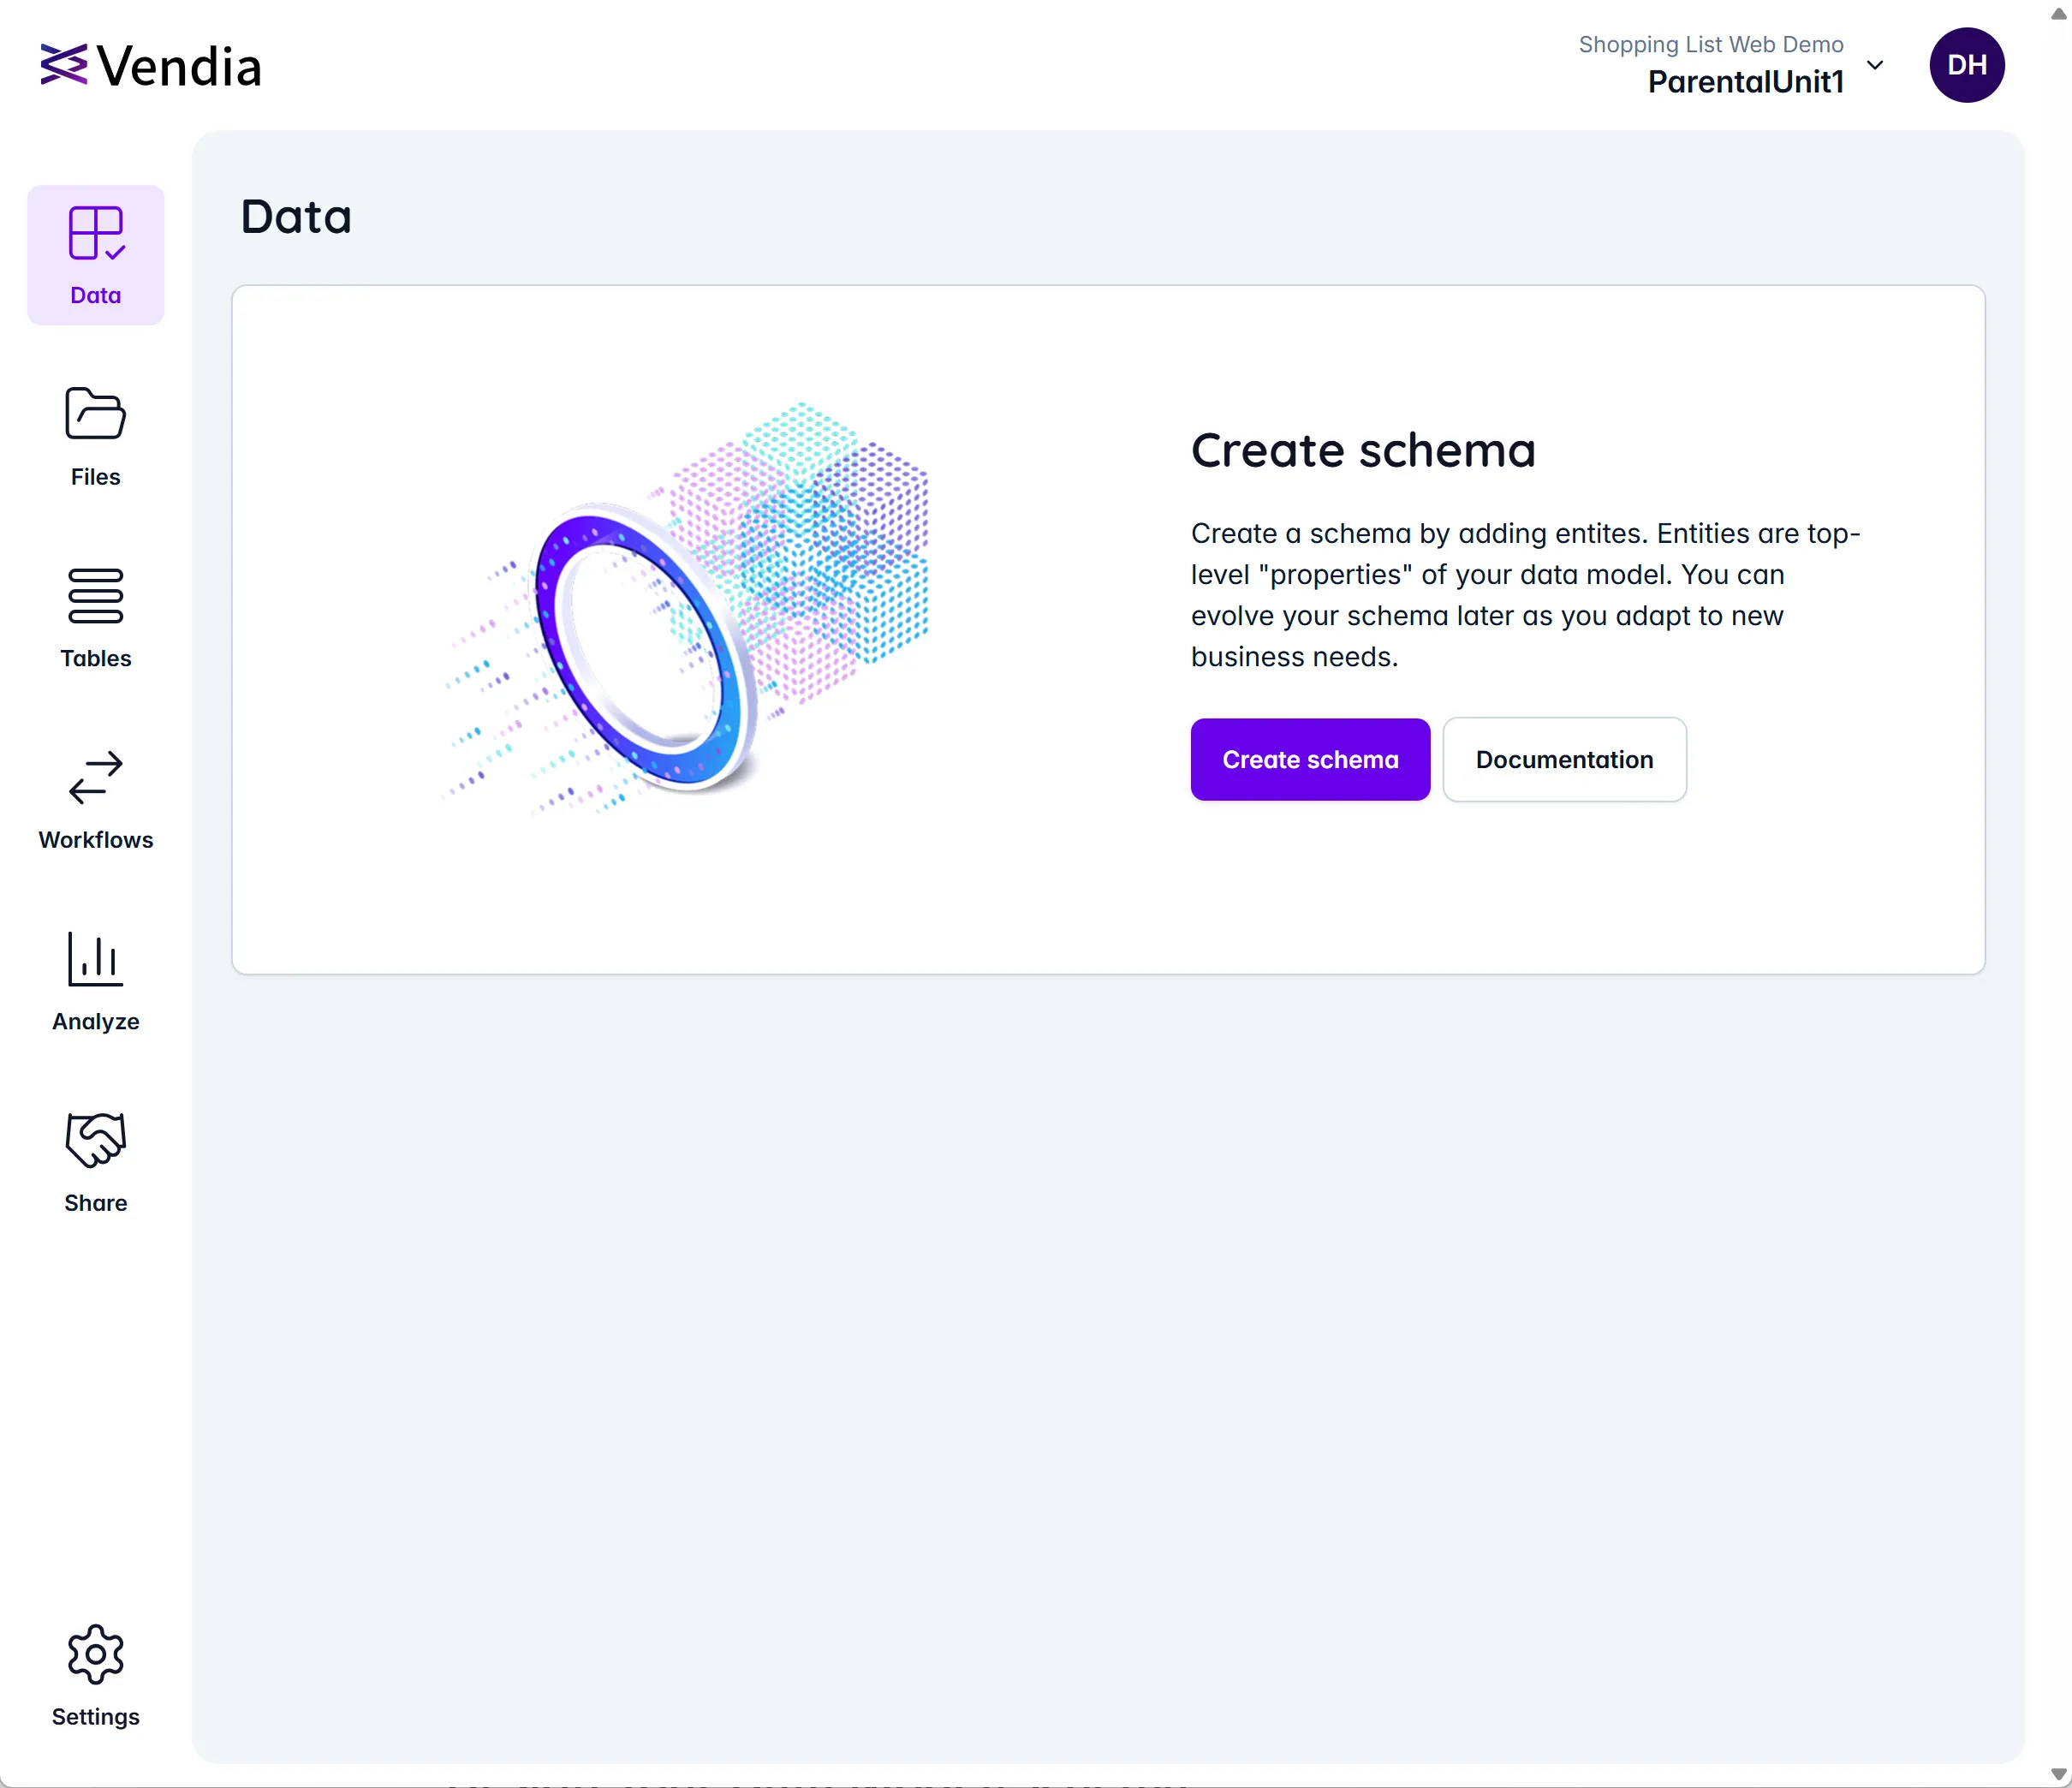
Click the ‘Create schema’ button to proceed.
Design Your Data Model/Schema
On a newly deployed project, we have the option to start with pre-defined schemas or use our own. For this Quick Start, we will use the JSON Editor and provide the same JSON schema used in the CLI version of the current Quick Start.
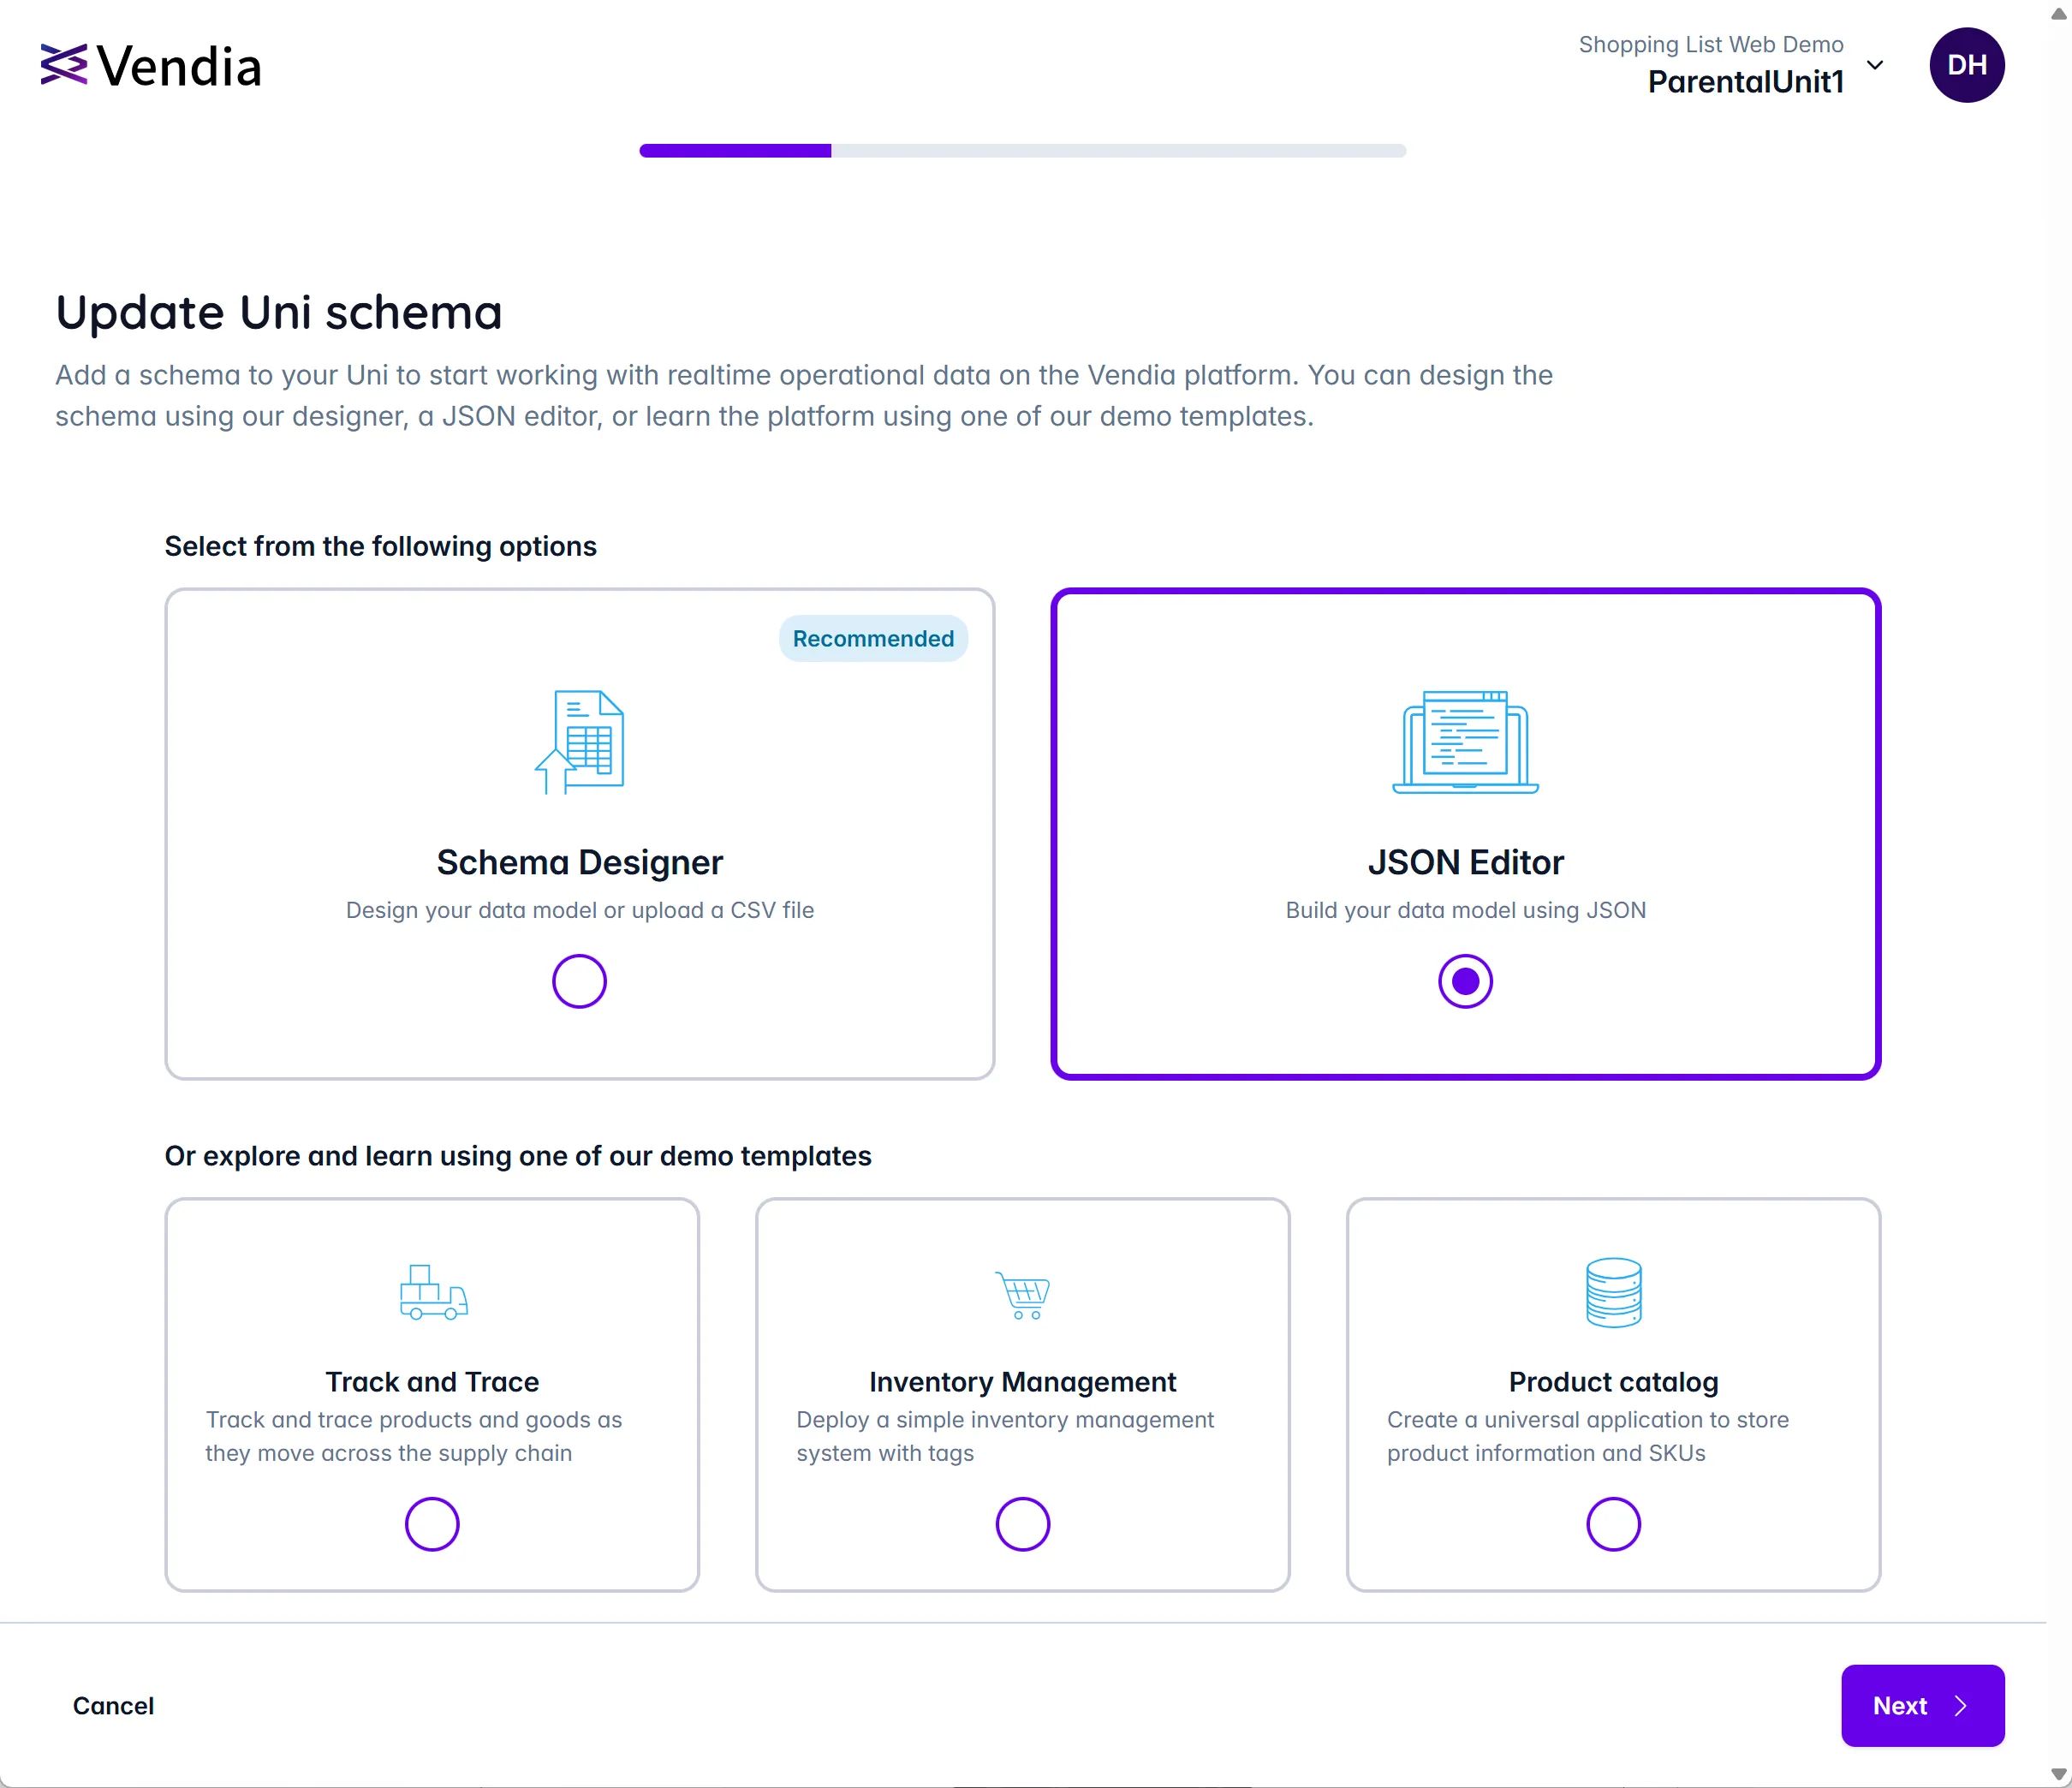
Click ‘Next’ to proceed.
Provide JSON for Schema
You will see the following view after completing the previous step:
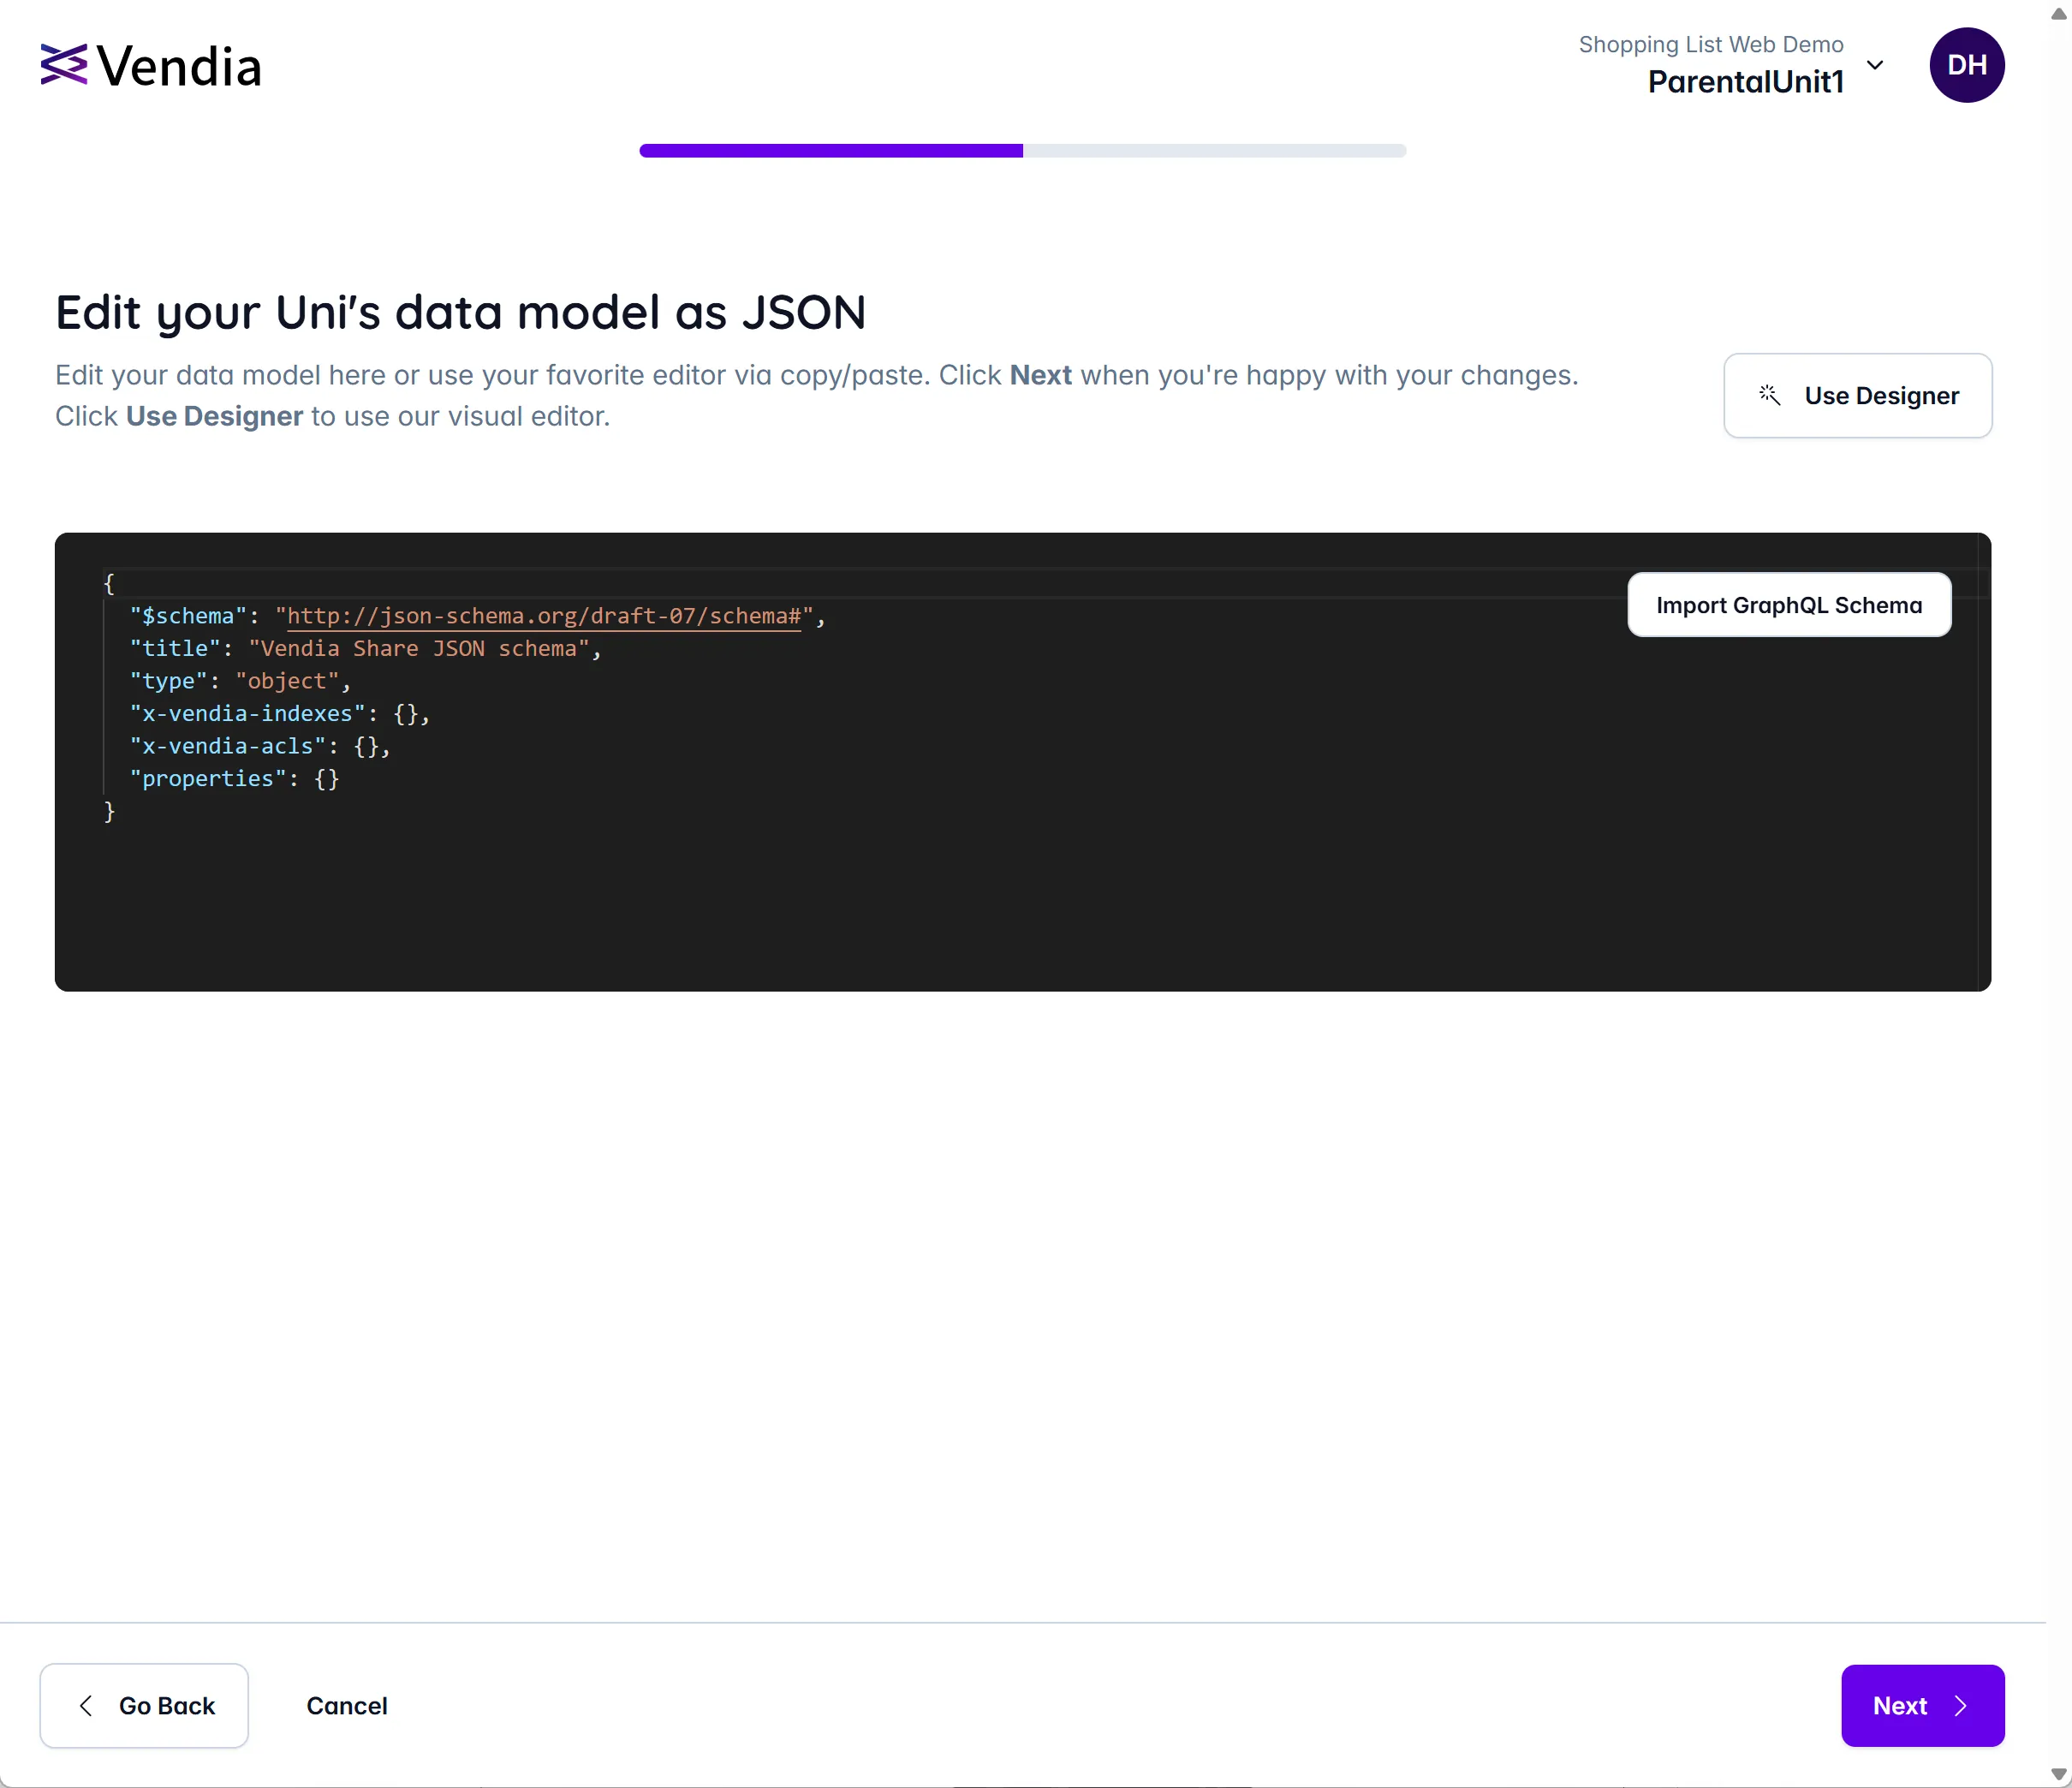
Enter the following JSON schema in the JSON editor and click ‘Next’.
Note: Make sure to overwrite the existing contents in the JSON editor with the following JSON schema
Expand This Section for the Schema JSON to Use in This Step
{ "$schema": "http://json-schema.org/draft-07/schema#", "$id": "http://vendia.com/schemas/demos/shopping-list.json", "title": "Shopping List", "description": "Store shopping list data", "x-vendia-acls": { "ShoppingListAcl": { "type": "ShoppingList" } }, "type": "object", "properties": { "ShoppingList": { "description": "Items on the shopping list", "type": "array", "items": { "type": "object", "properties": { "item": { "description": "What to buy", "type": "string" }, "quantity": { "description": "How much to buy", "type": "string" }, "recommendedLocation": { "description": "Where I should buy", "type": "string" }, "bought": { "description": "Whether it has been bought", "type": "boolean" }, "timestampAdded": { "description": "When the item was added", "type": "string", "format": "date-time" }, "timestampPurchased": { "description": "When the item was purchased", "type": "string", "format": "date-time" } }, "required": ["item"] } } }}After providing the JSON schema, you will see the following view:
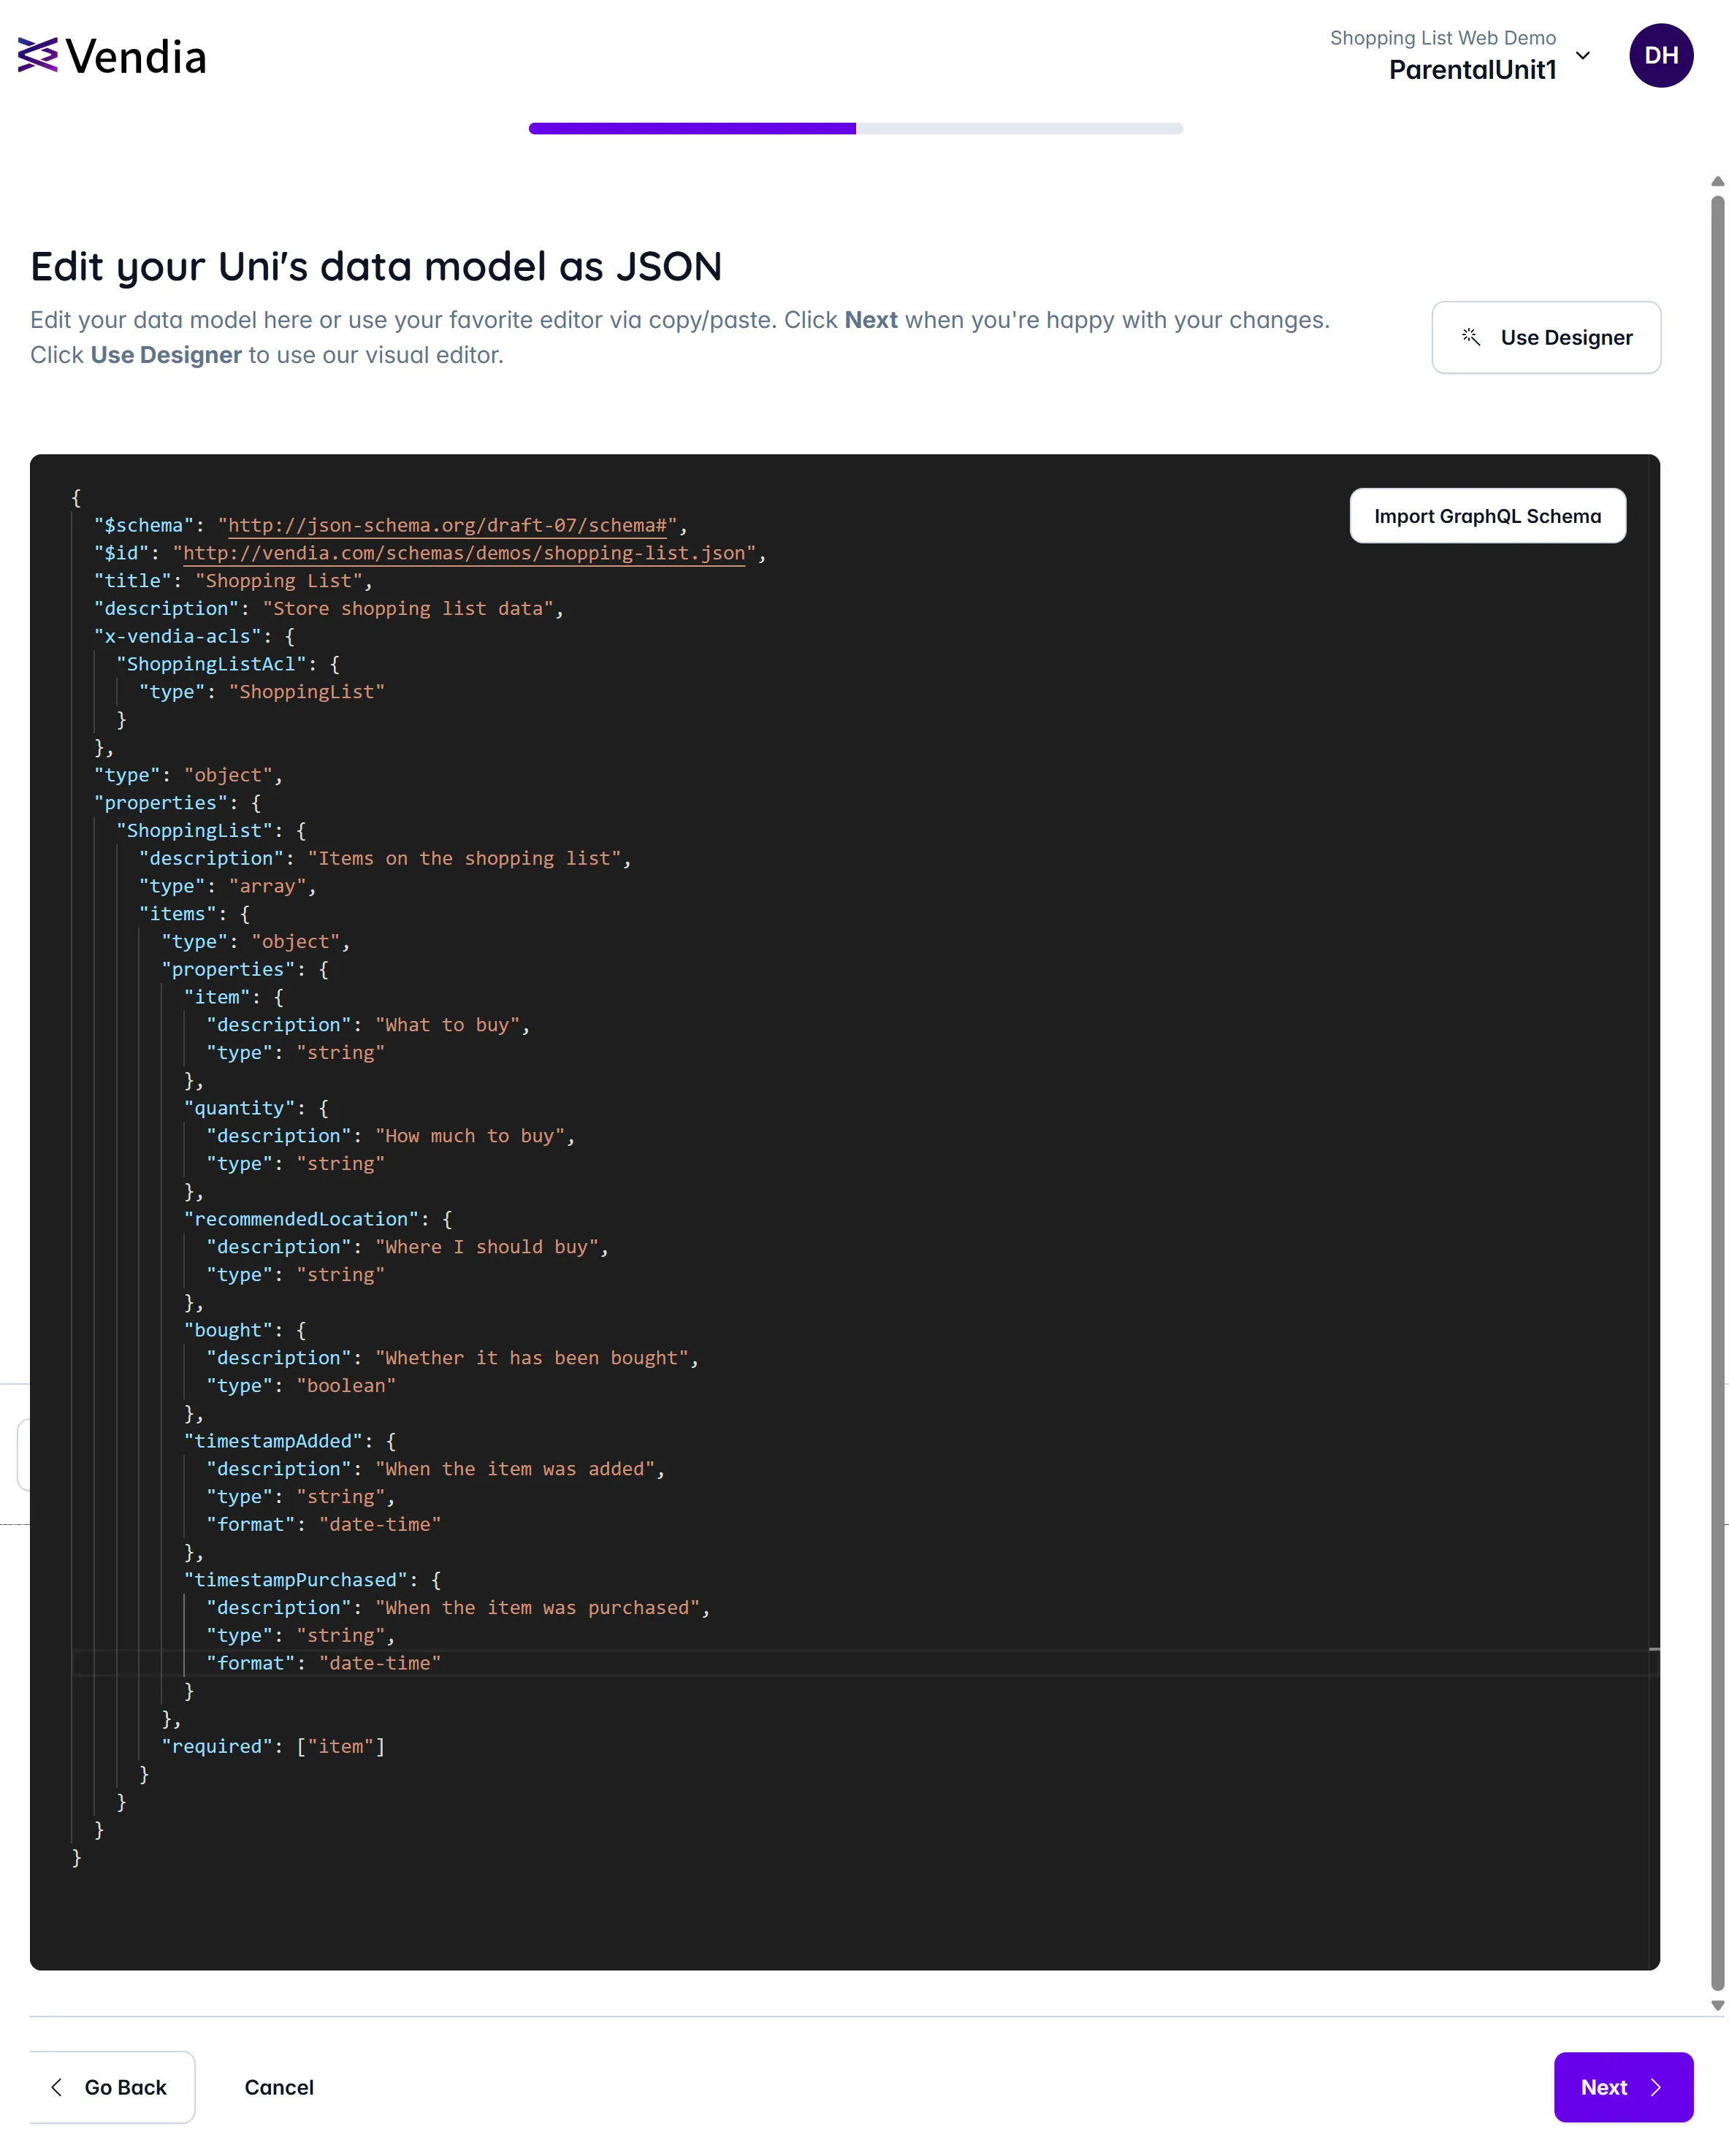
Click ‘Next’ to proceed.
Review Changes to JSON Schema
You will see the following view after completing the previous step:
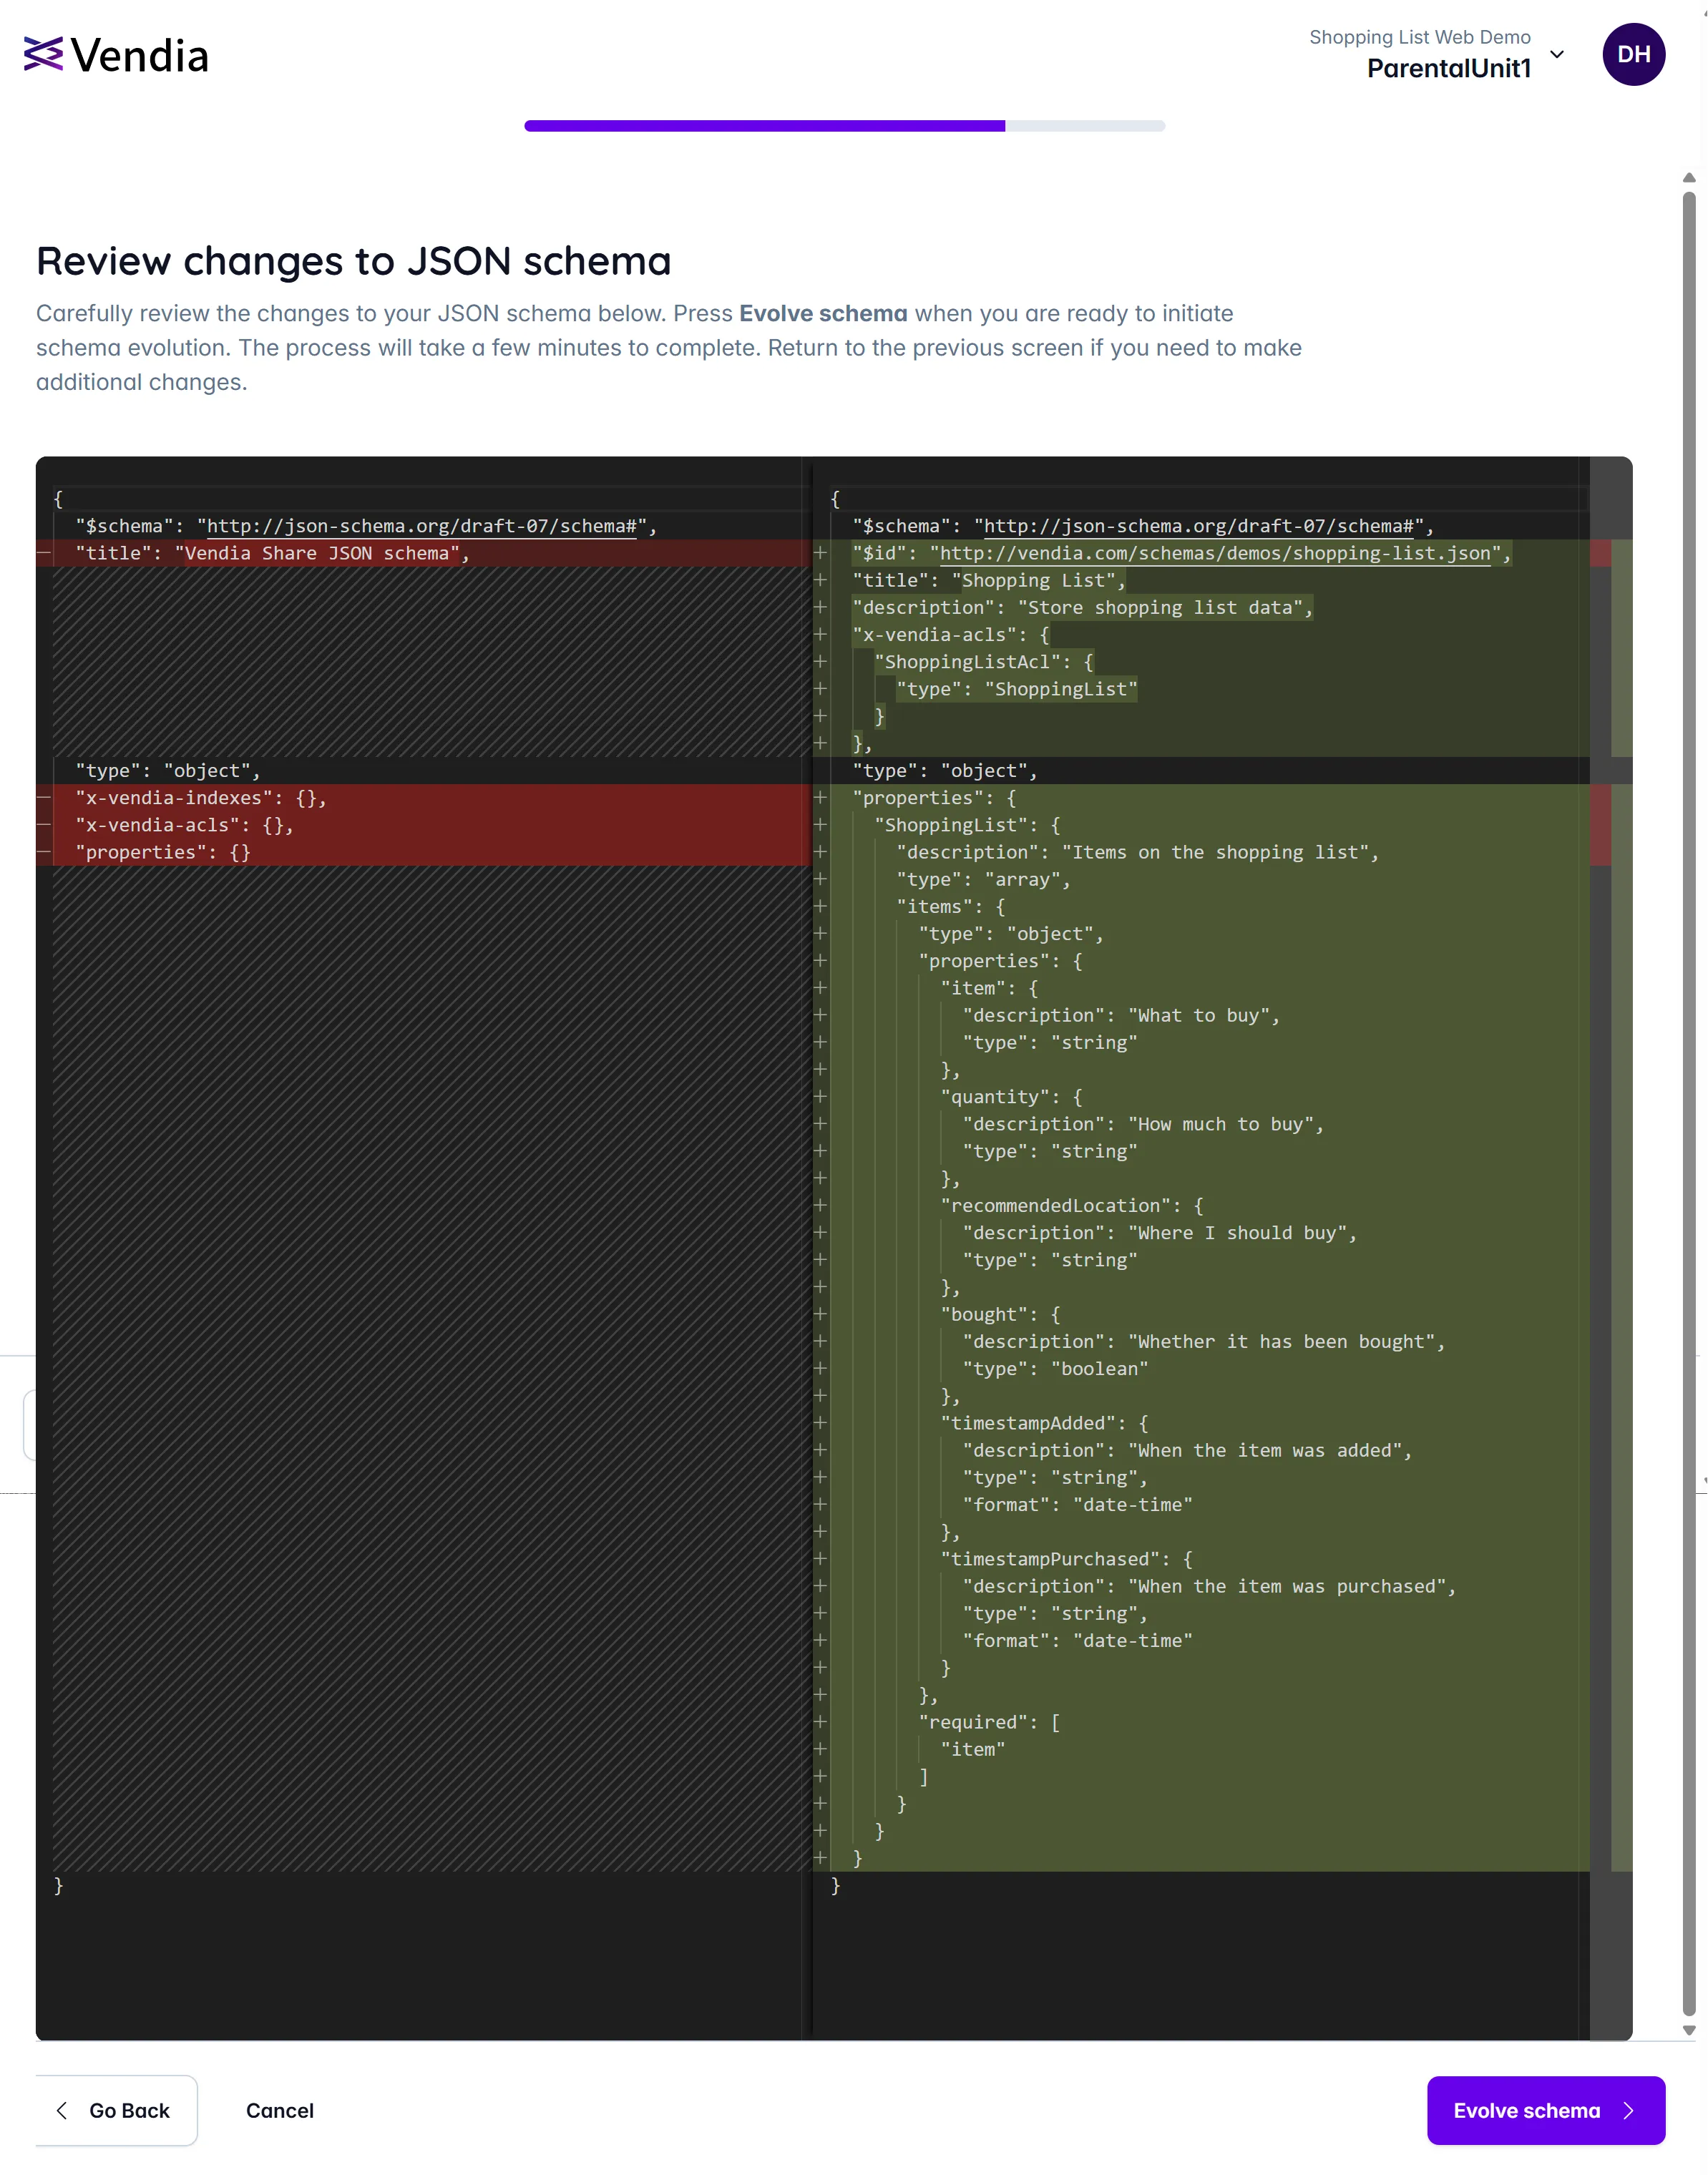
- Note that:
- Additions to the JSON schema are highlighted in green
- Deletions in the JSON schema are highlighted in red
Click ‘Evolve schema’ to complete the data model/schema design.
The schema evolution process will begin and you will see the following until the process is complete:
Add Data to Project
After the schema evolution process is complete, you will see the following view indicating that your project currently does not have any data:
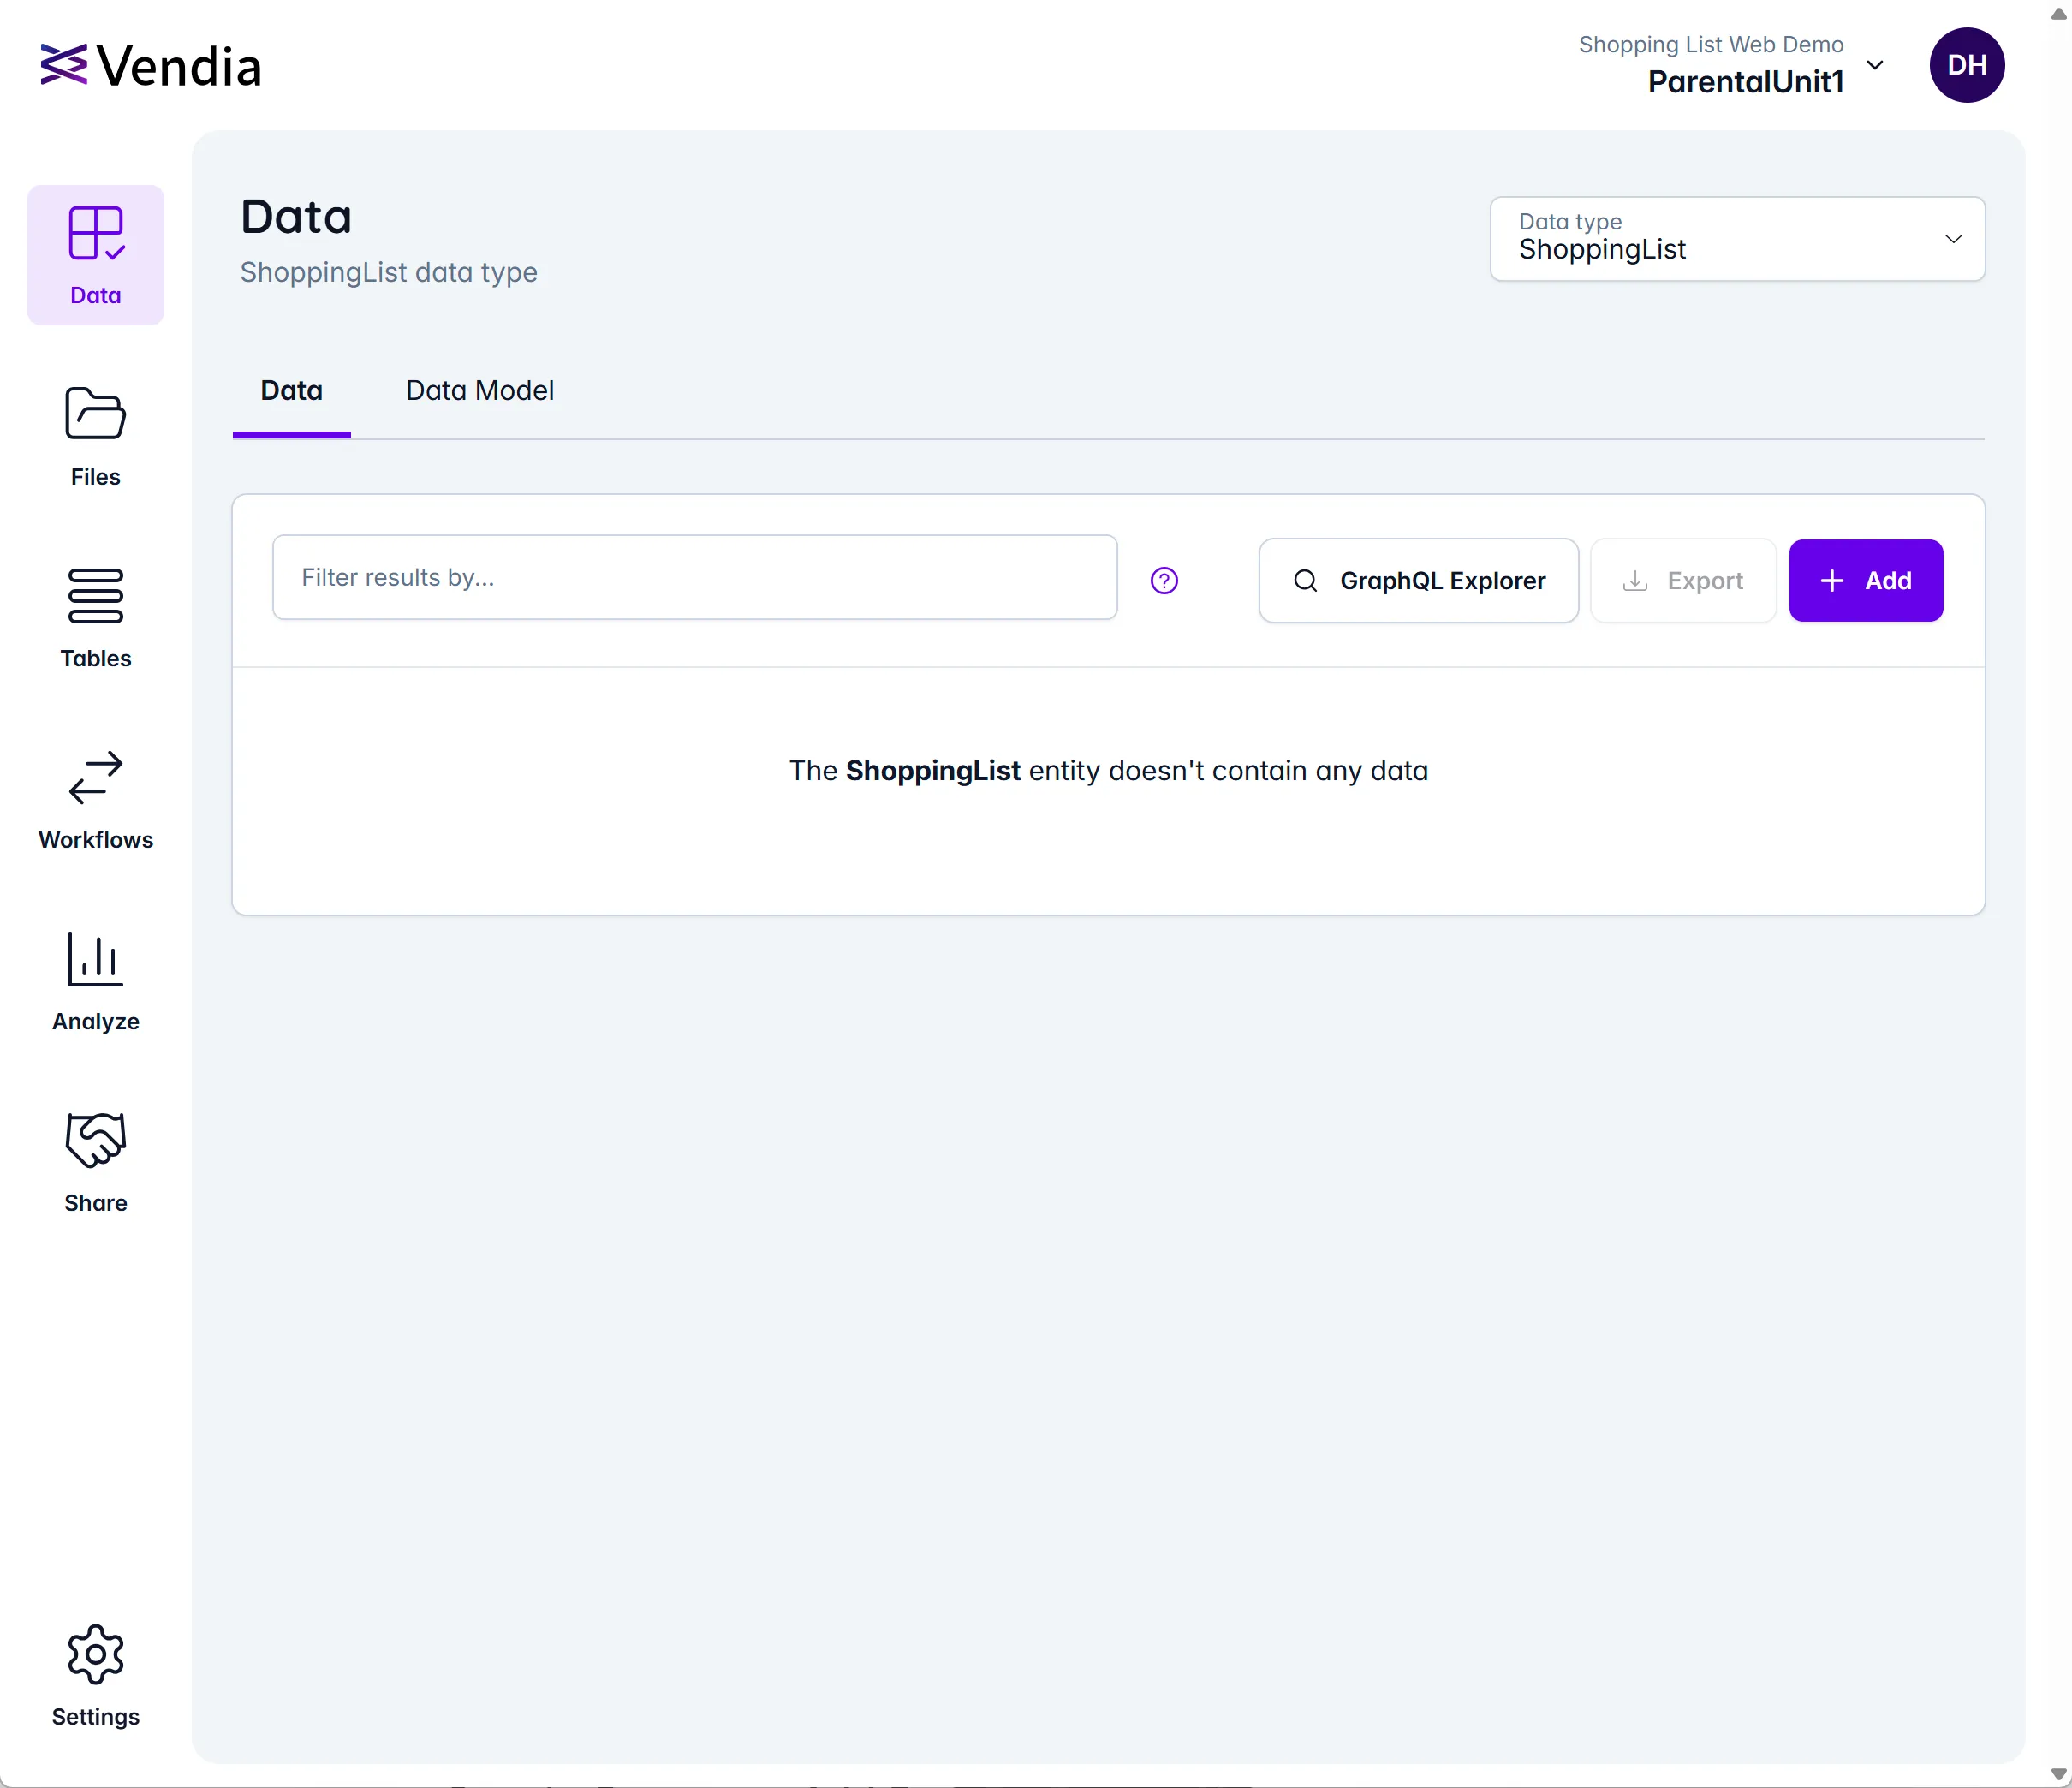
You can add data to your project by using the following sample data.
Click to View Shopping List Initial Data
Use the following initial state data for our project.
CSV: Save the following data to a CSV file (e.g. shopping-list-initial-data.csv).
item,quantity,recommendedLocation,bought,timestampAddedBread,1 loaf,Best Bakery,false,2020-12-05T18:43:54ZCheese,2 lb,Cheesy Charlies,false,2020-12-05T14:23:32ZJSON:
{ "ShoppingList": [ { "item": "Bread", "quantity": "1 loaf", "recommendedLocation": "Best Bakery", "bought": false, "timestampAdded": "2020-12-05T18:43:54Z" }, { "item": "Cheese", "quantity": "2 lb", "recommendedLocation": "Cheesy Charlies", "bought": false, "timestampAdded": "2020-12-05T14:23:32Z" } ]}Step 1 - Prepare to Add Data from CSV
Click the ‘Add’ button in the previous view and select ‘Import Data from CSV’.
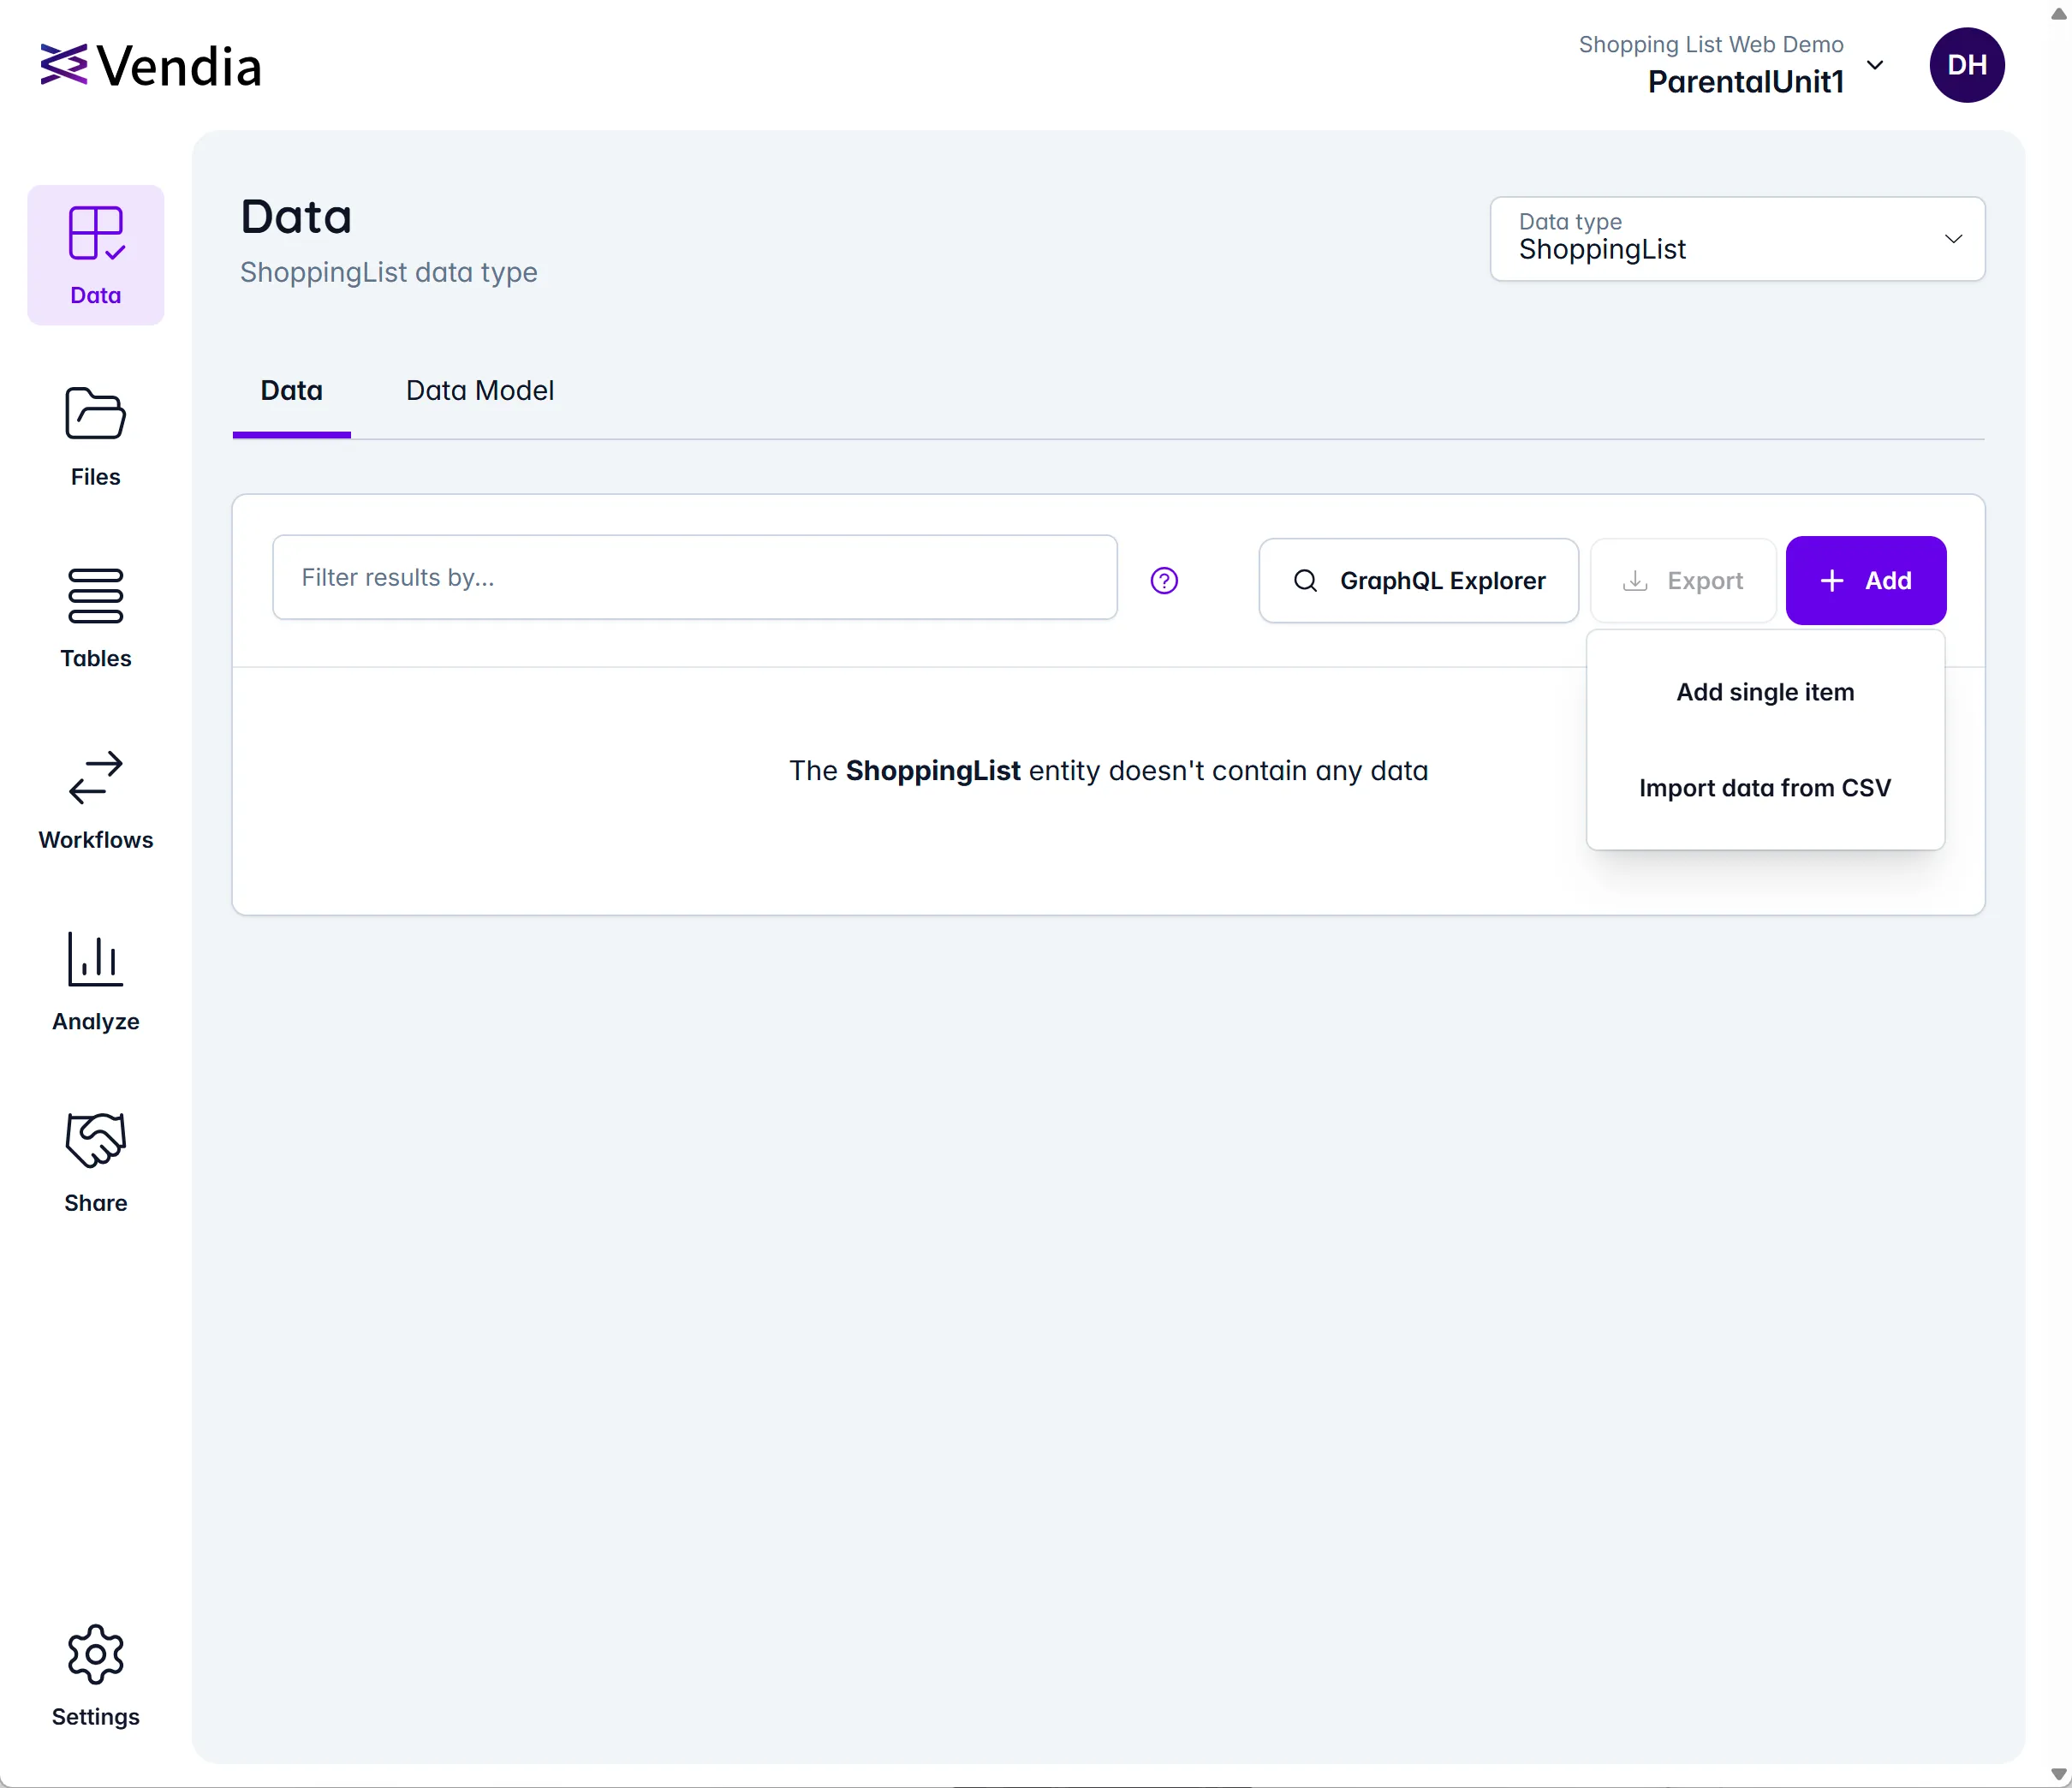
You will then see the following view:
Step 2 - Import the CSV Data
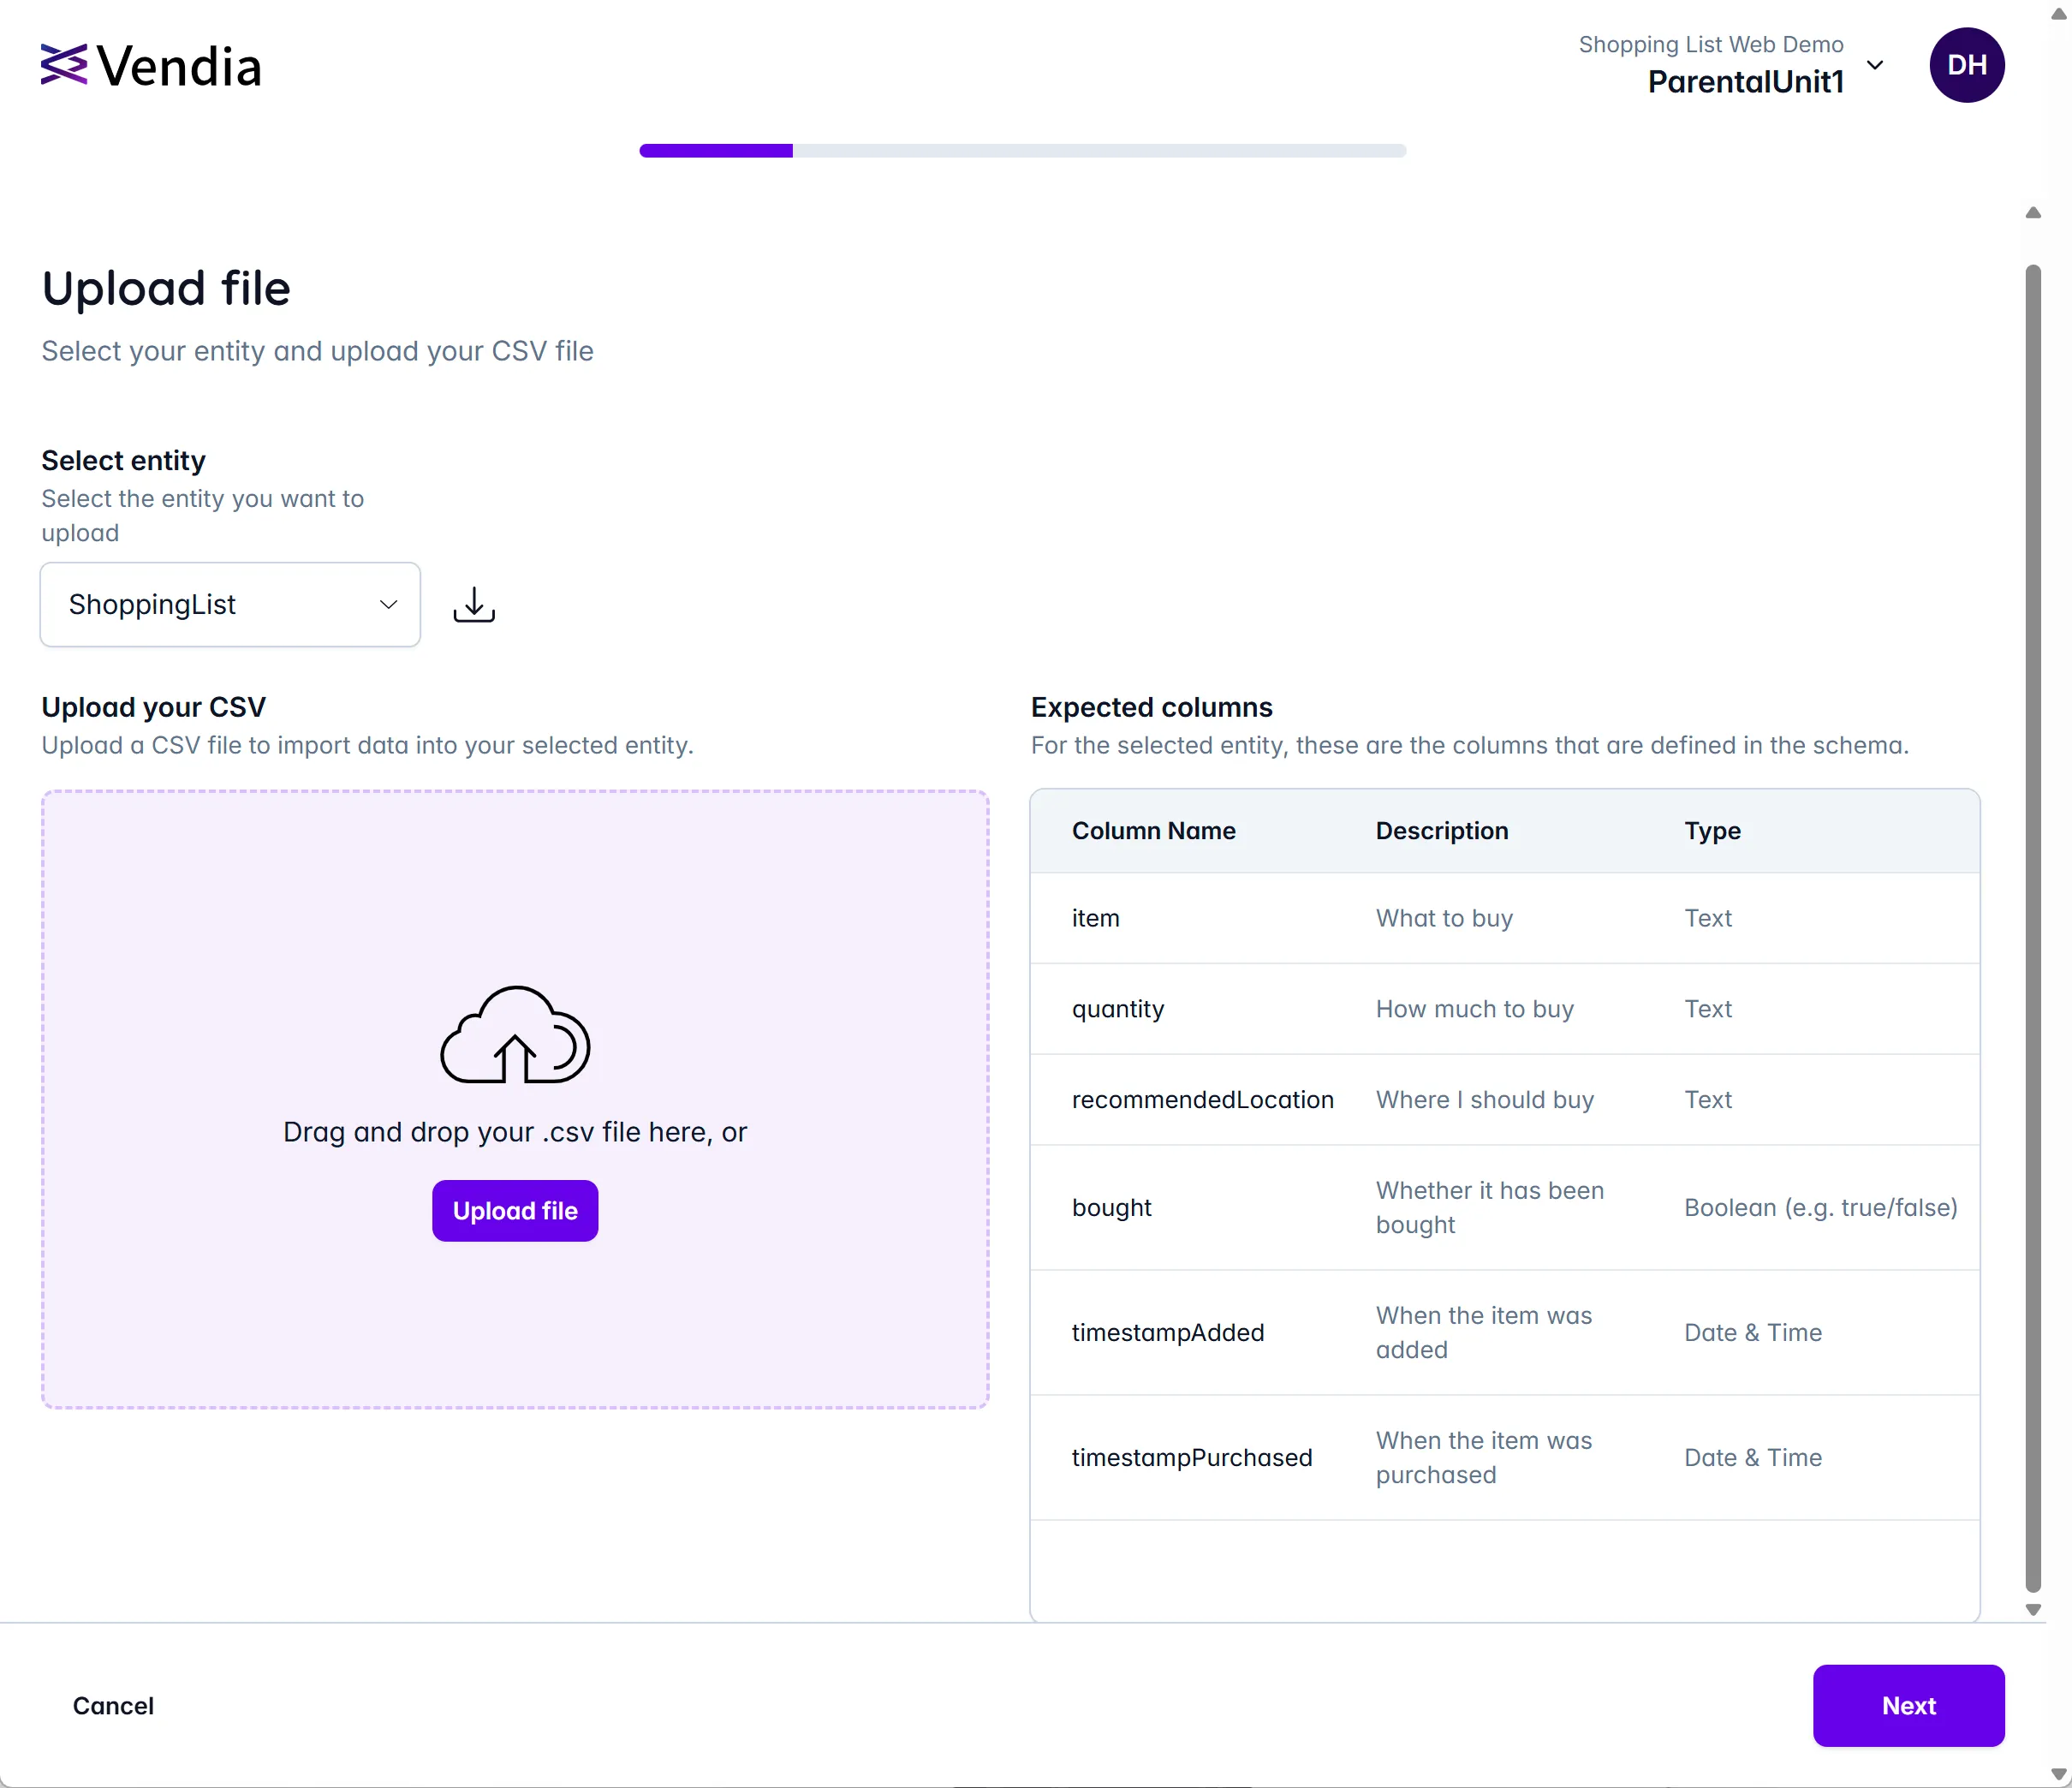
Upload the CSV file with the sample data that was provided in the shopping list initial data section.
You will then see the following view:
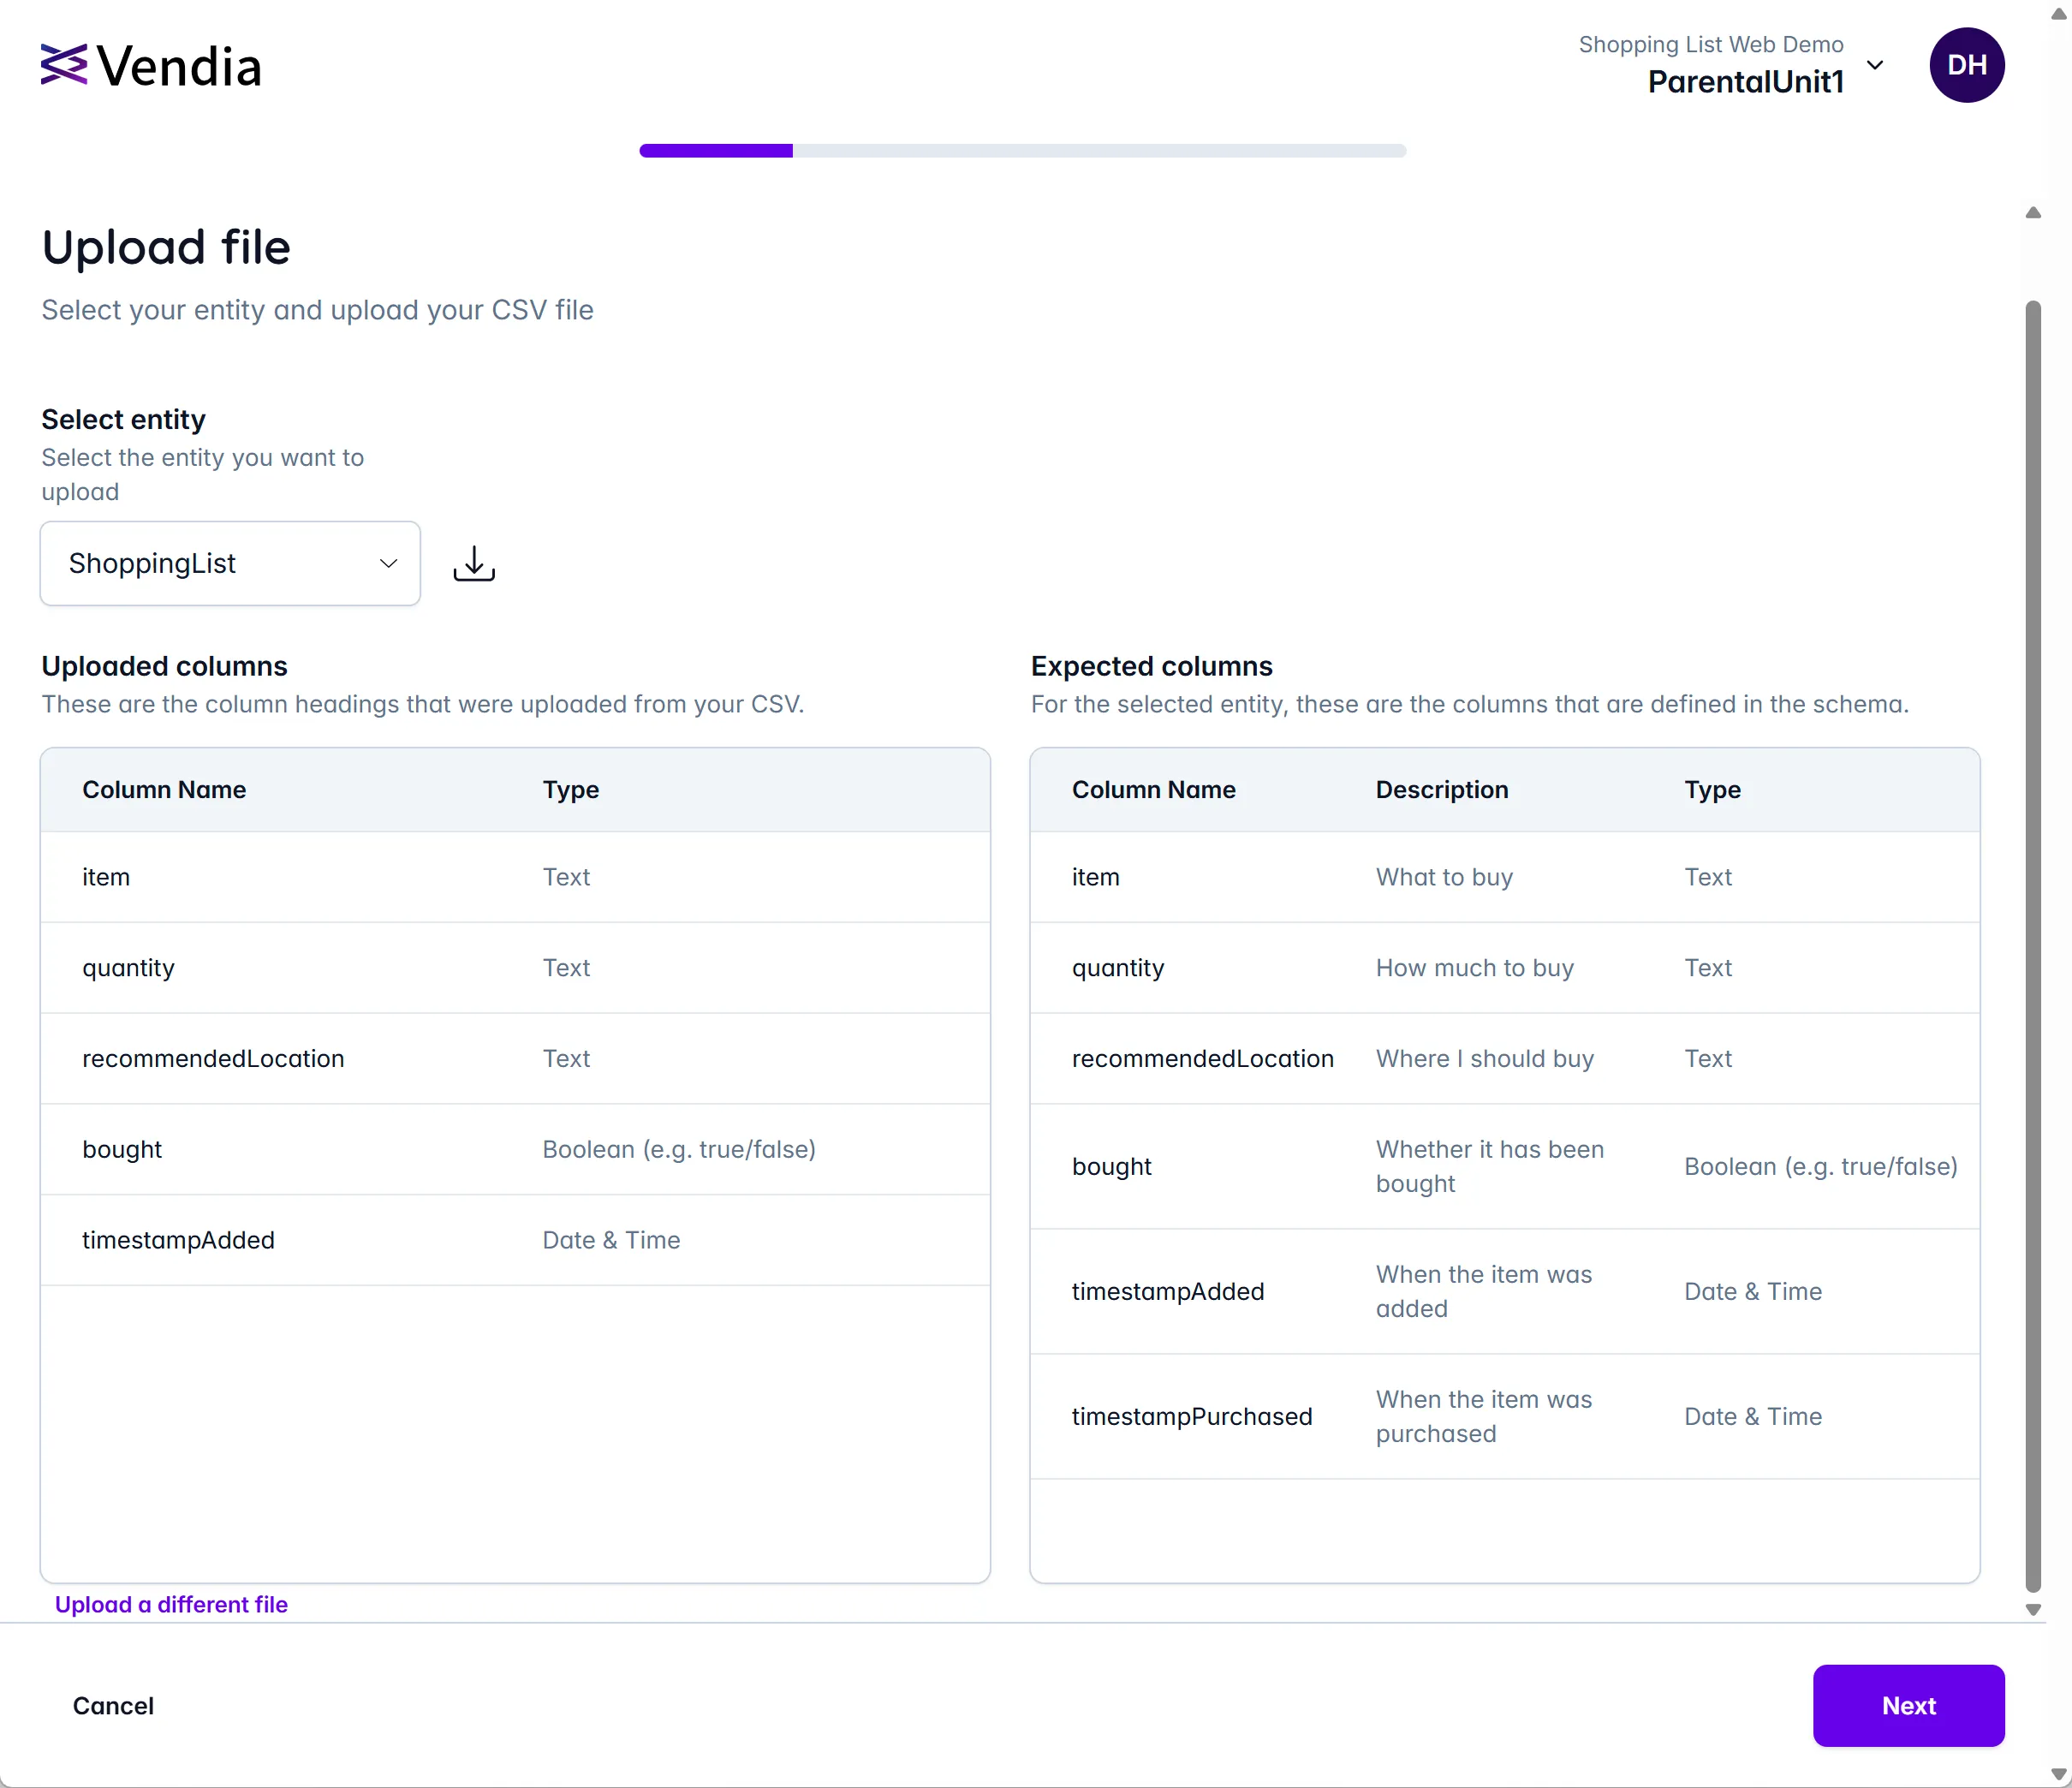
Click ‘Next’ to proceed.
Step 3 - Review Column Mappings
Confirm that the columns are mapped correctly.
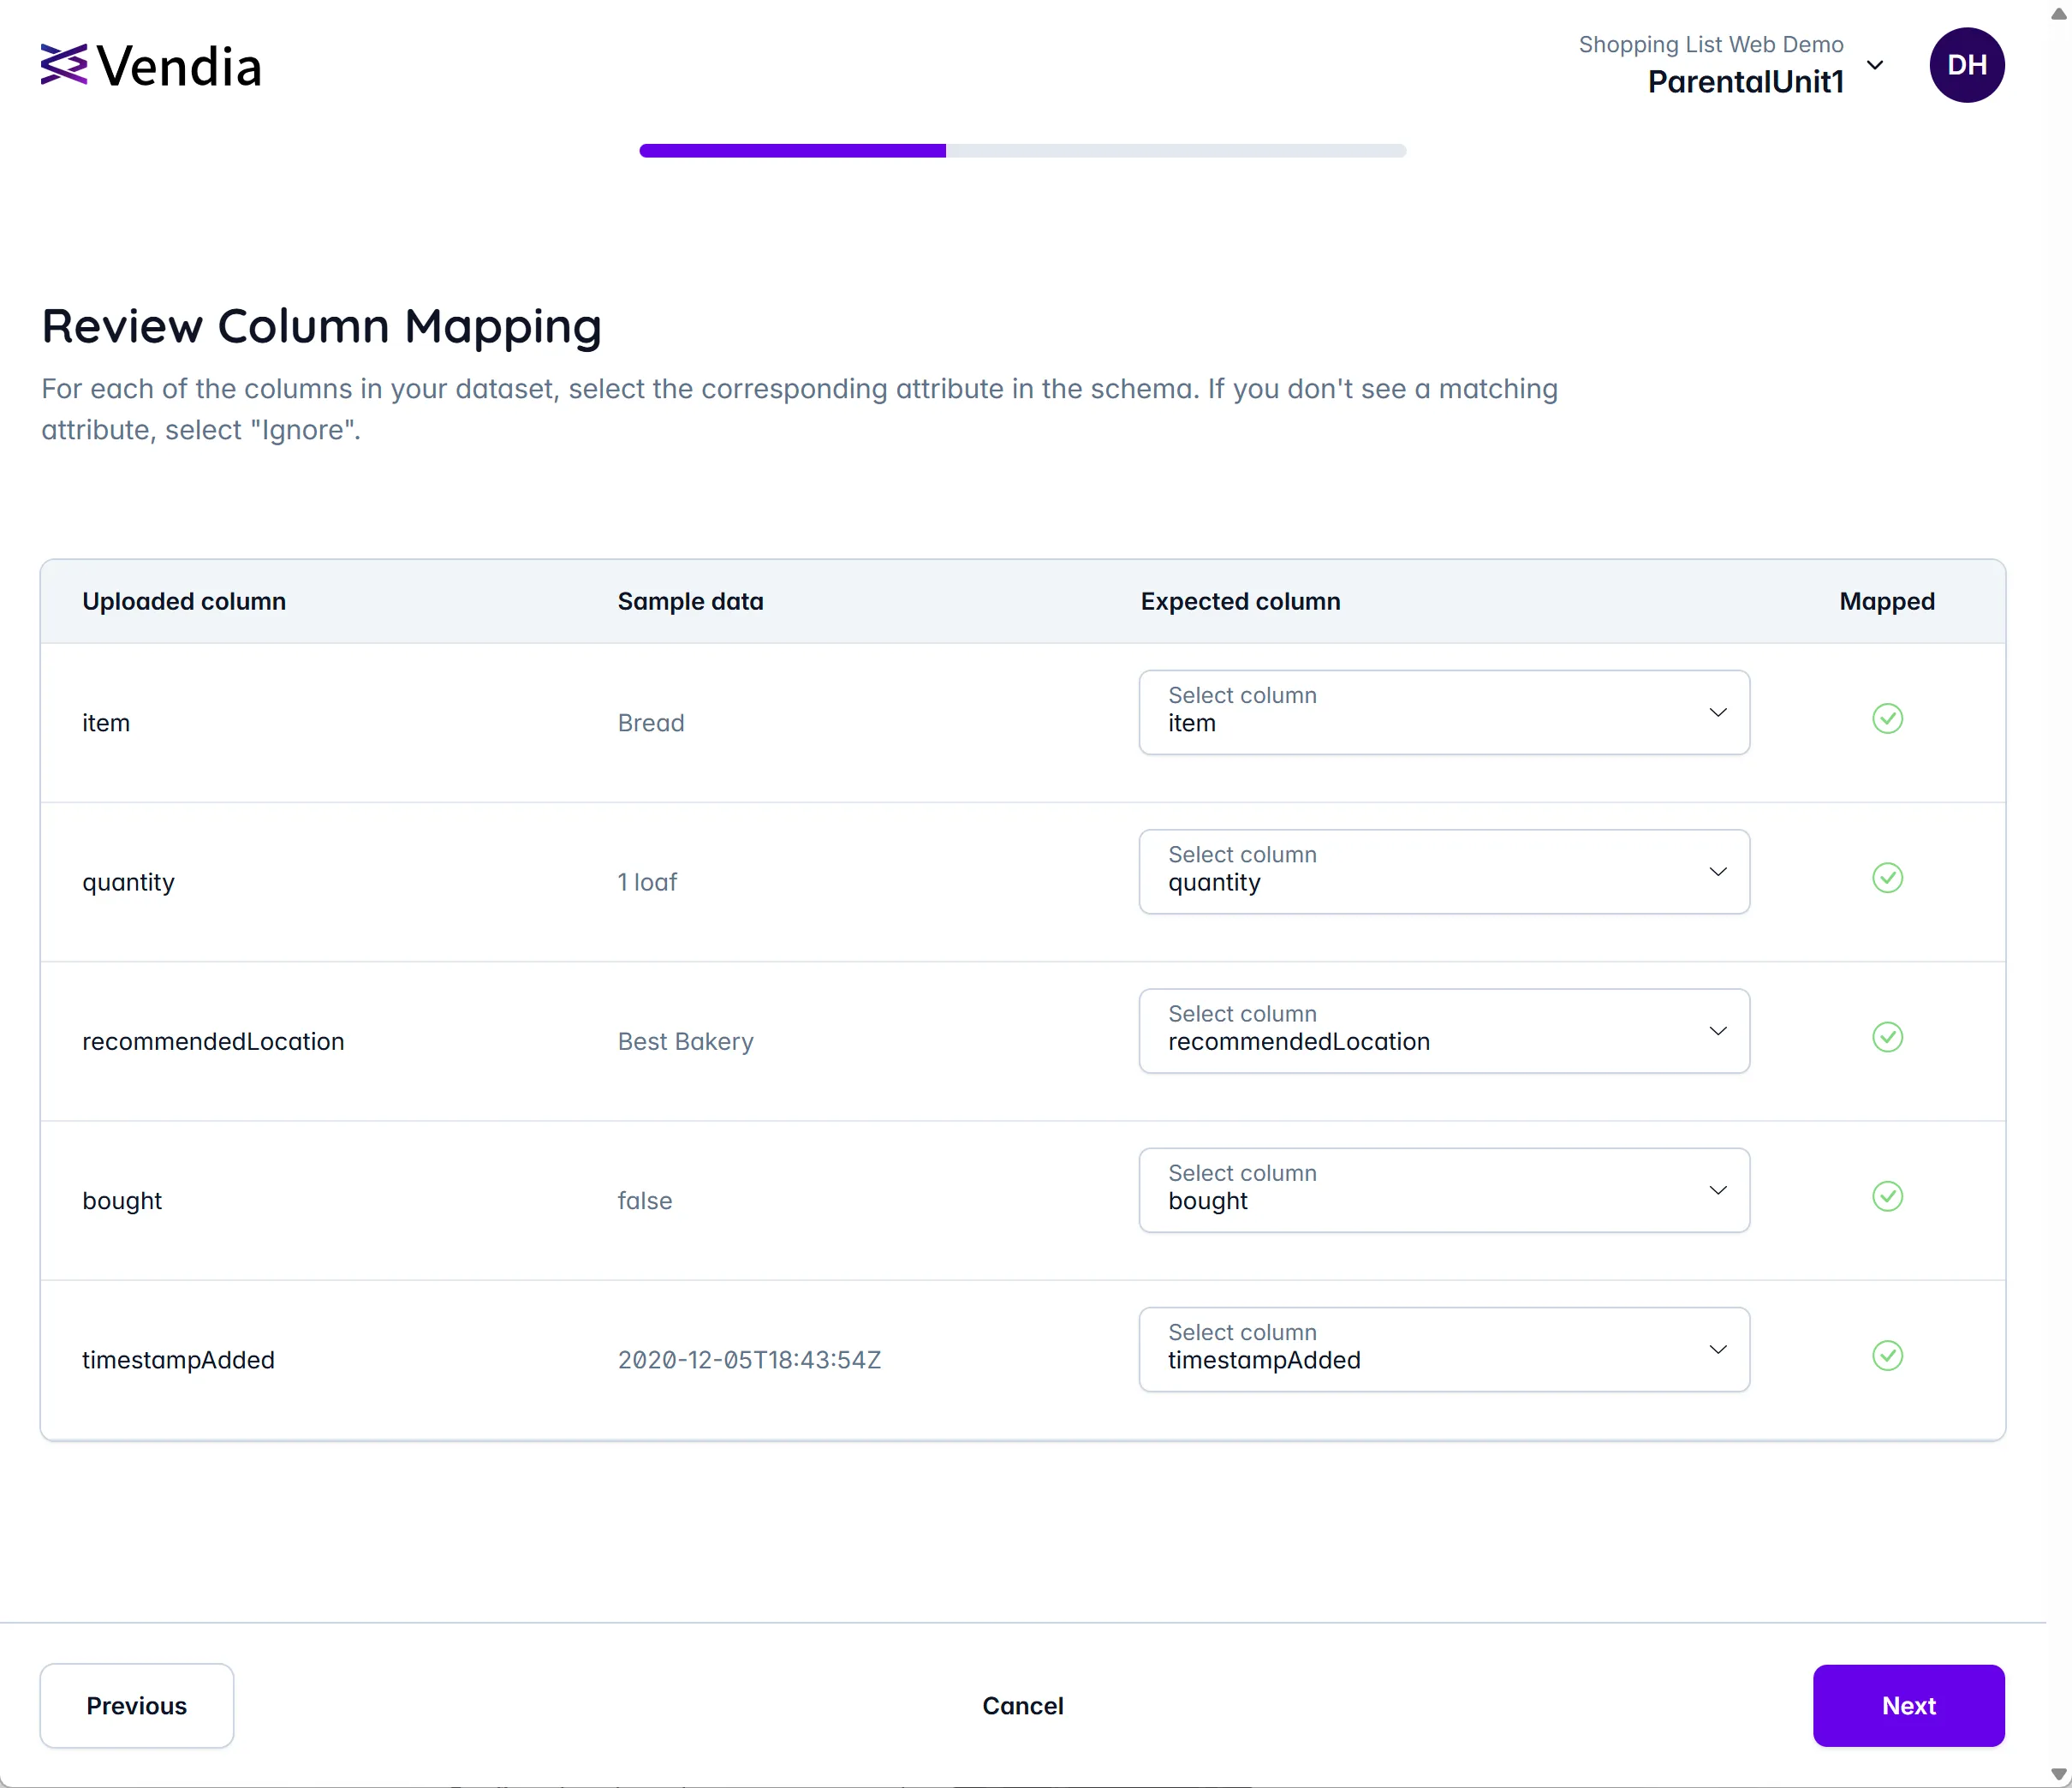
Click ‘Next’ to proceed.
Step 4 - Review Errors
Review any errors that may have occurred during the import process.
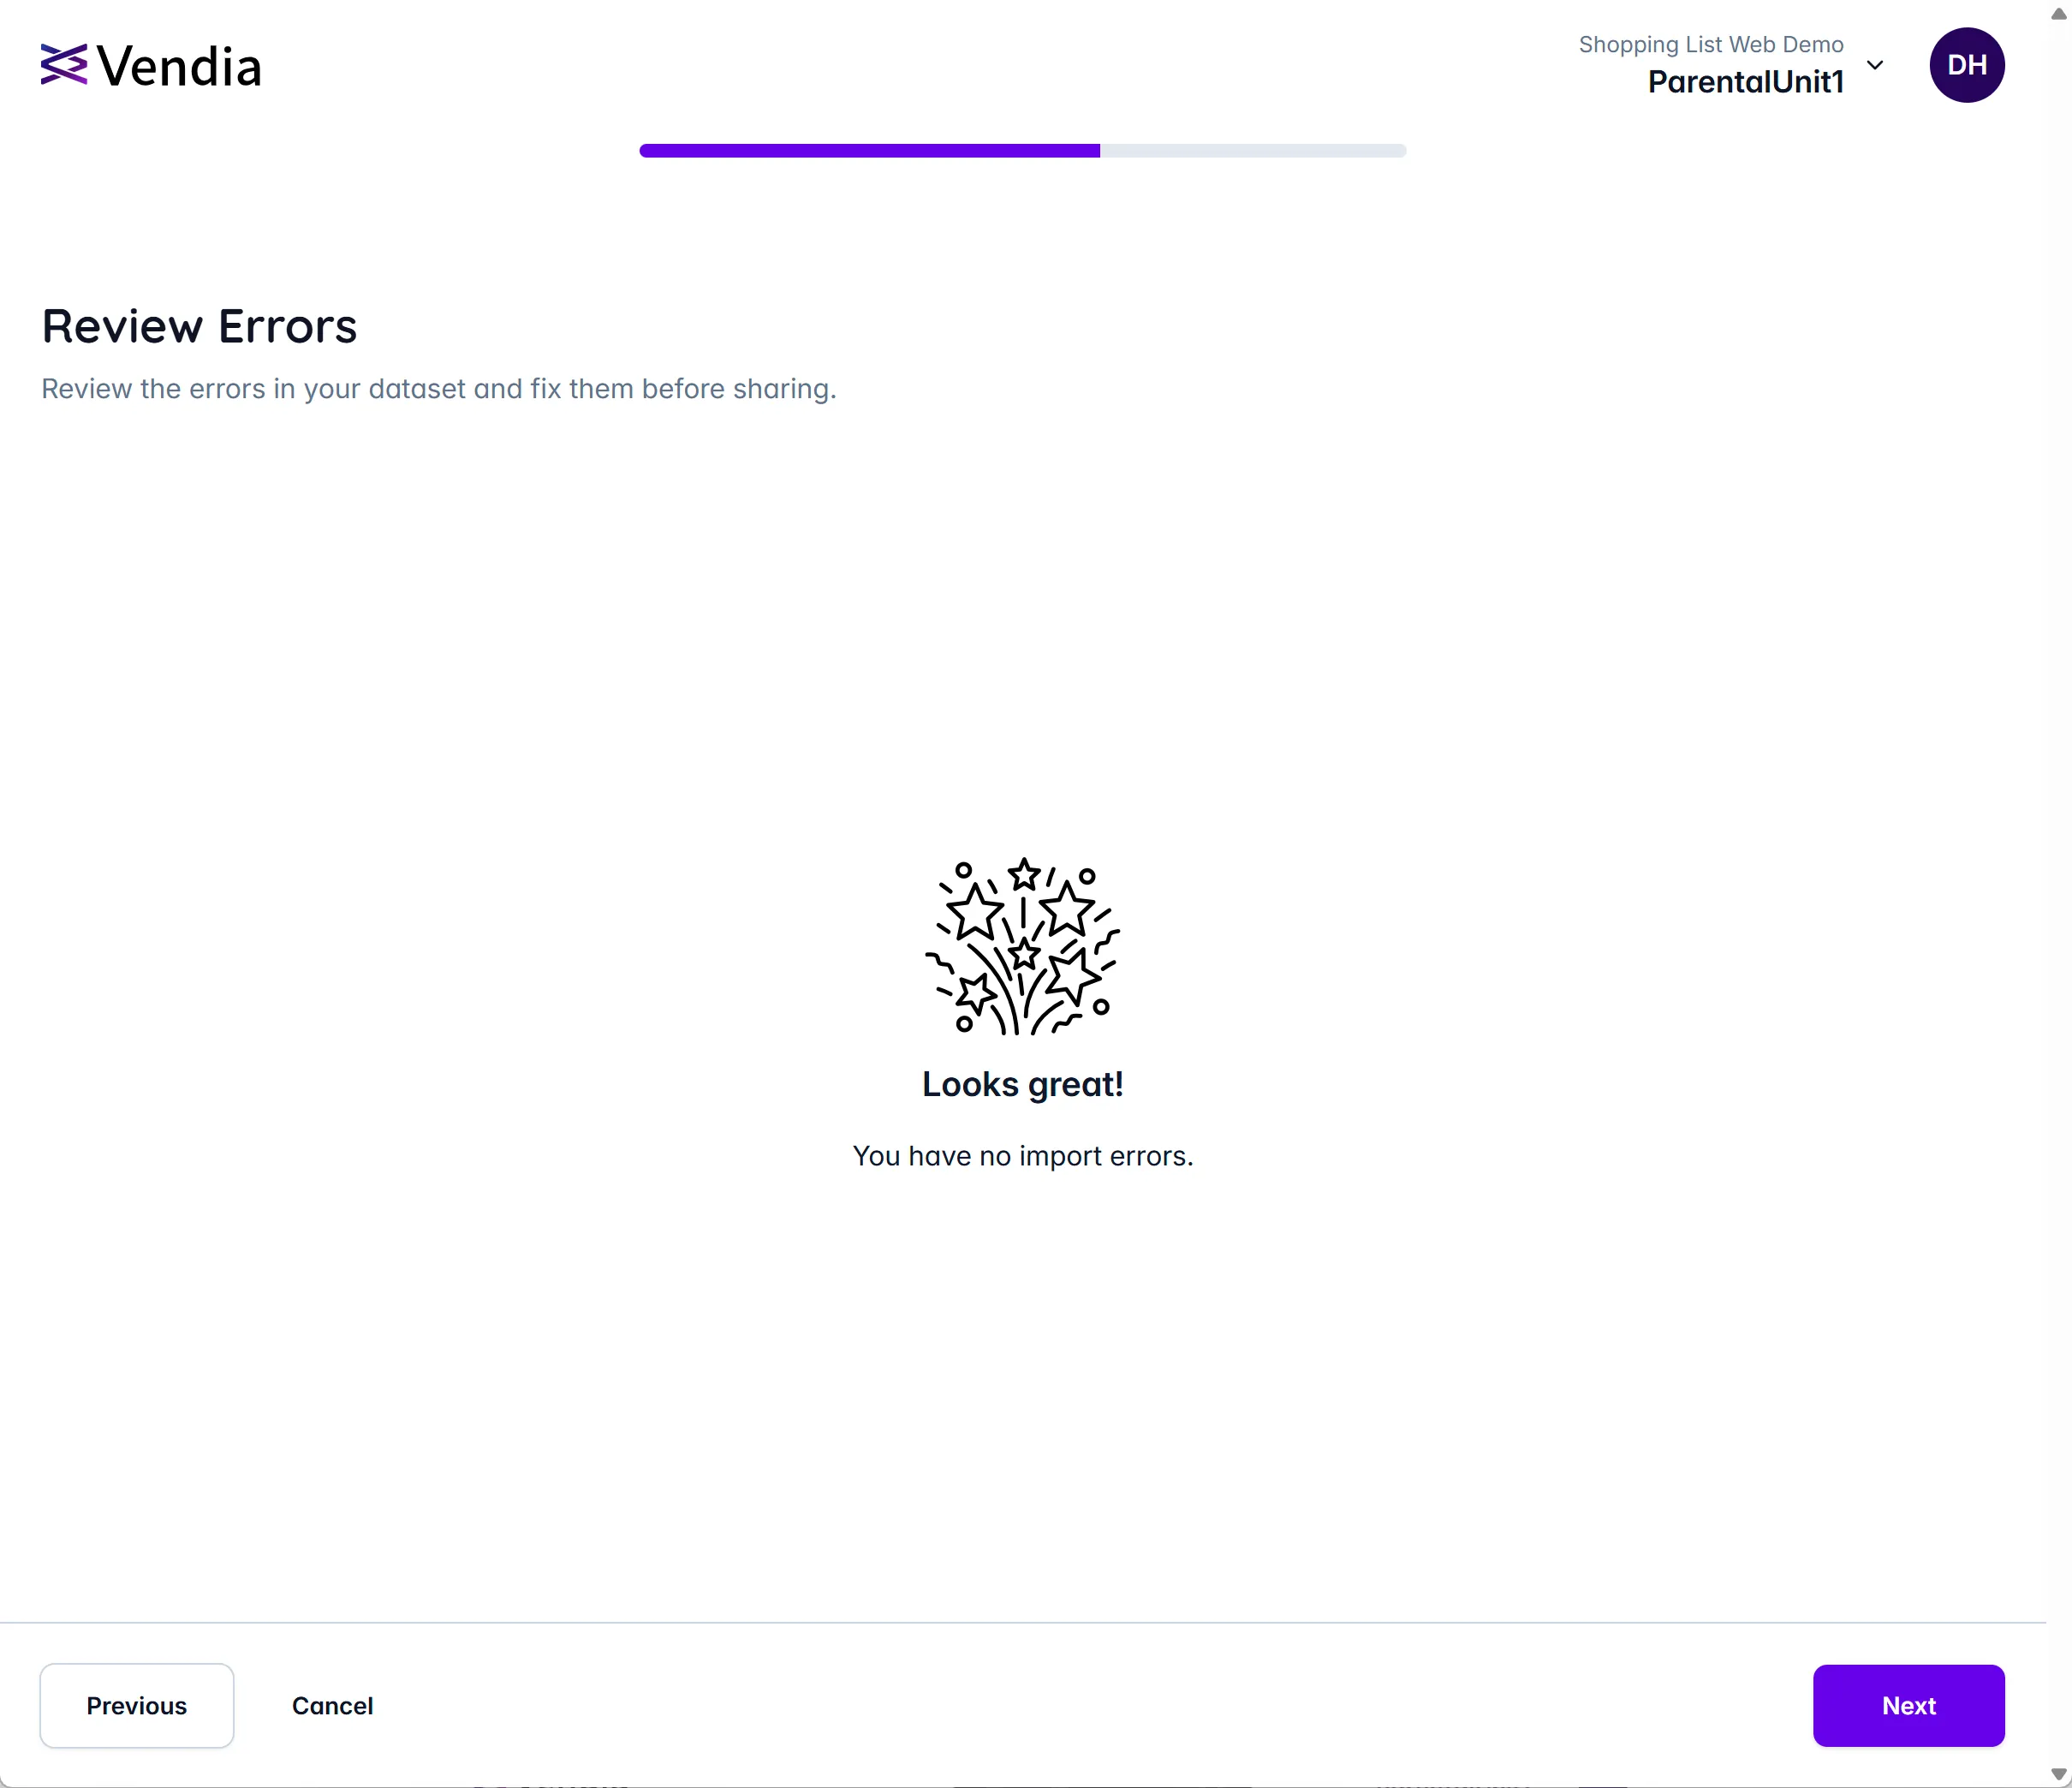
Click ‘Next’ to proceed.
Step 5 - Review Sharing Permissions
Set the following sharing permissions.
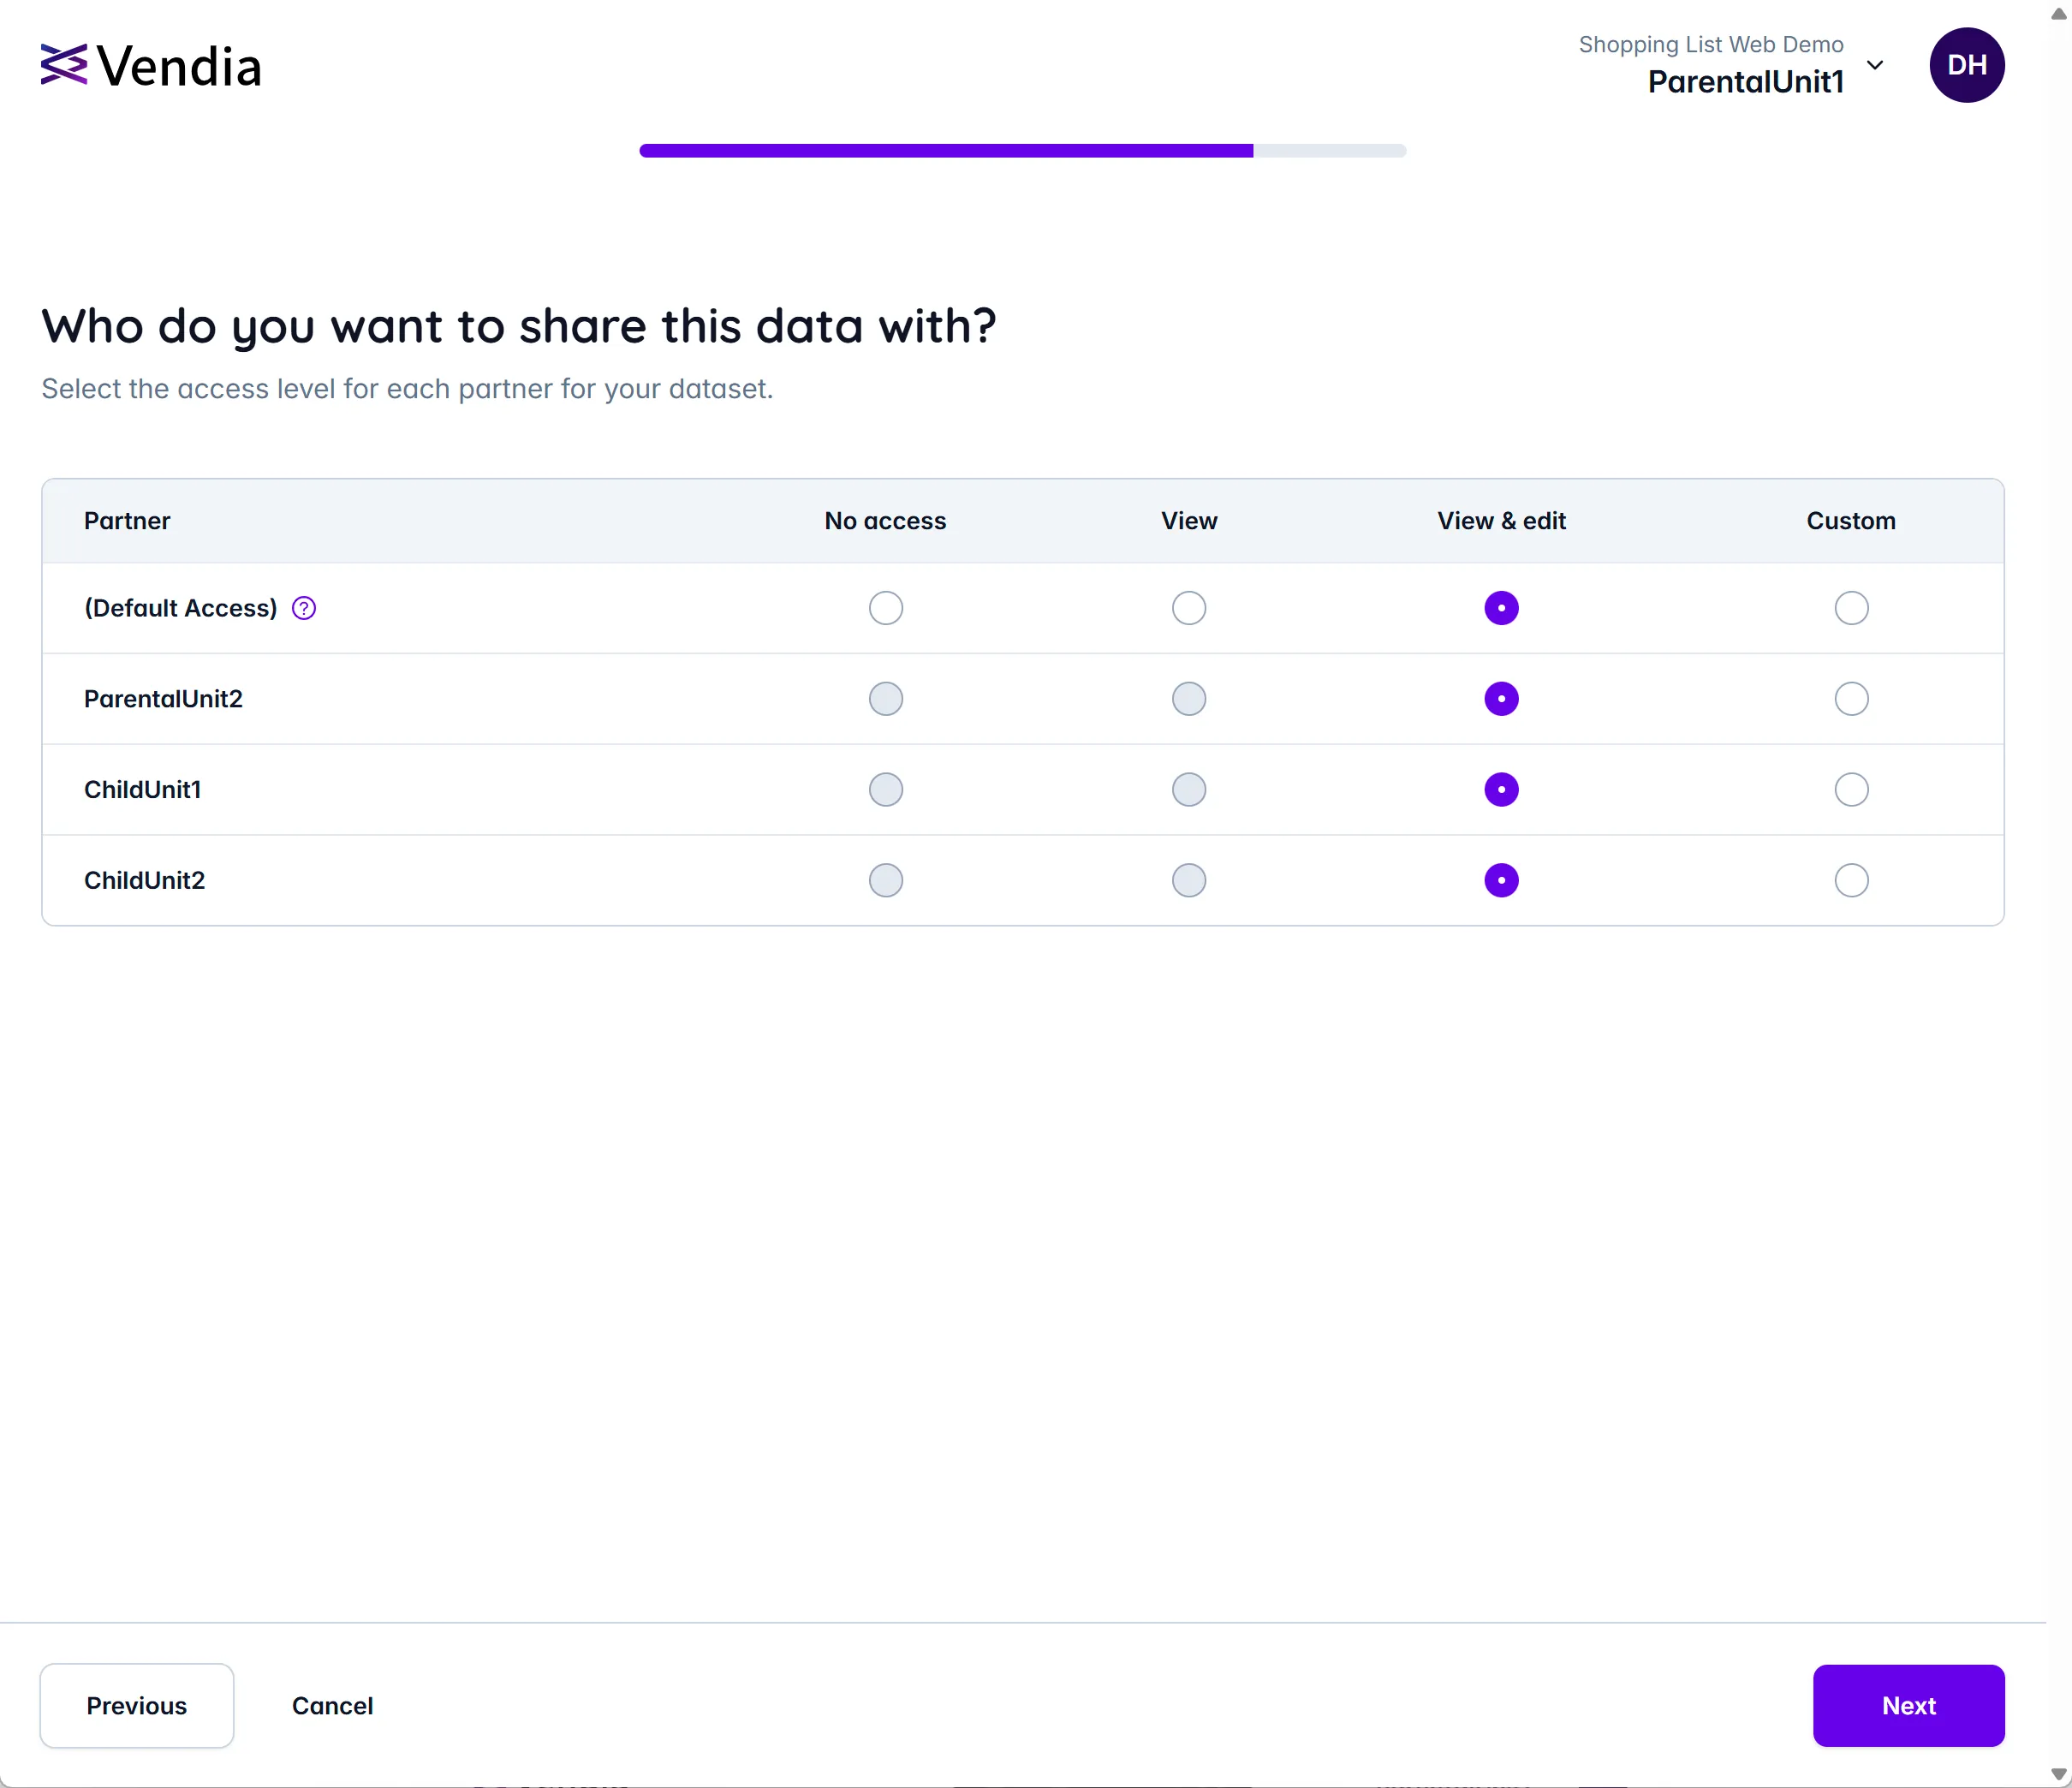
Click ‘Next’ to proceed.
Step 6 - Final Review
Review the data that will be added to your project along with the sharing permissions.
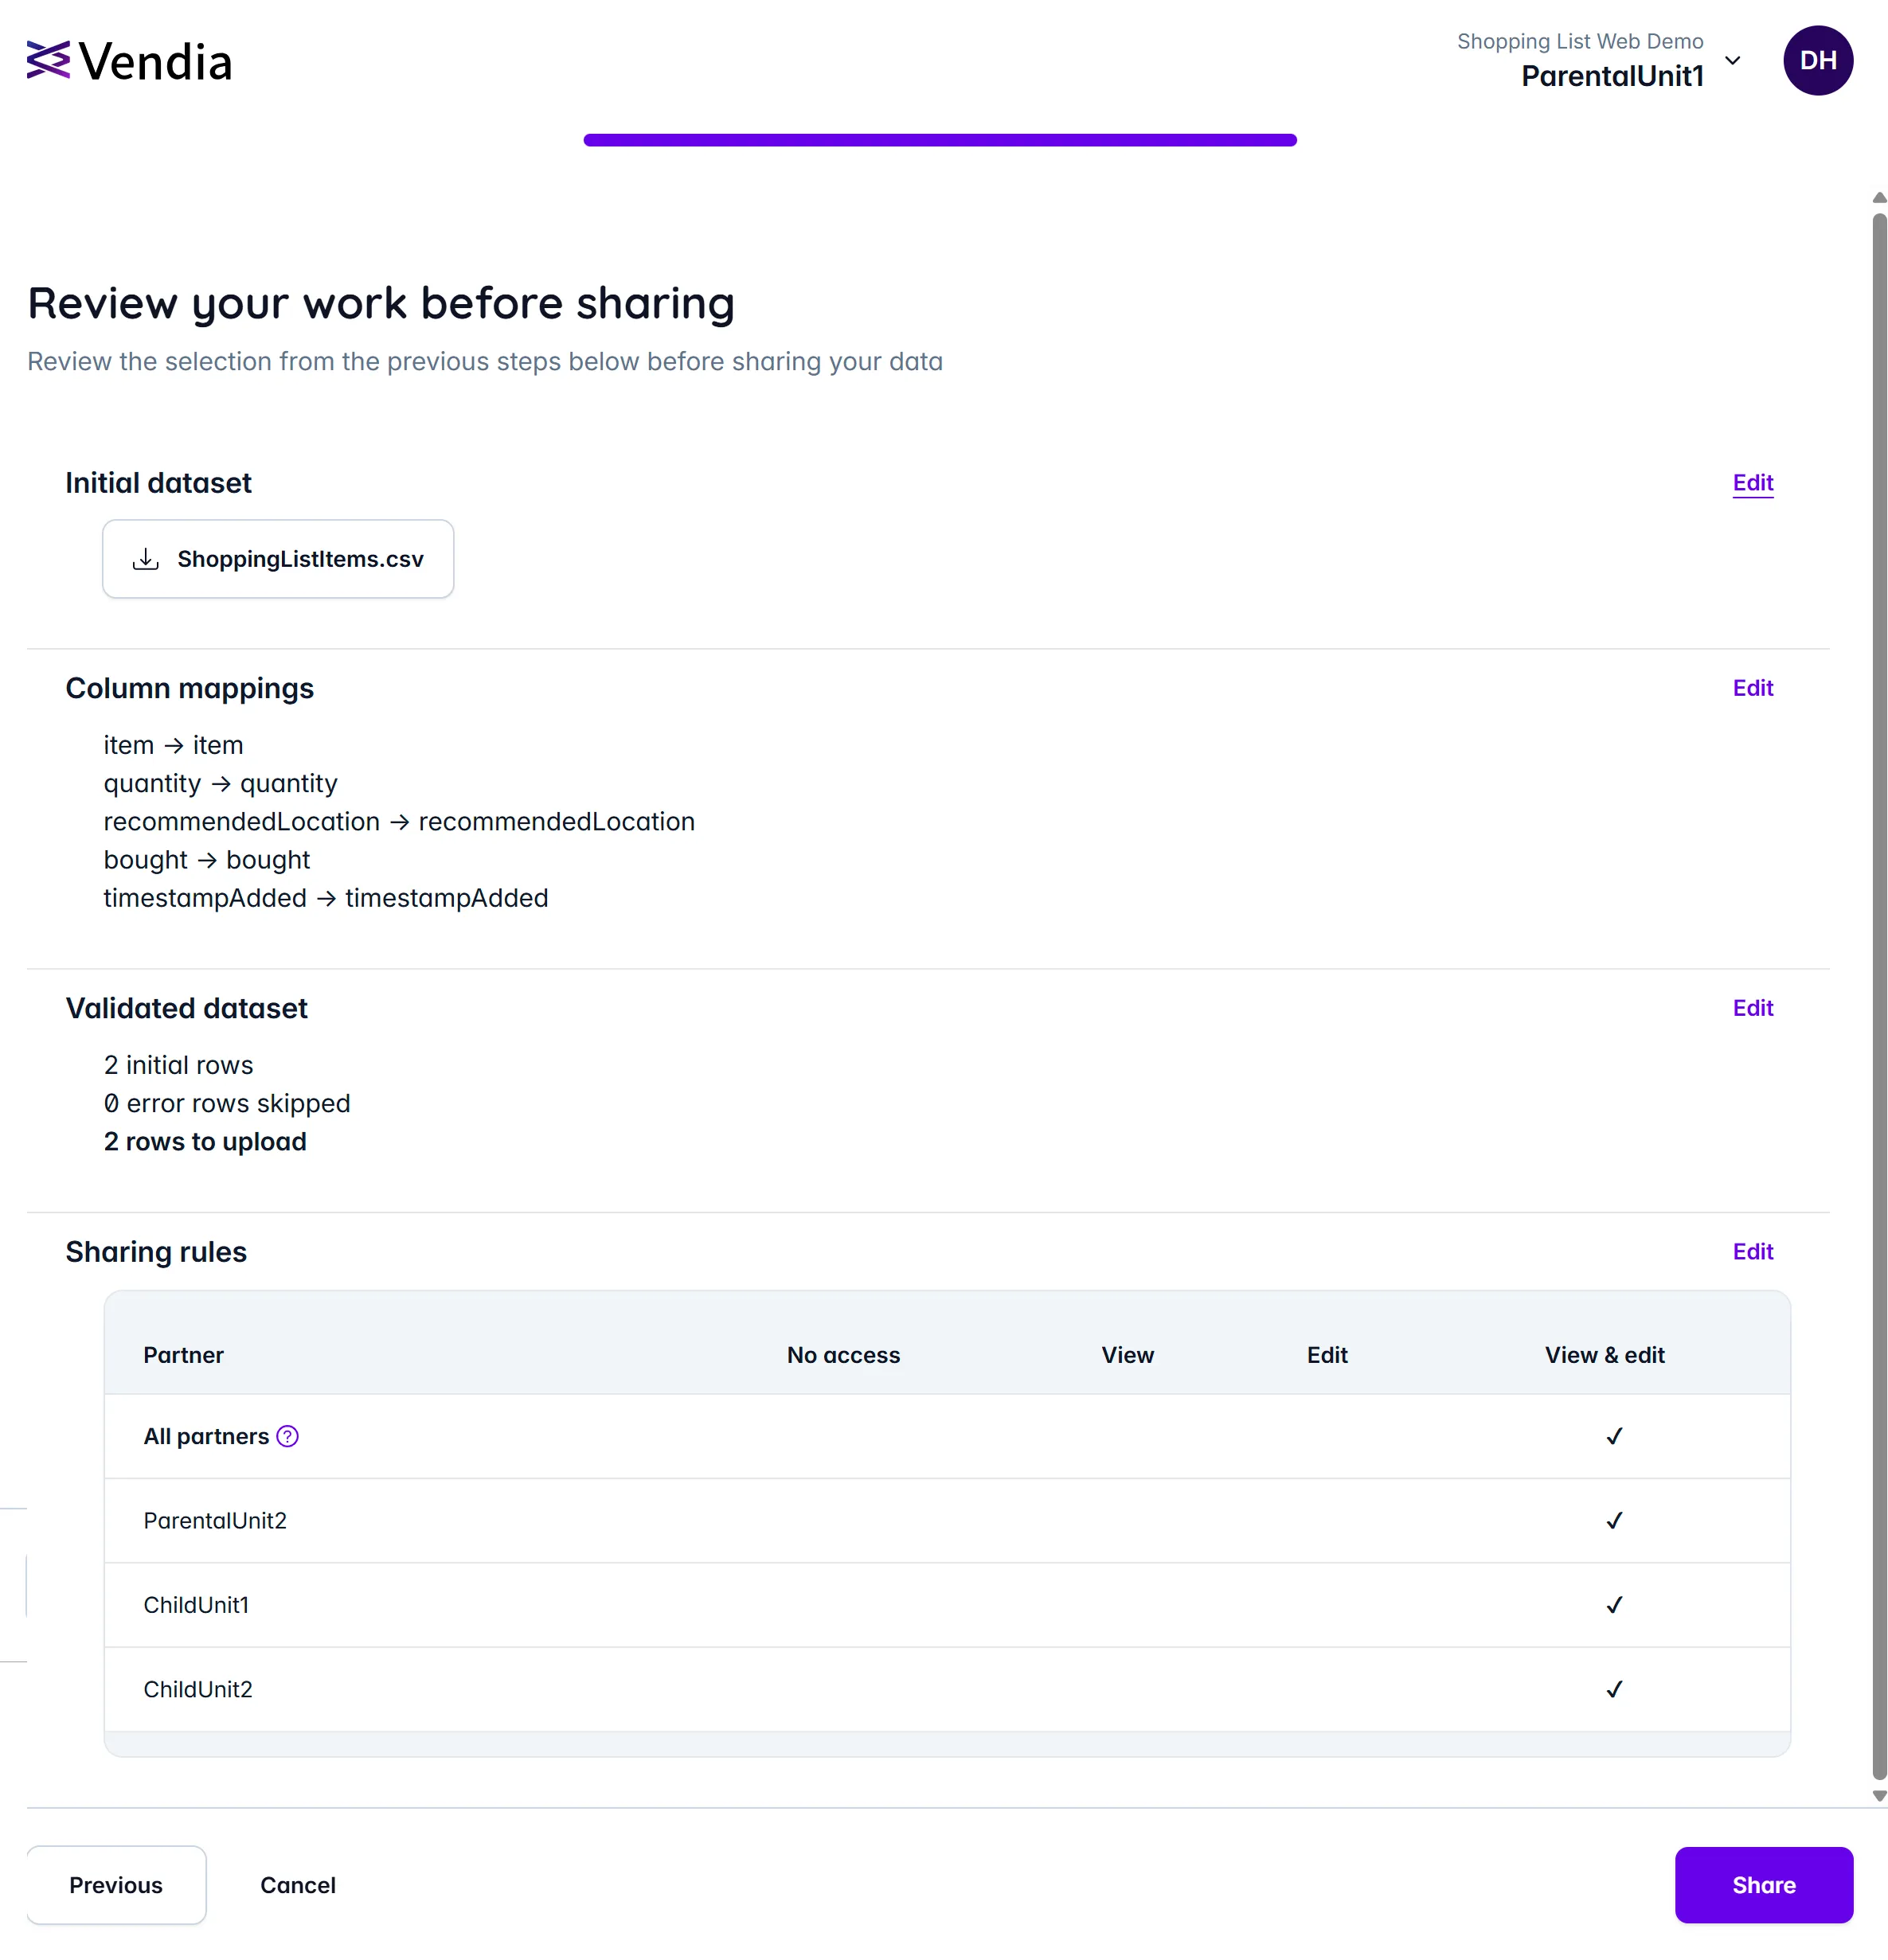
After you have completed your final review, click ‘Share’ to finalize the process.
Step 7 - Complete the Data Import
When the process is complete, you will see the following view:
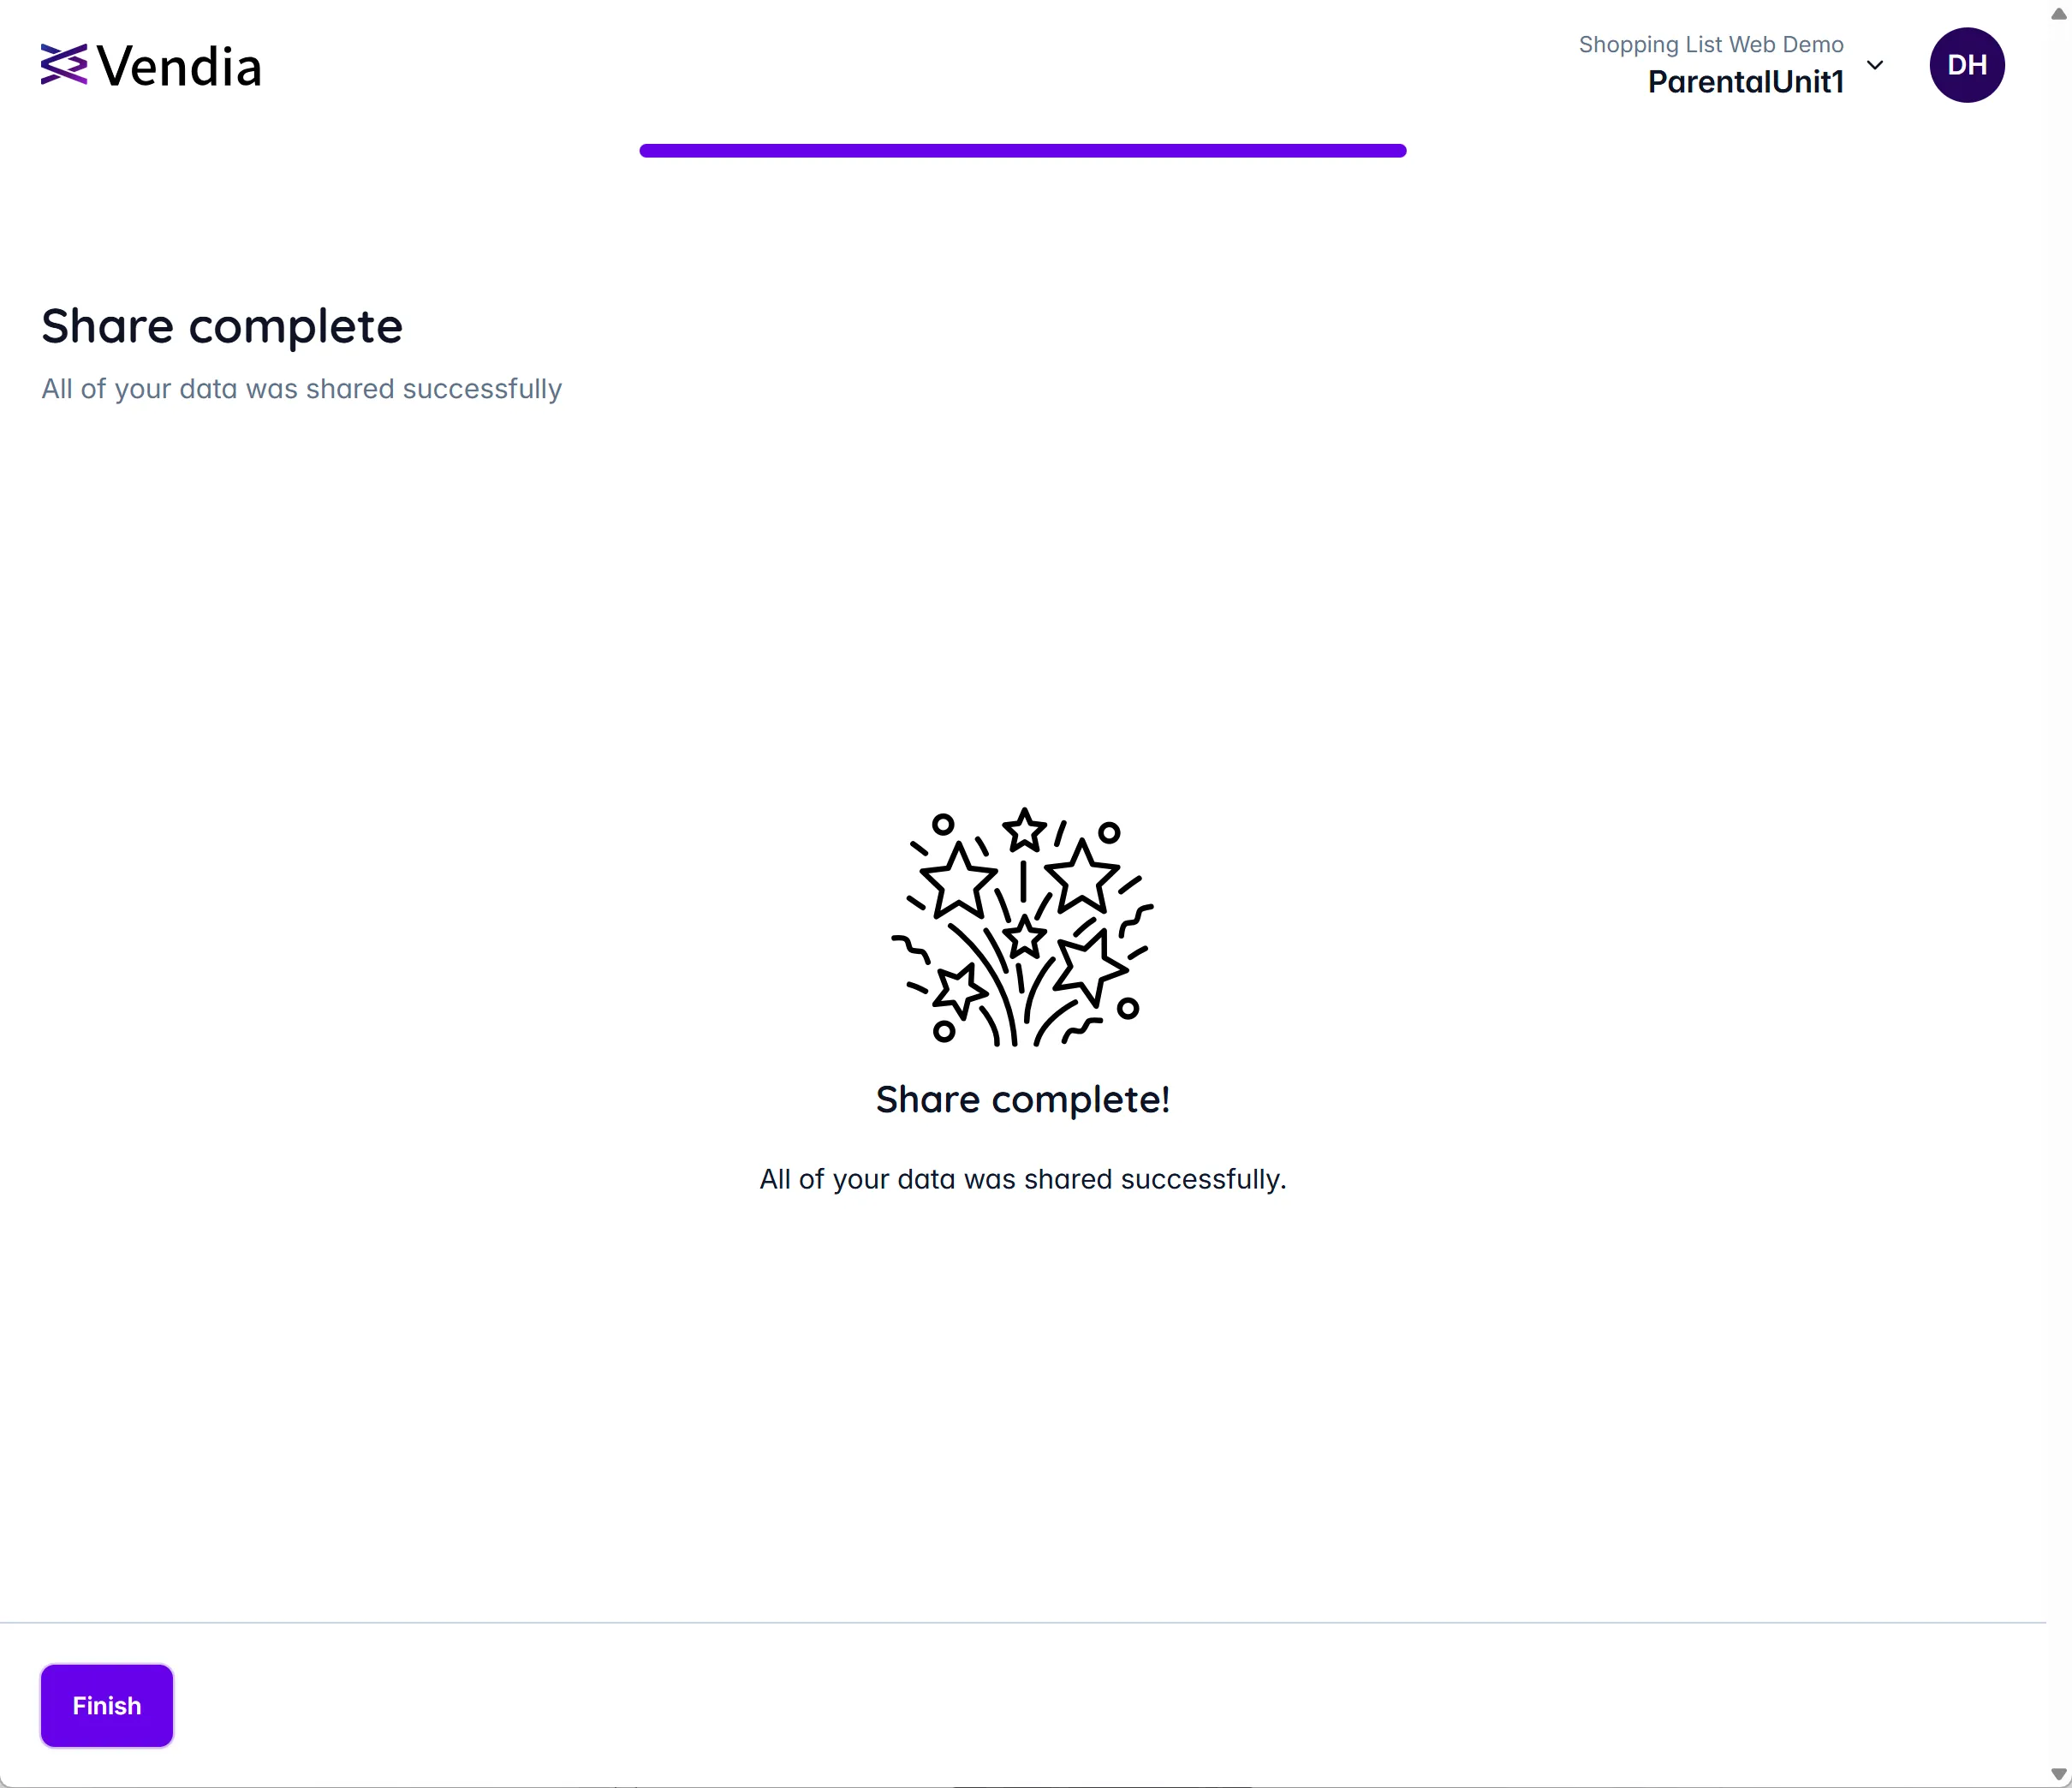
Click ‘Finish’ to complete the Add Data process and you will be directed back to the data view:
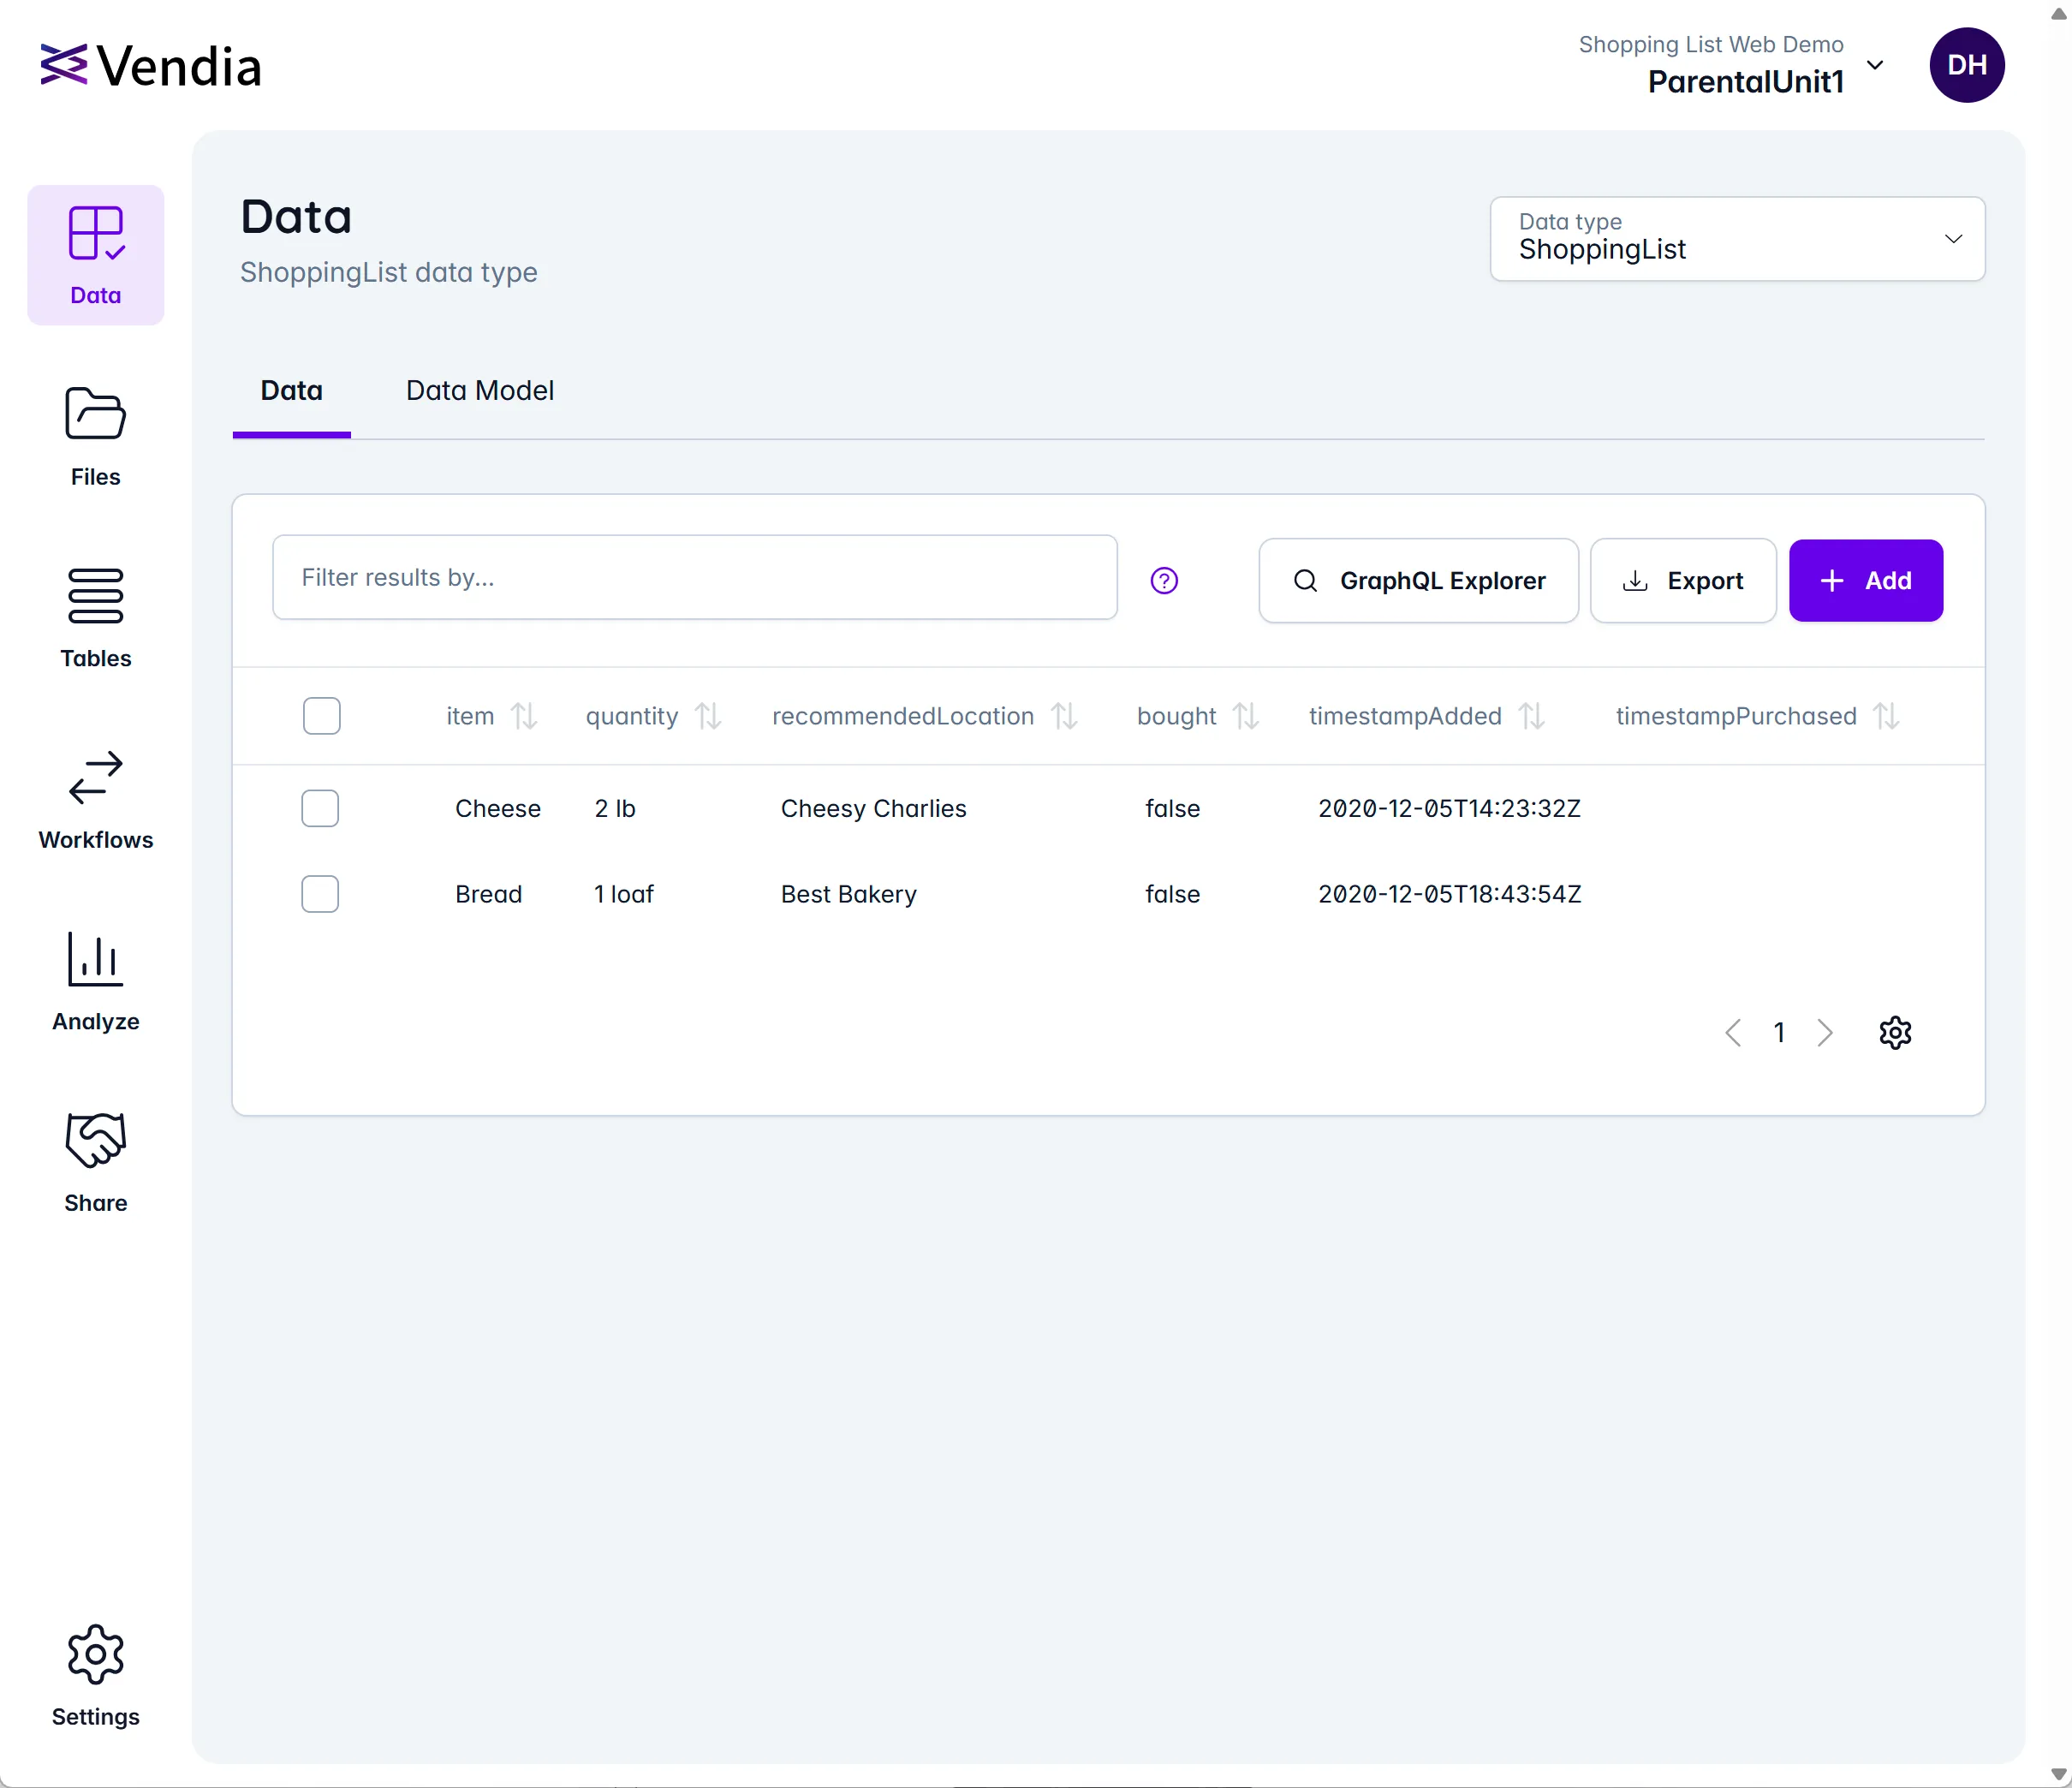
Use Your Project
Once the project is running we can use our project.