Product Catalog Quick Start
In this Quick Start, we will walk through how to model and create a Vendia project to store product information.
By the end of the Quick Start you will have:
-
Created a Vendia project with a pre-defined data model with strong data typing
-
Used GraphQL queries and mutations to both read from and write to your product catalog
Pre-requisites
This Quick Start uses the Vendia share-cli, a Command Line Interface (CLI) for creating and managing projects. We will be using the share-cli to deploy and manage our product catalog.
Command Line Installation
The share-cli can be installed using the NodeJS Node Package Manager(NPM).
To install the CLI globally, run the following command:
npm install @vendia/share-cli -gNOTE You can also install the Vendia CLI inside of a project (instead of globally).
For more information, please visit the @vendia/share-cli NPM package page or view the CLI commands list.
Register for Vendia
You will need to have a valid Vendia user in order to deploy this Quick Start. Please sign up for Vendia if you have not already done so.
Step 1 - Prepare the Deployment Files for the Project
In this Quick Start, we have provided sample files including a data model for your use that describes product catalog data.
Save the Quick Start Files
The files listed below should be saved to your computer. For simplicity, save them all to the same directory.
Sample registration file - save as registration.json
The registration.json file defines the project name, location of the schema file, and the participants in the project.
{ "name": "test-product-catalog", "schema": "schema.json", "nodes": [ { "name": "ProductCatalog", "userId": "me@domain.com", "region": "us-east-2", "csp": "aws" } ]}NOTE: You will need to provide your Vendia userId when defining your workspace.
ANOTHER NOTE: Pick a unique name for your project that begins with test- - by default all projects share a common namespace so here is your chance to get creative.
ONE MORE NOTE: You can deploy your workspaces to many different regions spread across the globe. In this example, a single workspace is being deployed to AWS’ us-east-2 region but (a) more workspaces could be included in your project and (b) the workspace could just as easily be launched into one of the other available regions. Please review the list of supported cloud platforms and regions.
Sample schema file - save as schema.json
The schema is used to define the shape of the scalar data held in your product catalog. In the sample schema we associate properties with specific types. JSON Schema allows us to use simple types - like numbers, strings, and booleans - or more complex types - like objects or arrays. Our tags property is an array of type string. We can take advantage of enumerated values (enums) to restrict a value to a fixed set of values. In our product catalog schema below, we only allow size to hold the value S, M, L, or XL. Vendia will take this data model and enforce these constraints when creating our project. As a concrete example, we should not be able to add a new product with a size of XXXXL.
{ "$schema": "http://json-schema.org/draft-07/schema#", "$id": "http://vendia.net/schemas/demos/product.json", "title": "Product", "description": "Product information", "x-vendia-indexes": {}, "x-vendia-acls": { "ProductAcl": { "type": "Product" } }, "type": "object", "properties": { "Product": { "description": "Product information", "type": "array", "items": { "type": "object", "properties": { "name": { "description": "Product name", "type": "string" }, "sku": { "description": "Product SKU", "type": "string" }, "description": { "description": "Product description", "type": "string" }, "price": { "description": "Product price", "type": "number" }, "tags": { "description": "Product tags", "type": "array", "items": { "type": "string" } }, "size": { "description": "Product size", "type": "string", "enum": ["S", "M", "L", "XL"] } }, "required": [], "x-vendia-unique": [] } } }}Step 2 - Command Line Deployment
Once the files are saved, deploy the project using the share-cli.
If not already logged in to the share service do so by running share login:
share loginThe share uni create command can be used to deploy our project.
share uni create --config registration.jsonCheck on Project Status
The project deployment will take approximately 4 minutes. The status of the project deployment can be viewed by running the share get command.
NOTE: Your project name should differ from the example. Set the value of the --uni argument accordingly to match the Name property in registration.json.
% share get --uni test-product-catalogGetting test-product-catalog info...┌─────────────────────┐│   Uni Information   │└─────────────────────┘Uni Name:    test-product-catalog.unis.vendia.netUni Status:  PENDING_REGISTRATIONNode Count:  1Node Info:└─ ⬢ ProductCatalog   ├─ name: ProductCatalog   ├─ status: DEPLOYING   └─ resources:      ├─ graphqlurl      ├─ graphqlapikey      ├─ sqs      └─ s3bucketarn
To display the schema, use the --json flag. Example: "share get test-product-catalog.unis.vendia.net --json"
When the project status changes to RUNNING we can begin interacting with it.
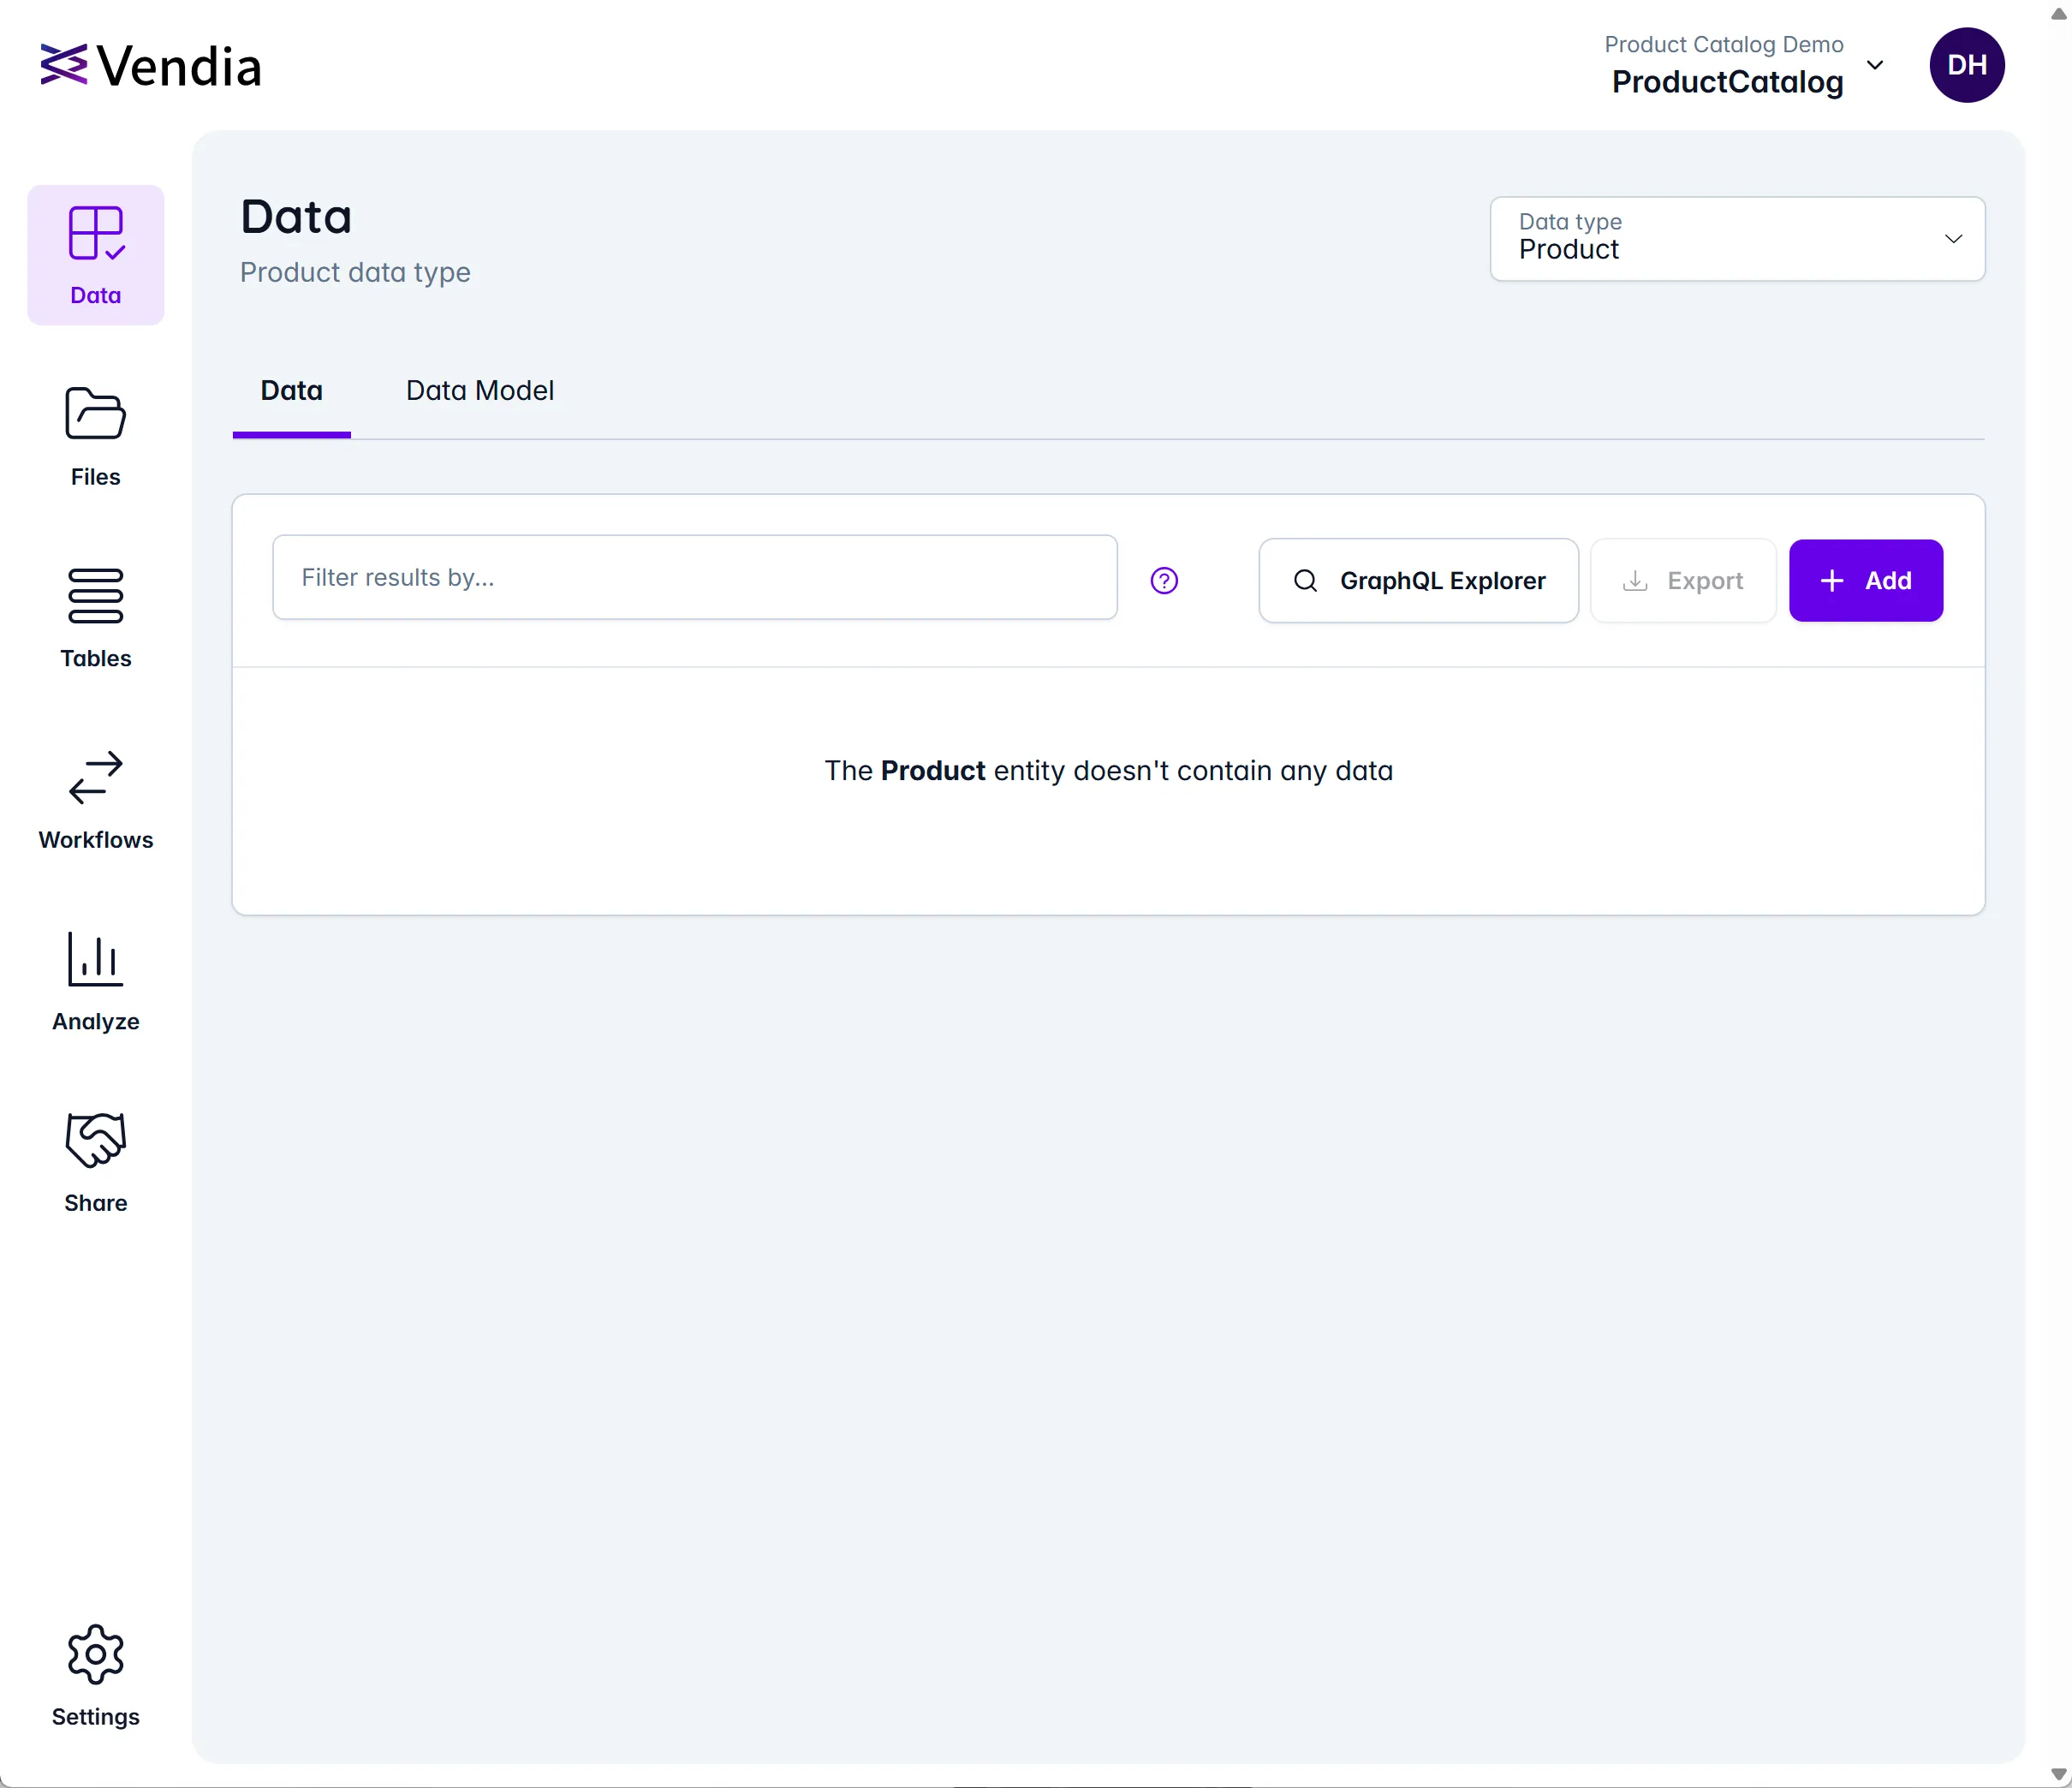
Step 3 - Query Catalog Data
The easiest way to interact with data in our shopping catalog project is to use the built-in GraphQL Explorer provided by the Vendia web interface. Click on the name of the project you created. Each workspace in a project has its own GraphQL Explorer. Go ahead and click on it.
NOTE: You are not constrained to running GraphQL queries from the provided GraphQL Explorer. You can query the graphqlurl using the graphqlapikey specified on your project’s settings page using the programming language of your choice.
Run Your First Query
The GraphQL Explorer window will be pre-populated with an example query. Delete this query and replace it with the query below to list the pre-loaded catalog data. Run the query by pressing the play button.
query listAllProducts { list_ProductItems { _ProductItems { _id name description sku price size tags } }}Step 4 - Create a New Entry in the Product Catalog
Now that we have queried our data, let’s go ahead and add a new entry to our catalog.
mutation addNewProduct { add_Product( input: { name: "Awesome Product 4000" description: "Description for Awesome Product 4000" price: 19.99 size: L sku: "ap4000" tags: ["new-release", "wait-and-see"] } syncMode: ASYNC ) { transaction { _id } }}If we run the listAllProducts query we will see our new product - Awesome Product 4000 - in the catalog.
Step 5 - Try to Create a New Catalog Entry with Invalid Data
When we reviewed our schema.json file we mentioned that Vendia will enforce constraints defined in our schema.json file. The size property has an enum limiting values to S, M, L, or XL. Any other value should result in an error. Let’s test this out by running the mutation below in the GraphQL Explorer.
mutation addInvalidProduct { add_Product( input: { name: "Awesome Product 5000" description: "Description for Awesome Product 5000" price: 29.99 size: XXXXL sku: "ap5000" tags: ["invalid-size", "should-not-be"] } syncMode: ASYNC ) { transaction { _id } }}We can see that Vendia rejected the transaction because the XXXXL value is not a valid size.
{ "data": null, "errors": [ { "message": "Value 'XXXXL' does not exist in 'Self_Product_sizeEnum' enum. Did you mean the enum value 'XL'?", "locations": [ { "line": 80, "column": 13 } ], "path": null } ]}Step 6 - Delete a Product
Let’s go ahead and remove Awesome Product 3. As it turns out, it wasn’t as awesome as we hoped it would be.
When we remove products from our catalog, we need to include the id value. Let’s run the following query to get the id and name associated with Awesome Product 3.
We’re running a filtered query to narrow down our results. We can use one or more filters.
query getProduct3Id { list_ProductItems(filter: { name: { eq: "Awesome Product 3" } }) { _ProductItems { _id name } }}We are now in a position to run the deleteAwesomeProduct3 mutation and remove that product from our catalog.
NOTE: The _id value for Awesome Product 3 is a representative value. The actual _id returned from your project will be different.
mutation removeAwesomeProduct3 { remove_Product(id: "017d103f-f7a3-09b0-2e4d-72c074e11142", syncMode: ASYNC) { transaction { _id } }}Subsequent listAllProducts queries will not include Awesome Product 3 in our result set.
Step 7 - Cleanup
It is important that the project created in this Quick Start is destroyed to prevent any unexpected charges. You can destroy the project from the Vendia Website or with the share CLI command below.
share uni delete --uni test-product-catalog --forceIMPORTANT: The --uni argument must be adjusted to reflect the actual name of your project as defined by the name property in the registration.json file. Failure to do so may result in the accidental deletion of the wrong project.
WARNING Deleting a project is destructive and will remove all of its underlying data.
Summary and Next Steps
This Quick Start demonstrated the ease and speed of which Vendia can be leveraged to create serverless resources from a JSON Schema representation of your data model. Without providing anything other than the underlying model, Vendia was able to provide a strongly typed interface to your underlying data.
We invite you to explore other Quick Starts. If you would like to hear more about how customers use Vendia, reach out today. We would enjoy discussing this exciting platform with you in more detail.