Creating Your Project
A project is comprised of multiple workspaces that share a common data model. There is a separate page outlining how to model your data. On this page, we will address how to create the resources required of a project and how to define and associate partners with the model.
Creating a Project
There are a couple of methods to create a project in Vendia:
Using a Registration File with Vendia CLI
The registration file is a JSON file used to define where to locate the schema and the workspaces that are participating in a project.
When creating a registration file, the registration file must include the name of the project (with or without its namespace), the schema JSON file, as well as any workspaces you want created at initial build.
Sample dynamic registration file
{ "name": "test-inventory", "schema": "schema.json", "nodes": [ { "name": "DistributionCenter", "userId": "user1@domain1.com", "region": "us-east-2", "csp": "aws" } ]}Using the Vendia Web Application
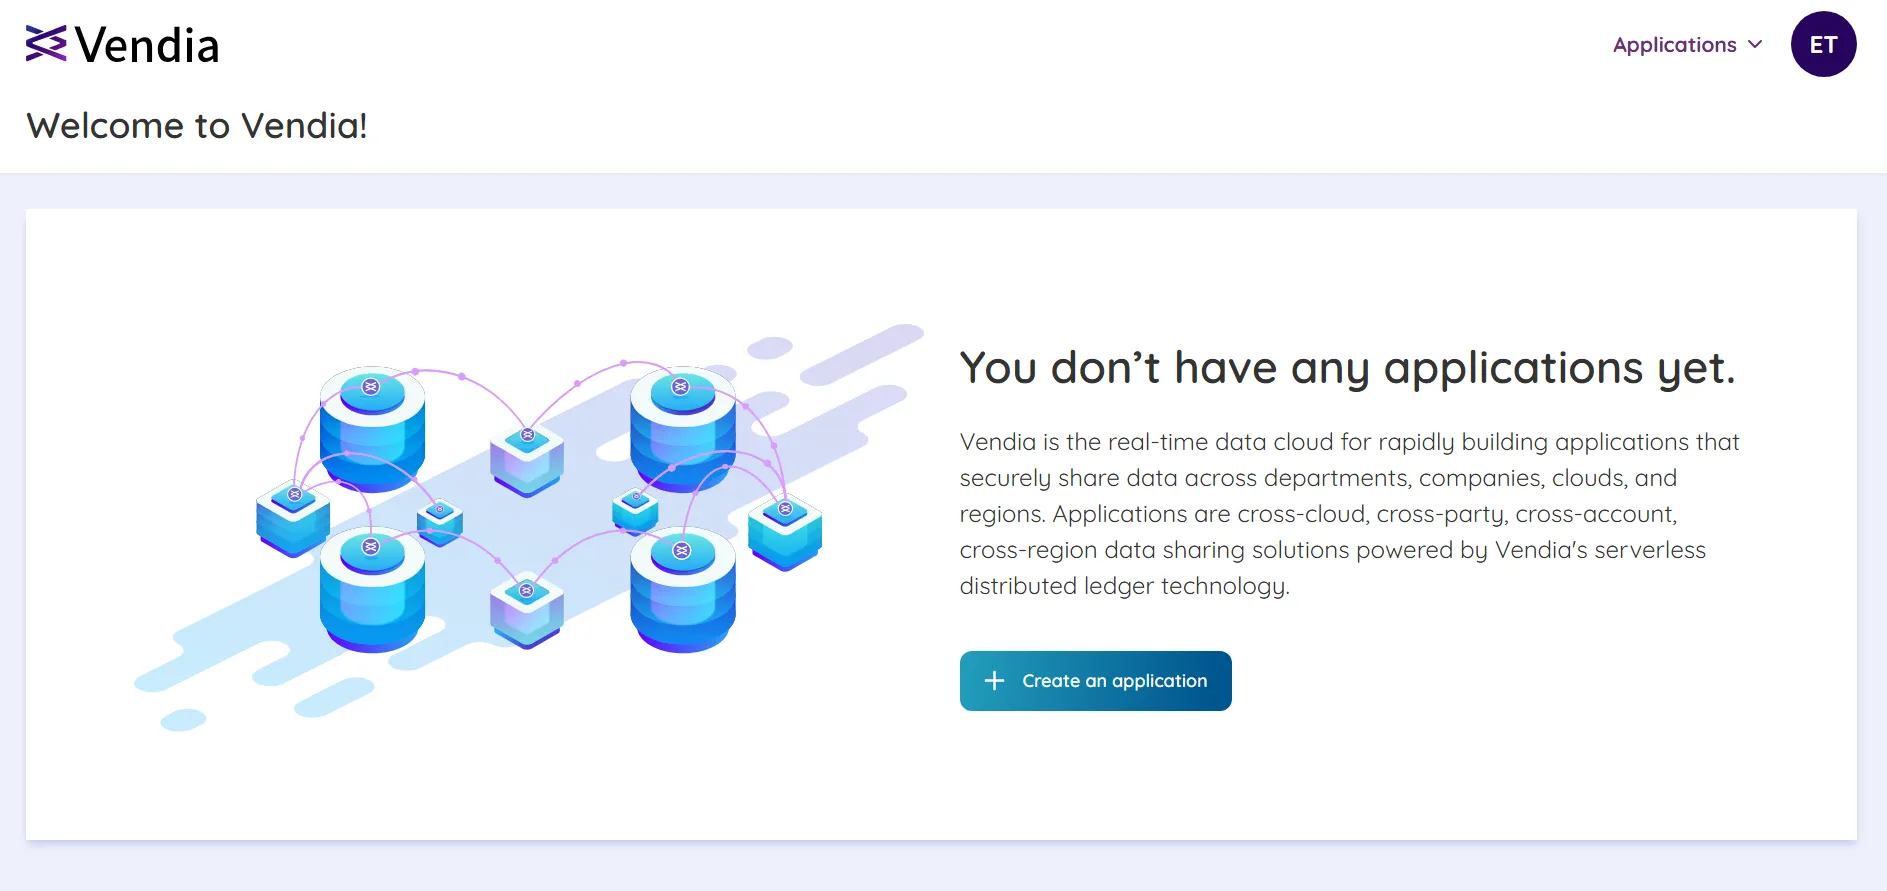
To create a project, navigate to the Vendia web application and click the ‘Create application’ button:

Project creators can only register workspaces under their own email. To add additional workspaces owned by different users, the Vendia manager of the specific workspace must invite additional parties. The invitation can be created from the Vendia CLI (share uni invite) or through the Vendia web application.
Once the initial project is created, it will be in a RUNNING state. Each participant can be added when the time is appropriate. There is no need for other parties to specify a schema or initial state. New workspaces will have their data populated from the existing project.
Inviting Partners
Invitations can be sent to new partners from Settings > Project Settings. Click the ‘Invite’ button and provide the partner’s email address. The invitation will be sent to the partner’s email address, and the partner will receive an email with a link to accept the invitation.
When the new participant accepts the invitation and joins the project, the project will pause write operations as initial data is populated in the new workspace. Once the new workspace is up and running and data is in sync, the project will automatically return to the RUNNING state. Pending writes will be applied. Read requests to a project workspace are unaffected and will continue to work as expected while the new workspace is added to the project.
Adding a Workspace
When a workspace is added to your project, the new workspace’s ledger and world state are seeded from a single workspace in the project. This workspace is called the Seed Workspace. The Seed Workspace is always the first workspace in the project.
NOTE: Vendia users inviting new workspaces to a project must have sufficient privileges. Vendia users accepting an invitation must also have sufficient privileges to join a project. Please review Vendia’s Role-based Access Control documentation for more detail.
IMPORTANT: Though many invitations can be sent out to new project participants, only one workspace can be added at a time.